If your door squeaks, you can usually fix it yourself with minimal tools and a bit of care. Start by inspecting for dirt or loose screws, then lubricate the hinge pin and work the door to spread the lubricant. Tighten or realign the hinge if needed, and only consider replacement if the noise persists. Keep going — the next steps show exactly what to use and how to avoid common mistakes.
Key Takeaways
- Locate the exact hinge causing the squeak by opening and closing the door slowly while listening.
- Tighten loose hinge screws and test the door swing before further work.
- Clean grime and corrosion from the hinge and hinge pin with a rag and brush.
- Apply a small amount of silicone spray or graphite lubricant to the hinge pin, then move the door to work it in.
- Replace bent, excessively worn, or rusted hinges and use longer screws or shims to restore proper alignment.
What Causes a Door Hinge to Squeak?
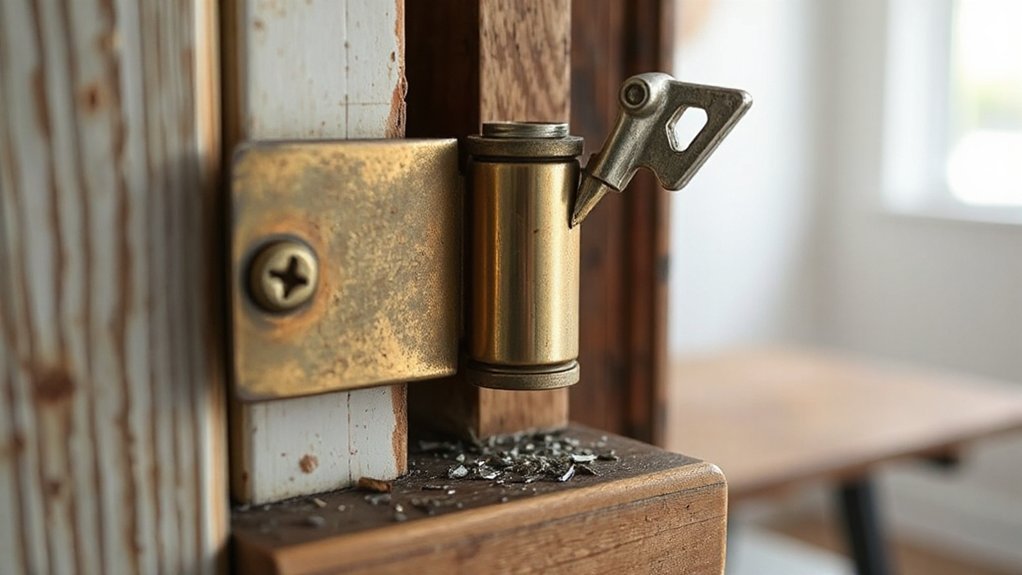
When a door hinge squeaks, it’s usually because metal parts are rubbing without enough lubrication, so friction produces the high-pitched noise you hear. You’ll find common squeaky hinge causes include dirt buildup, worn pivot points, loose screws, or a bent pin that increases metal-on-metal contact. Moisture and corrosion speed wear, so hinges that sit near humid areas squeak sooner. To address the root, you’ll inspect the hinge for grime and damage, tighten hardware, and assess whether the pin is straight. For durable noise reduction techniques, clean first, then apply a suitable lubricant or replace parts showing wear. You’ll prioritize simple fixes before replacement, saving time and preventing repeat squeaks.
Quick Troubleshooting Steps
How do you quickly pinpoint the cause of a squeaky hinge? Begin with visual inspection: open and close the door slowly while watching the hinge for misalignment, rust, loose screws, or missing pins. Listen closely to identify where the noise originates; move along the hinge to localize the squeak. Try wiggling the door to detect play that indicates wear.
Next, perform simple functional tests: tighten loose screws, check door fit in the frame, and support the door while testing each hinge individually by having someone operate the door. Document any repeatable squeaks and note their location for future hinge maintenance. These steps focus on identifying squeaks and the probable mechanical issues before you proceed to safe lubrication.
Safe Lubrication Techniques
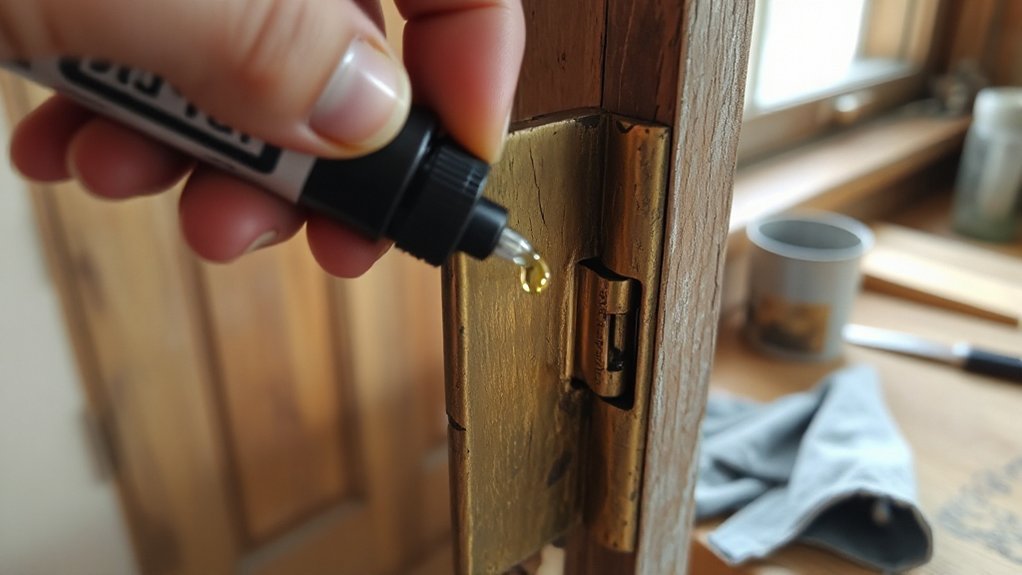
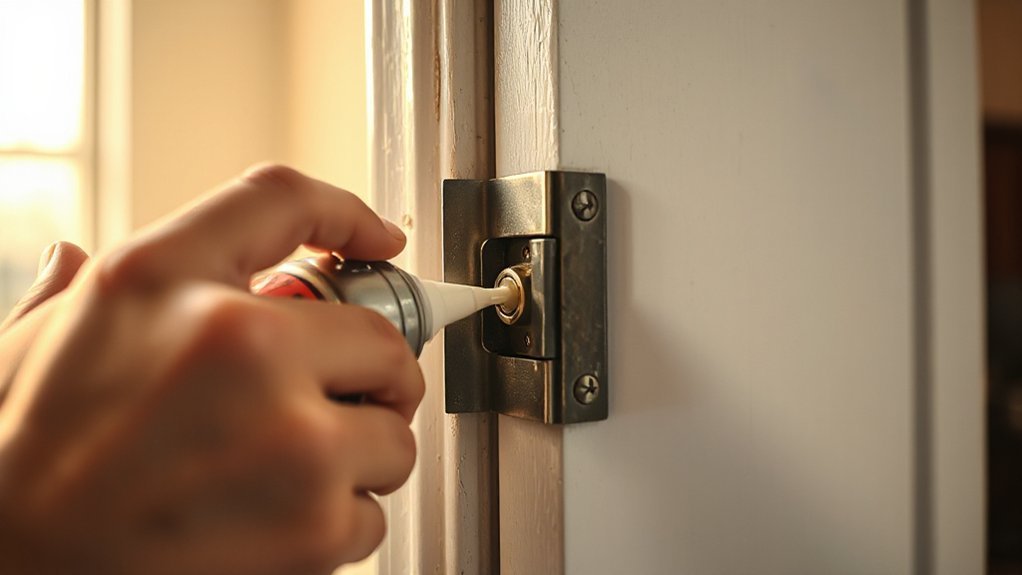
Pick a lubricant suited to your hinge material — silicone or graphite for metal, and a light machine oil for older hardware. Put a drop at the hinge pin and work the hinge back and forth to work the lubricant in, wiping away any excess. Wear gloves and protect the floor or nearby surfaces to avoid drips and stains.
Choose the Right Lubricant
Lubricant choice matters: you’ll want a product that reduces friction, resists dirt, and won’t damage the hinge or surrounding finishes. Pick silicone spray for painted or wooden doors—it’s thin, won’t attract grime, and won’t stain finishes. Use graphite powder for locks or metal-on-metal hinges where a dry lubricant is preferable; it won’t gum up over time. Avoid heavy oils or WD-40 as long-term fixes; they can attract dust and degrade rubber or paint. Choose non-corrosive, water-resistant formulas for exterior doors. Check product labels for compatibility with finishes and temperature range. Buy small cans or tubes so unused lubricant stays fresh. Store them upright, away from heat, and follow manufacturer safety warnings.
Apply With Proper Technique
Start by protecting the area and loosening the hinge slightly so the lubricant can reach the pivot: lay down a drop cloth or paper, place a rag under the hinge to catch drips, and open the door to expose the hinge barrel. Use a straw or applicator nozzle for precise door hinge application; aim for the pivot and not the surrounding wood or paint. Apply a few small squirts or a thin bead of lubricant, then work the door back and forth to distribute it into the joint. Wipe away excess immediately to prevent staining. If pins are removable, extract, clean, and coat before reinserting. Repeat sparingly—over-lubrication attracts dirt. Store your lubricant upright and clean the applicator after each use.
Tightening and Realigning the Hinge
Start by checking the hinge alignment with the door closed to spot gaps or binding. If the screws are loose, tighten them firmly and retest the swing. For persistent misalignment, slip thin shims behind the hinge leaf to shift the door until it closes squarely.
Check Hinge Alignment
1. Check hinge alignment by closing the door slowly and observing gaps between the door and door frame; uneven gaps signal alignment issues. Stand back and look along the edge to spot where the door rubs or sags.
Lift the door slightly (have someone help if heavy) to see if it seats evenly in the frame. If the top or bottom clears differently, the hinge leaves may be misaligned or the door may have shifted. Insert thin cardboard shim behind the hinge leaf at the frame side to test correction—use progressively thicker shims until the door hangs straight. Confirm the latch engages smoothly without force. Once the door tracks true and stops rubbing, remove the test shim and prepare to secure the hinge permanently.
Tighten Hinge Screws
Now it’s time to tighten the hinge screws and realign the hinge so the door hangs correctly. Use a screwdriver matching the screw types—Phillips or flathead—to avoid stripping. Start at the top hinge, snug each screw in a crisscross pattern: partially tighten all, then fully secure. If a screw spins without gripping, switch to a longer or larger-diameter screw of the same head type for proper Hinge maintenance. Keep the door supported while you work; have someone hold it or wedge a block under the bottom edge. After tightening, open and close the door to check for binding or gaps. If the door still rubs, adjust hinge position slightly by loosening, shifting, then retightening until alignment is smooth.
Shim Misaligned Hinges
If the door still rubs or has uneven gaps after tightening, you’ll want to shim the hinge to shift its position without enlarging the mortise. First, remove the hinge screws and separate the door from the frame. Cut thin cardboard, plastic, or metal shims slightly smaller than the hinge leaf. For hinge adjustment, insert shims between the hinge leaf and frame where gaps are needed — top for alignment, bottom to close gaps. Reattach the hinge with longer screws if needed to bite into framing. Test the door swing and repeat shim installation until gaps are even and rubbing stops. Trim excess shim material flush with the hinge. Finally, tighten all screws securely and check operation; adjust again only if you notice binding or misalignment.
When to Replace the Hinge
When the hinge keeps squeaking after cleaning and lubricating, it’s time to contemplate replacement; persistent noise usually means worn pins or bent leaves that lubrication can’t fix. You should assess signs replacement and hinge durability before deciding. Check for play in the door, visible gaps between leaves, cracked metal, or rusted pins that turn with the hinge.
If a hinge still squeaks after lubrication, inspect for wear—play, gaps, cracked metal, or turning rusted pins signal replacement.
- Measure play: if door shifts or sags, hinge durability is compromised.
- Inspect hardware: bent leaves, stripped screw holes, or pitted pins signal replacement.
- Test movement: if noise and stiffness return immediately after lubrication, swap the hinge.
Replace with a matching-size, rust-resistant hinge. Tighten or repair the frame screw holes while the door’s off to guarantee a secure installation.
Preventive Maintenance Tips
Because a little upkeep prevents bigger repairs, adopt a simple preventive routine: check hinges quarterly, tighten loose screws, wipe away dust and grit, and apply a light lubricant once or twice a year. You should also inspect door alignment and trim any swelling that rubs the frame. During regular inspections, look for rust, worn pins, or stripped screw holes and address them before they worsen. Keep spare screws and a replacement pin on hand so you can act quickly. Preventive measures like using felt pads under heavy doors and avoiding slamming will reduce stress on hinges. Record maintenance dates so you don’t skip intervals. These practical steps keep doors operating smoothly and cut down on noisy, costly repairs.
Conclusion
You’ve got this—inspect the hinge, clean away grime, then apply silicone or graphite lubricant to the pin and work the door back and forth until it moves quietly. Tighten loose screws in a crisscross pattern and realign with thin shims if the door sticks. If noise persists after lubricating and tightening, swap the hinge for a new one. Keep hinges clean and lubricated periodically to prevent future squeaks and guarantee smooth operation.