If you want grout that looks fresh without hours of scrubbing, you can loosen and lift stains using soaking, steam, or targeted cleaners so the dirt wipes away easily. Start by evaluating your grout type and stains, then pick a safe soaking solution or steam method and let it work—there are also chemical-free options if you prefer. Keep going to learn which method fits your situation and how to avoid common mistakes.
Key Takeaways
- Apply an oxygen-based grout cleaner, cover with plastic, let sit 15–60 minutes, then rinse — no scrubbing required.
- Use a baking-soda paste, seal with plastic wrap for 10–15 minutes, then wipe away with a damp cloth.
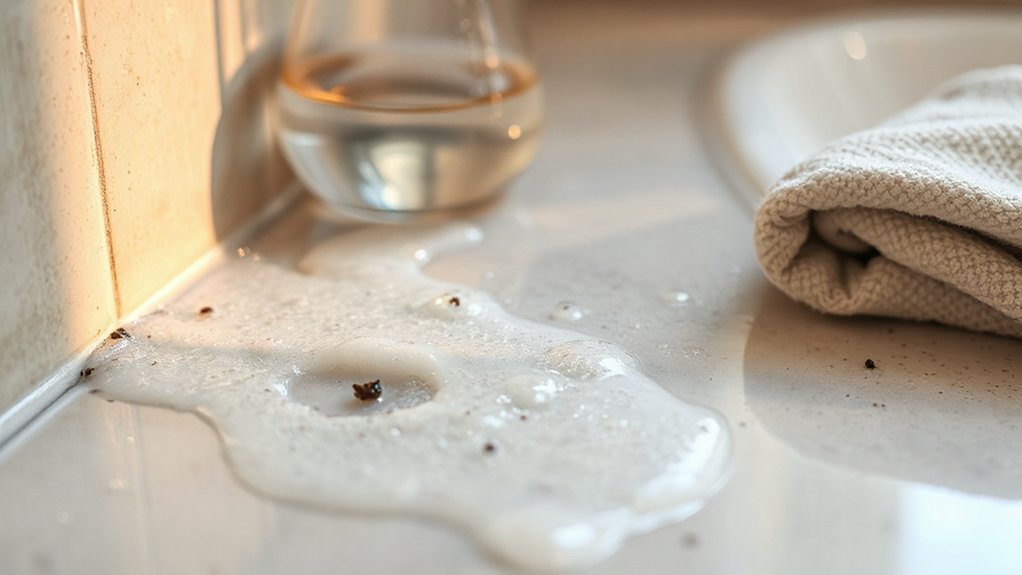
- Spray equal parts white vinegar and water, cover briefly to let fizz, then blot and rinse (avoid on epoxy or natural stone).
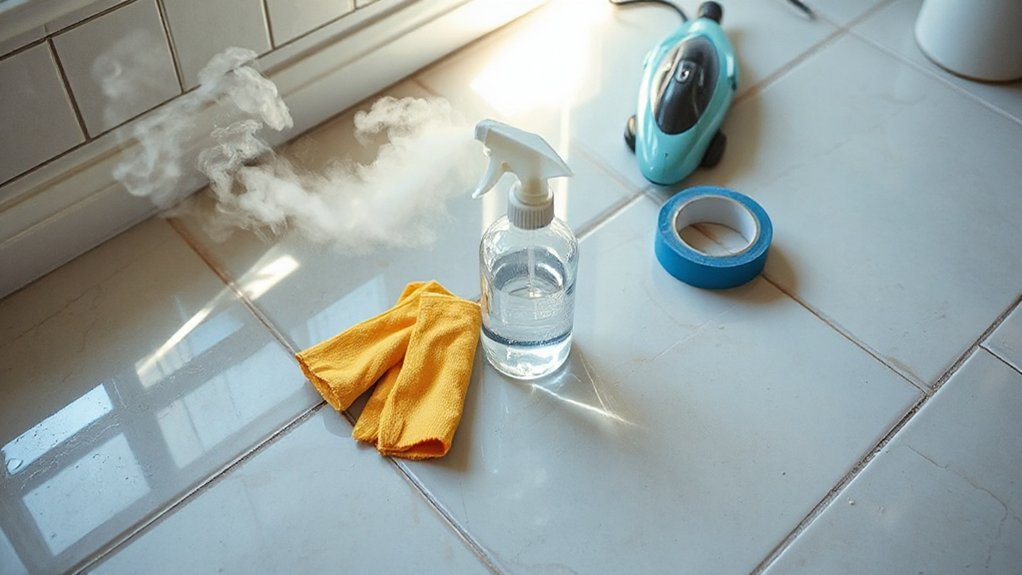
- Steam-clean grout with a handheld steamer, hold a few seconds per line, then blot dry to lift soils without brushes.
- Test a small area first, ensure ventilation and PPE, and seal grout afterward to reduce future cleaning frequency.
Quick Assessment: What Type of Grout and Stains Are You Dealing With?
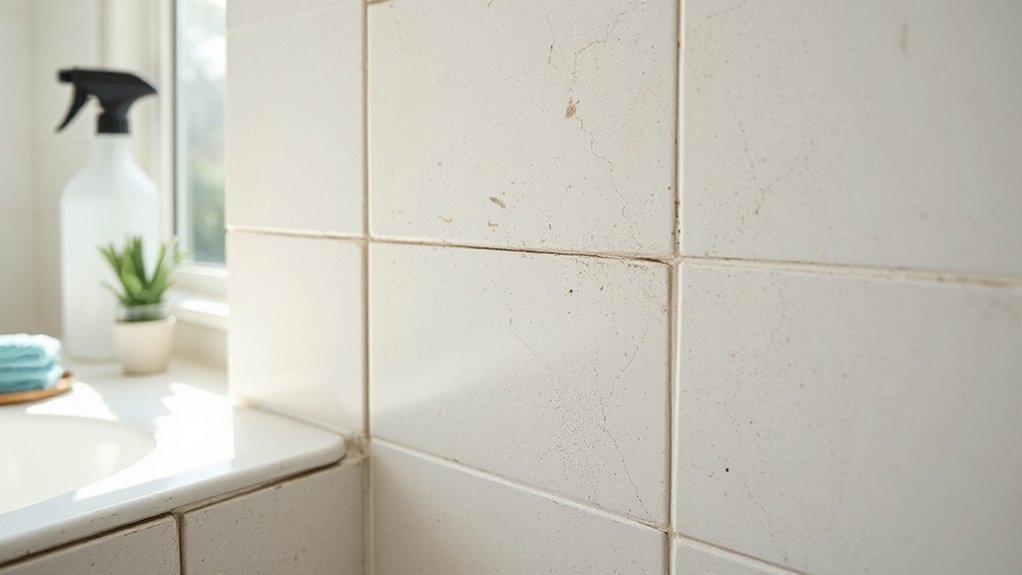
Wondering what kind of grout and stains you’re up against? You’ll start by inspecting grout types—sanded vs. unsanded, epoxy vs. cementitious—because composition affects which no-scrub method will work. Run a dry tactile check: rough, grainy grout is likely sanded; smooth, resinous surfaces suggest epoxy. Note grout color and finish; darker grout can mask staining, lighter grout shows contaminants clearly. For stain identification, look for location and odor: mildew usually appears in damp corners with a musty smell; rust shows orange-brown spots near metal fixtures; oil and soap scum create greasy, dull films. Take a quick water drop test: if water beads, the grout is sealed; if it sinks in, it’s porous and needs different treatment.
Prepping the Area Safely and Effectively
Before you start cleaning, clear the workspace and protect surrounding surfaces so dirt, cleaners, and runoff stay contained. Remove mats, towels, and loose items; tape plastic or drop cloths over fixtures and adjacent flooring. Open windows or run an exhaust fan to guarantee ventilation.
Wear gloves, eye protection, and a mask if using chemical cleaners — safety precautions that prevent irritation and inhalation. Keep a bucket of clean water and absorbent cloths nearby to catch drips and neutralize spills. Put a small container under sinks or shower fixtures to collect runoff.
Label and store cleaners out of reach of children and pets. Check grout and tile for cracks that could trap liquids; seal or avoid those areas until repaired. This effective preparation minimizes damage and speeds the cleaning steps to come.
Soaking Methods That Loosen Dirt Without Scrubbing
If you want grout to release dirt without elbow grease, soaking is the simplest strategy: apply a generous, even layer of a chosen solution—water-vinegar, diluted bleach (for mold/stain-prone areas), or an oxygen-based cleaner—and let it dwell long enough to break down grime so it rinses away. For grout soaking, cover the area with the solution and seal edges with plastic wrap or damp towels to keep it wet; this boosts contact time and improves dirt loosening. Check safety: ventilate, wear gloves, and never mix bleach with vinegar. After 15–60 minutes, remove the seal, test a small area, then rinse thoroughly with warm water or repeat brief soaking for stubborn spots. Finish by drying to prevent re-soiling.
Steam Cleaning: Lift Stains With Heat and Moisture
Because heat and moisture soften grime and loosen stains, steam cleaning is one of the most effective no-scrub methods for grout: you simply run a steam cleaner over the lines to blast away dirt, kill mold and mildew, and sanitize without chemicals. You’ll get fast results when you match nozzle size and pressure to grout width; focused steam maximizes steam efficiency so you don’t overwork areas. Work in short passes, keeping the unit moving to avoid overheating tiles. After steaming, blot excess moisture with a microfiber cloth to reduce moisture retention in grout joints and speed drying. For stubborn buildup repeat once, then let the area air-dry fully. Regular steam maintenance prevents deep stains and keeps grout hygienic with minimal effort.
Chemical-Free Solutions Using Common Household Items
You can tackle grout without harsh chemicals by using simple kitchen staples: a baking soda paste for scrubbing power and a vinegar spray that fizzes away grime. Apply the paste, mist with vinegar to trigger the reaction, then finish with steam to loosen residue so you can wipe it away. These steps are safe, cheap, and effective when you follow them methodically.
Baking Soda Paste
Baking soda paste offers a simple, chemical-free way to lift grime from grout without heavy scrubbing: mix baking soda with just enough water to make a spreadable paste, apply it to the grout lines, let it sit 10–15 minutes, then wipe or rinse away the loosened dirt. You’ll work efficiently: use a small spatula or an old toothbrush to press paste into stubborn areas, then cover with a damp cloth to keep it moist for the full dwell time. For sealed grout, test a small area first. Rinse thoroughly to remove residue, then dry to prevent new staining. Repeat weekly or as needed for maintenance. Baking soda is mild but effective for grout cleaning when you want a straightforward, low-risk approach.
Vinegar Spray Reaction
A vinegar spray combines household white vinegar and water to dissolve mineral deposits and light grime in grout without harsh chemicals; spray it on, let it fizz and sit 5–10 minutes, then blot or wipe the loosened residue away. You’ll mix equal parts white vinegar and water in a spray bottle for routine cleaning; the vinegar benefits include mild acidity that breaks bond between soil and grout, deodorizes, and inhibits mildew. Expect a brief foam reaction on contact with alkaline residues — that fizz helps lift particles so you can remove them without scrubbing. Work in small sections, reapply where needed, and dry thoroughly to prevent re-soiling. Avoid using on natural stone; test a discreet spot first to protect surfaces.
Steam Loosens Grime
When heated steam hits grout, it softens and loosens embedded dirt and mildew so you can wipe it away with minimal effort; point a handheld steamer or the steam setting on a mop along the lines, hold for a few seconds, then blot with a microfiber cloth or disposable towel. You’ll appreciate the steam benefits: it sanitizes without chemicals, breaks down oils and soap scum, and lifts particles from porous grout. For best results, work in short sections, move the nozzle slowly, and follow with a dry cloth to capture loosened debris. Steam applications include bathroom tiles, kitchen floors, and shower corners where brushes can’t reach. Always test a small area first and avoid steam on damaged grout or delicate surfaces.
Targeted Cleaners and Enzyme Products for Tough Stains
Because some grout stains resist general cleaners, you’ll want targeted products and enzyme-based formulas that break down specific soils without heavy scrubbing. Choose enzyme cleaners labeled for organic residues—mildew, urine, food—and follow dwell-time instructions so enzymes digest stains. For mineral deposits, pick targeted treatments with mild acids (citric or lactic) and test an inconspicuous area first to protect grout color. Apply product liberally, keep the area moist with a damp cloth or plastic wrap to extend contact, then rinse thoroughly. Use gloves and ventilate; avoid mixing chemistries. For persistent discoloration, repeat applications over several hours rather than aggressive scrubbing. These focused approaches save effort, protect grout, and restore appearance by chemically removing soils you can’t lift by hand.
Tools and Gadgets That Reduce or Eliminate Scrubbing
Targeted cleaners and enzymes will loosen most stains, but you can often skip the elbow grease entirely by using the right tools. You’ll want compact grout cleaning gadgets: narrow brush heads, oscillating attachments, and grout-specific steam wands that get deep into joints without aggressive chemicals. Handheld motorized brushes give controlled power for small areas; cordless models reach corners and rinse residue quickly. For larger jobs, consider automated scrubbers with adjustable pressure and interchangeable pads — they maintain consistent contact and prevent grout damage. Use extension handles to avoid kneeling, and microfiber pads or squeegees to remove loosened soil. Always test a small patch, work methodically, and match tool speed and pad type to grout hardness to avoid etching.
Preventive Treatments to Keep Grout Cleaner Longer
To keep grout cleaner longer, you should seal it every year or after any deep cleaning to block stains and moisture. Use water-repellent cleaners and treatments that bead and rinse away dirt instead of soaking in. Together these simple preventive steps cut down on future cleaning and protect your grout’s appearance.
Seal Grout Regularly
If you want grout that stays cleaner longer, seal it regularly to block moisture, dirt, and stains from penetrating the pores. You’ll pick a penetrating or topical sealer depending on traffic and tile type; penetrating sealers are best for everyday protection without changing appearance. Test a small area, follow manufacturer drying times, and apply with a brush or small roller for even coverage. Reseal grout every 1–3 years or sooner in high-moisture zones. Add grout sealing to your regular maintenance routine so it isn’t overlooked—set a reminder on your calendar. Proper sealing reduces cleaning frequency and prevents deep stains, saving time and effort. If a spot fails, clean it, let it dry fully, then reseal only the affected area.
Use Water-Repellent Cleaners
One simple step you can add to routine cleaning is applying a water-repellent cleaner that leaves an invisible barrier on grout, so dirt and moisture bead up instead of soaking in. You’ll prolong clean periods and reduce staining by using products designed for grout lines. Choose water repellent sprays labeled for porous tile and follow cure times. Reapply seasonally or after deep cleaning.
- Pick a trusted water repellent sprays product with clear instructions and surface protection claims.
- Apply evenly, let it dry fully, then test in an inconspicuous spot to confirm compatibility.
- Combine with regular gentle cleaners; don’t substitute sealant unless manufacturer recommends.
This preventive step minimizes scrubbing and keeps grout looking newer longer.
When to Call a Professional for Deep Grout Restoration
When grout shows deep staining, crumbling, widespread mold, or persistent odors despite your best non-scrubbing efforts, call a professional who can assess structural damage and recommend restoration or replacement. You should consider professional services when discoloration penetrates porous grout, tiles loosen, or repeated cleaning fails. A pro will test for mold, check substrate integrity, and advise whether grout restoration, regrouting, or full tile replacement is necessary. They’ll use tools and sealers you can’t access, ensuring proper adhesion and moisture control. Ask for references, written estimates, and a clear scope: scope of work, timeline, warranty, and post-restoration care. If health risks, recurring failure, or visible deterioration exist, don’t delay — get an expert evaluation and a plan.
Conclusion
Wrap up your approach by evaluating grout type and stain severity, prepping the area, then choosing a no-scrub method that fits: soak with vinegar or an oxygen cleaner under plastic, use baking soda paste for a chemical-free option, or lift grime with steam. For stubborn spots try targeted enzyme or grout cleaners and low-effort tools. Rinse and seal once clean to prolong results. Call a pro when stains or damage need deep restoration beyond DIY.