If you want to remove wallpaper without making a bigger mess, start by identifying the type you have and gather the right tools; then work wall by wall, scoring, soaking, and peeling or scraping as needed. You’ll learn when to use a steamer or remover, how to protect floors and outlets, and simple fixes for stubborn glue—keep going and you’ll see how to make the job faster and damage-free.
Key Takeaways
- Score the paper, then peel strippable vinyl at a 45° angle; use a plastic scraper for stubborn edges.
- Soak baked-on or pasted paper with wallpaper remover or a vinegar/water solution before scraping.
- Use a steamer for heavy glue or multiple wallpaper layers to loosen adhesive efficiently.
- Scrape remaining paste, wash walls with warm water and detergent, then rinse to remove residue.
- Repair gouges with lightweight spackle, sand smooth, and prime with a stain-blocking primer before painting.
When to Strip Wallpaper Yourself vs. Hire a Pro
Wondering whether you should tackle wallpaper removal yourself or call a pro? You’ll start by doing a quick cost analysis: compare rental or supply costs and your time vs. a contractor’s quote. Next, assess the project timeframe—how soon do you need walls cleared? If you’ve got a weekend, small rooms, and patience, you can proceed DIY. If the paper’s stubborn, walls are damaged, or you’re on a tight schedule, hire a pro. Then weigh experience: pros handle surprises and finish faster; you’ll save money only if you work steadily. Finally, consider physical limits and permits for large jobs. Make a decision checklist: budget, timeline, room size, wall condition, and your confidence level before committing.
Tools and Materials You’ll Need
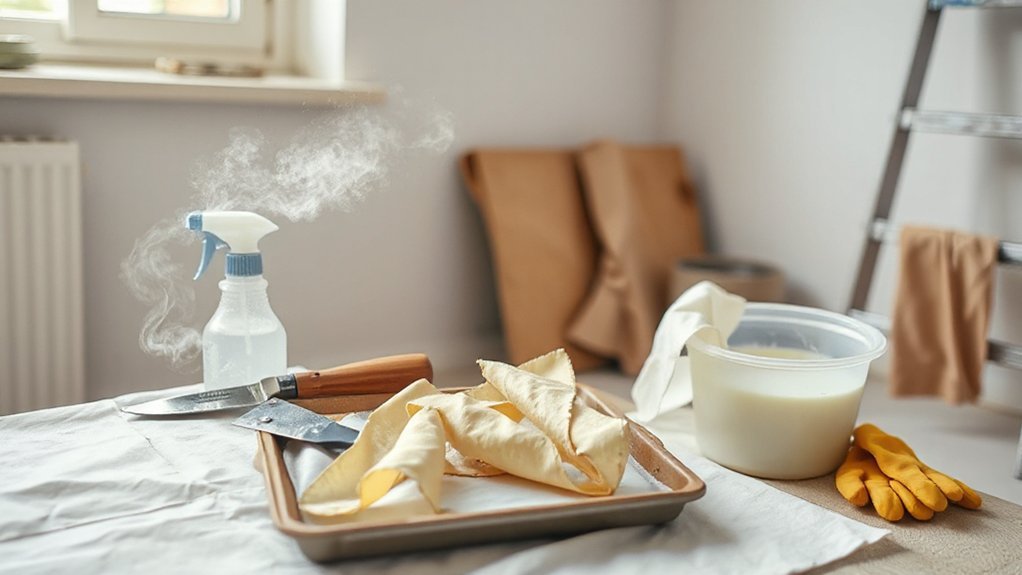
Now that you’ve decided whether to DIY or hire help, gather the right tools and materials before you start so you don’t stop halfway through. First, get the essential tools: a sharp utility knife, wallpaper scoring tool, wide putty knife or scraper, and a stiff sponge. Add a bucket, spray bottle or garden sprayer, and disposable drop cloths. For stubborn paste, pick up a wallpaper remover solution or make a vinegar/steam kit. You’ll also want gloves, safety goggles, and a respirator mask if walls are old. Keep a ladder, flashlight, and small brushes for corners handy. Finally, have sandpaper and lightweight joint compound ready to smooth the wall after removal. Organize these items in advance to work efficiently.
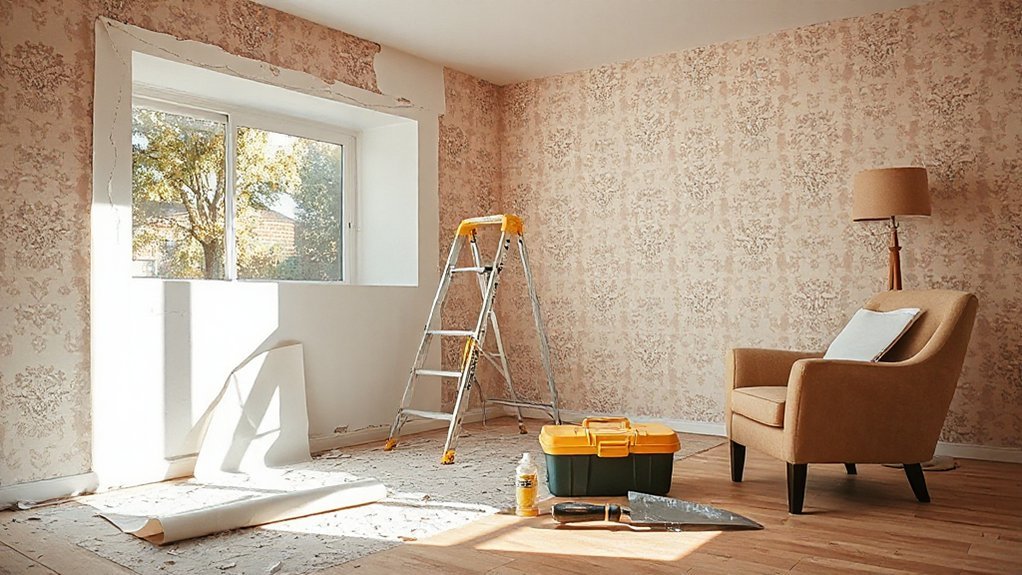
Preparing the Room and Protecting Surfaces
Start by clearing the room and creating a protected work zone: move furniture out or to the center and cover what stays with disposable drop cloths or plastic sheeting, tape seams and edges with painter’s tape, and remove switch plates and outlet covers so you don’t accidentally get water or scraper damage on them. Next, sweep and vacuum floors to remove dust that will mix with paste. Lay additional protection where you’ll stand and set tools. Put painter’s tape along baseboards and trim to prevent gouging. Keep a trash bag and sponge bucket handy. Turn off HVAC or seal vents to avoid spreading debris. Label and store removed covers. These room preparation steps let you focus on removal techniques without worrying about damage or extra cleanup.
Methods for Removing Different Wallpaper Types
Start by identifying whether your wallpaper is strippable vinyl or a baked-on paper—each peels off differently. For strippable vinyl you’ll score and peel, using a hose or steamer only if needed; for baked-on paper you’ll soften the adhesive with a stripper solution and scrape in sections. Work methodically, test a small area first, and adjust tools and technique as you go.
Strippable Vinyl Removal
Because strippable vinyl is made to come off in one piece, you can usually remove it with minimal tools and effort—if you follow a few simple steps. First, score a small test area with a utility knife to confirm it peels cleanly. Start at a seam or corner: grab an edge, pull slowly at a 45° angle, and keep steady tension. If it lifts in long strips, continue; if it tears, score more lines. Use a plastic scraper to help stubborn bits, working horizontally to avoid wall damage. After peeling, wipe the wall with a damp sponge to remove adhesive residue. These strippable vinyl removal techniques save time and reduce mess, letting you prep the surface for repainting or new paper.
Baked-On Paper Removal
Baked-on paper can be the toughest wallpaper to remove, but with the right approach you can strip it without wrecking the wall. Start by scoring small sections with a rotary scorer to let moisture penetrate — don’t overdo it. Mix a hot water and fabric softener solution or use a commercial remover, then saturate a 3×3 foot area and wait 15–20 minutes. Scrape gently with a wide putty knife at a low angle; if paper tears, re-soak. For stubborn glue, apply a steam cleaner to loosen adhesive bonds. Work in controlled passes: score, soak, wait, scrape, repeat. Expect adhesive challenges and switch baked on techniques if one method stalls. Finish by rinsing residue and sanding lightly before priming.
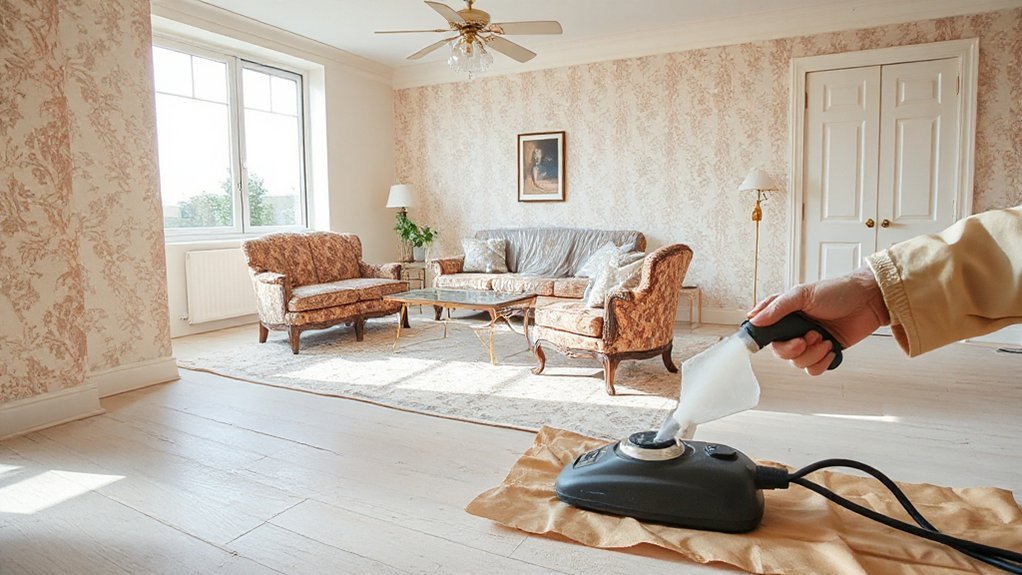
Step‑by‑Step Removal Process
You’ll work through the removal in clear, manageable steps so the job stays controlled and efficient; gather your tools, protect floors and furniture, and plan to tackle one wall at a time. First, score the paper lightly with a scorer to let solvent penetrate; start at a seam or damaged spot. Second, apply a remover or warm water with a spray bottle, letting it sit per instructions to soften wallpaper adhesives. Third, use a wide putty knife at a low angle to peel from bottom up, working in small sections. Fourth, reapply solution as needed when paper resists. Fifth, switch to a steamer for stubborn, baked-on areas. Finally, clean the wall surface to remove residual paste before moving on to the next wall.
Repairing and Cleaning Walls After Stripping
Once the paper’s down, tackle cleanup and repairs in a few clear steps so the wall’s ready for primer or paint: start by scraping remaining paste with a wide scraper and sponging the surface with warm water and a mild detergent, rinse and let dry, then inspect for gouges or dents and fill them with a lightweight spackling compound, sanding smooth after it dries so you have an even surface for priming. Next, focus on wall cleaning: remove any residual adhesive with a diluted vinegar solution or a commercial remover, wiping with a clean sponge until tackiness is gone. For wall repair, press spackle into holes, feather the edges, and sand between coats. Finish by vacuuming dust, wiping with a tack cloth, and applying a stain‑blocking primer.
Preventing Damage and Troubleshooting Common Problems
While you’re stripping wallpaper, take small precautions to avoid common damage and make troubleshooting easier: keep a plastic drop cloth or old sheets down to protect baseboards and floors, score gently and test a solvent in an inconspicuous spot to gauge paper and paint reaction, lift seams slowly with a putty knife to prevent gouging, and work in short sections so you can stop if bubbling or delamination appears. Next, follow a simple sequence: 1) Start where damage would be least visible and note how the wall reacts. 2) If paste or paper won’t budge, switch to a steamer or stronger remover per label. 3) For gouges, fill with spackle, sand, prime. 4) Keep a scrap of removed paper to compare later. These damage prevention and troubleshooting tips will save time and avoid costly repairs.
Conclusion
You’ve got the plan—decide if it’s a DIY job or time to call a pro, gather the right tools, and protect floors and trim. Identify the wallpaper type, then score, soak, and peel or steam in manageable sections. Scrape gently, clean off adhesive, and patch or sand any damage before repainting. Work methodically, take breaks, and troubleshoot stubborn spots with extra soaking or a steamer to avoid tearing the drywall.