If you’ve got a dripping faucet, you can usually fix it yourself by identifying the faucet type, getting the right tools and parts, and replacing worn seals or cartridges. Start by shutting off the water and carefully disassembling the handle so you can inspect O‑rings, seats, and springs. It’s a straightforward mechanical job, but skipping a few steps can make things worse — keep going to learn the exact replacements and reassembly tips that prevent a repeat leak.
Key Takeaways
- Shut off the water supply, open the faucet to relieve pressure, and plug the drain before starting disassembly.
- Identify faucet type (compression, ball, cartridge, ceramic disk) to select correct replacement parts and procedure.
- Disassemble the handle assembly, inspect seals, O-rings, washers, and cartridges for wear, corrosion, or damage.
- Replace damaged seals, O-rings, cartridges, or seat washers, lubricate rubber parts with plumber’s grease, and clean mating surfaces.
- Reassemble in reverse order, restore water, check for leaks, and document replaced parts and inspection date for future maintenance.
Identify Your Faucet Type

Which type of faucet are you dealing with? You’ll need to categorize it quickly: compression, ball, cartridge, or ceramic disk. Each of these faucet types uses distinct faucet mechanisms that determine how water flow is controlled and where leaks originate. Inspect handles, spout movement, and the number of handles: two handles usually mean compression or cartridge; one handle may be ball, cartridge, or disk. Look for visible seals, a removable cap, or a single lever that moves in multiple directions. Note whether turning handles rotates stems or lifts a cartridge; that tells you the internal mechanism. Record brand markings or model numbers when present. Identifying the correct type and mechanism narrows troubleshooting to the specific parts and failure modes.
Gather Tools and Replacement Parts
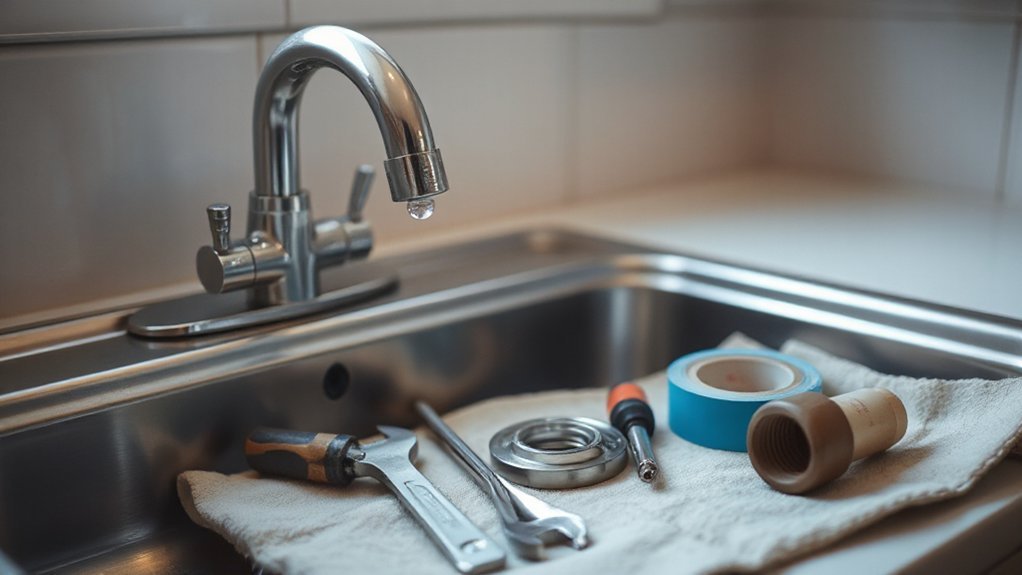
Before you start, gather the basic tools: adjustable wrench, screwdriver set, needle-nose pliers, hex keys, and a basin wrench if space is tight. Check replacement parts against your faucet type—cartridges, O-rings, seat washers, and cartridge or valve seals—and have a spare set of O-rings and seat washers on hand. Keep a small parts tray and a towel handy to prevent losing pieces and to catch drips.
Tools You’ll Need
Grab the right tools and replacement parts before you start so you don’t stall halfway through the repair. You’ll need plumbing essentials: adjustable wrench, basin wrench, slip-joint pliers, screwdriver set (flat and Phillips), hex keys, and a utility knife. Keep a flashlight and magnetic tray for fasteners. Use plumber’s grease and thread seal tape for reassembly.
For faucet maintenance, include a cartridge puller or valve-seat wrench if applicable, plus a small wire brush for mineral buildup. Have rags and a bucket to catch water. If you work on a supply line, shutoff-capable pliers and a compression sleeve tool are useful. Lay everything out in order so you can work methodically and avoid cross-threading or damage during the repair.
Replacement Parts Checklist
You’ve laid out the tools — now verify the specific parts you’ll need for your faucet model so the repair isn’t interrupted. Identify cartridge/seat-and-spring, O-rings, valve seats, washers, and screws by model number or measured dimensions. Check manufacturer’s part lists or take the old parts to a hardware store. Order genuine replacement parts when possible; aftermarket components can differ in tolerance and finish.
Gather plumber’s grease, thread sealant, and a small parts tray. For ceramic-disc faucets, include replacement cartridges; for compression faucets, stock multiple washer sizes. Inspect supply lines and connectors; replace any with corrosion or frayed braid. Label parts and note orientation before disassembly to streamline faucet maintenance and guarantee a one-trip repair.
Turn Off Water and Disassemble the Faucet
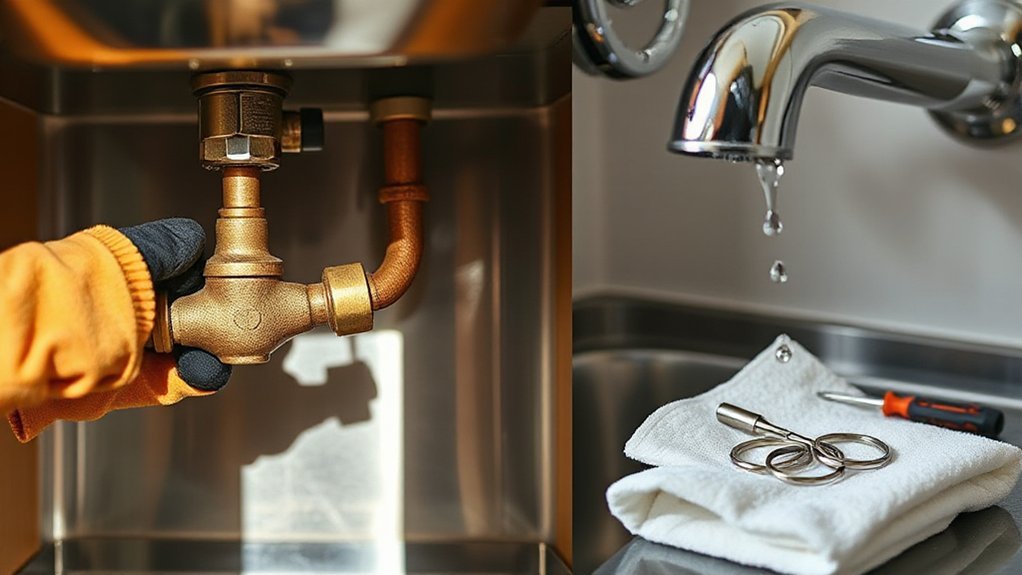
Start by shutting off the water supply to the faucet—either the local shutoff valves under the sink or the main house valve if no local valves exist—then open the faucet to relieve residual pressure and confirm the supply is off. Gather basic tools: screwdriver set, adjustable wrench, Allen keys, and a rag. Use faucet disassembly techniques: remove decorative caps, loosen handle screws, lift handle assembly, and extract cartridge or stem per manufacturer orientation. Place parts on a towel in removal order and photograph each step for reassembly. Cap or plug drains to prevent lost parts. After removing retaining nuts and O-rings, inspect components for wear before cleaning. Keep small parts organized in labeled containers to streamline reassembly.
Diagnose the Cause of the Leak
Once the faucet’s apart and parts are laid out, inspect each component methodically to pinpoint the leak source. You’ll check seals, seats, cartridges, O-rings and valve stems for wear or mineral buildup. Look for cracks, corrosion, flattened rubber, or scoring; these are common causes of drips. Test-fit parts and rotate stems to detect wobble or play that indicates a bad seat or loose retaining hardware.
Once disassembled, inspect seals, cartridges, O‑rings and stems for scoring, corrosion, or wobble causing leaks.
- Cartridge/seat: check for scoring, proper seating, and smooth movement.
- O-rings: inspect for brittleness, flattening, or cuts causing external leaks.
- Valve stem/washer: verify dimensions, wear patterns, and contact surfaces.
- Body/corrosion: examine casting and threads for cracks or mineral encrustation affecting leak prevention.
Replace Worn Parts and Reassemble
Inspect the valve seat and cartridge for pitting or mineral buildup and replace any damaged parts. Swap worn O-rings and washers with the correct sizes and lubricate new rubber parts with plumber’s grease. Reassemble the faucet in reverse order, tighten fittings to spec, and test operation under normal water pressure.
Inspect Valve Seat and Cartridge
After you’ve removed the handle and cartridge, examine the valve seat and cartridge for corrosion, pitting, or mineral buildup that can prevent a tight seal. Start cartridge inspection by wiping deposits with a cloth and inspecting mating surfaces under good light or magnification. If you see uneven wear or deep pits, replace the cartridge and consider machining or replacing the valve seat.
- Verify seating surface flatness with a straightedge; any gap means leakage risk.
- Check cartridge tolerances against manufacturer specs; excessive play indicates failure.
- Inspect for hard mineral crusts that compromise seals; clean with descaler if minor.
- Note corrosion progression—surface rust vs. structural loss—to decide replacement.
Reassemble only when surfaces meet sealing criteria.
Replace O-Rings and Washers
Now you’ll replace the O-rings and washers to restore reliable seals and stop leaks. Remove old rings and flat washers, noting their size and profile. Clean shafts and bores; debris prevents sealing. Match replacements by diameter, thickness and hardness—O-ring materials like nitrile, EPDM or silicone have different chemical and temperature tolerances. Choose washer types appropriate to valve design: rubber cup, flat neoprene, or fiber-backed for compression. Inspect stem and cartridge grooves for wear; light burrs need dressing with fine emery. Lubricate new O-rings with silicone grease compatible with the material to prevent extrusion and swelling. Install washers with correct orientation and secure fasteners to specified torque to avoid distortion. Keep replacement parts organized for quick reassembly.
Reassemble and Test Operation
When you’ve fitted the new O-rings and washers, assemble the valve components in the reverse order of disassembly, keeping parts aligned and seated to prevent binding. You’ll use basic repair techniques to guarantee correct faucet assembly and avoid leaks. Tighten retaining nuts to manufacturer torque; don’t overtighten plastic parts. Reinstall the cartridge or stem, secure the bonnet nut, and replace trim and handle parts in sequence.
- Recheck seals visually and by feel; seats must sit flush.
- Hand-start fasteners, then torque with appropriate tool.
- Restore water supply slowly, watching for immediate leaks.
- Cycle handle fully several times, testing hot and cold flow.
If you see weeping, shut off water, disassemble, and inspect seating or part alignment.
Test the Repair and Prevent Future Leaks
Once you’ve reassembled the faucet, run water at normal pressure and watch each connection and the spout for any signs of seepage or a recurring drip; check both hot and cold sides and operate the handle through its full range to confirm proper seating. If you see a leak, shut water off, tighten fasteners to spec, and recheck seals and O-rings for correct orientation or damage. For leak prevention, replace worn components and apply plumber’s grease to seals; use thread sealant on metal-to-metal joints. Document parts replaced and torque values for future faucet maintenance. Schedule periodic inspections—every 6–12 months—looking for mineral buildup, loose fittings, or degraded seals. Address small issues promptly to avoid larger failures and water waste.
Conclusion
You’ve got the steps: identify your faucet type, grab tools and replacement parts, shut off water, disassemble, inspect, swap worn O‑rings/cartridges, clean mating surfaces, and reassemble with proper alignment. Turn the supply back on, test for leaks, and tighten as needed. If dripping persists, replace the cartridge or consult a plumber. Regular maintenance—periodic inspections and prompt part replacement—keeps seals intact and prevents future leaks.