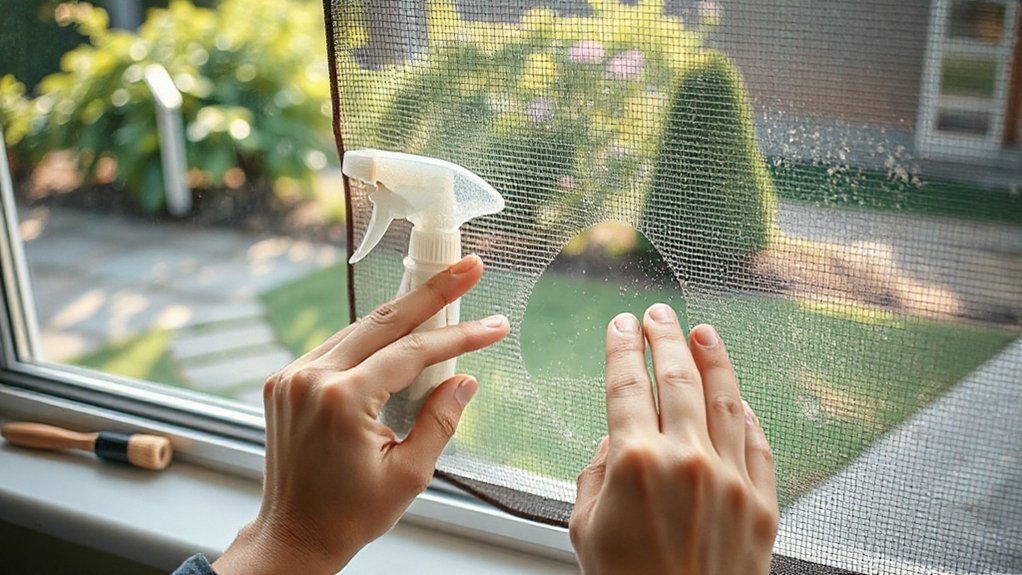
If your window screens are clogged with dust, pollen, or mold, you can get them clear and functional again with a few simple steps. You’ll learn when to clean, what tools to grab, how to remove or work around fixed screens, and gentle washing methods for different mesh types. Follow the right techniques and you’ll avoid damage and speed up the job — here’s how to start.
Key Takeaways
- Remove the screen carefully using its clips or lift-out tabs and inspect the frame and spline for damage.
- Lay the screen flat, mix mild dish soap (or vinegar) with water, and scrub gently with a soft brush.
- Rinse thoroughly with a hose or spray bottle, avoiding high pressure on aluminum or coated meshes.
- For mold, apply a diluted bleach solution briefly, rinse well, and test cleaners on a hidden corner first.
- Let the screen drip-dry flat, blot excess moisture, inspect, then reinstall starting at the top for a snug fit.
When to Clean Your Window Screens
When should you clean your window screens? You should inspect screens monthly and follow frequency recommendations based on exposure: clean high-traffic or dusty areas every 1–2 months, less-used rooms every 3–6 months. Consider seasonal considerations: clean thoroughly in spring to remove pollen and again in fall to clear summer dust and prepare for winter. If you live near trees or a construction site, increase frequency; after storms or pest activity, clean immediately. Also clean before you open windows frequently in warmer months to keep airflow healthy. Keep a simple schedule—mark cleaning dates on a calendar or set reminders—so you don’t let buildup block light or airflow. Regular, timed care prevents tougher, time-consuming cleaning later.
Tools and Supplies You’ll Need
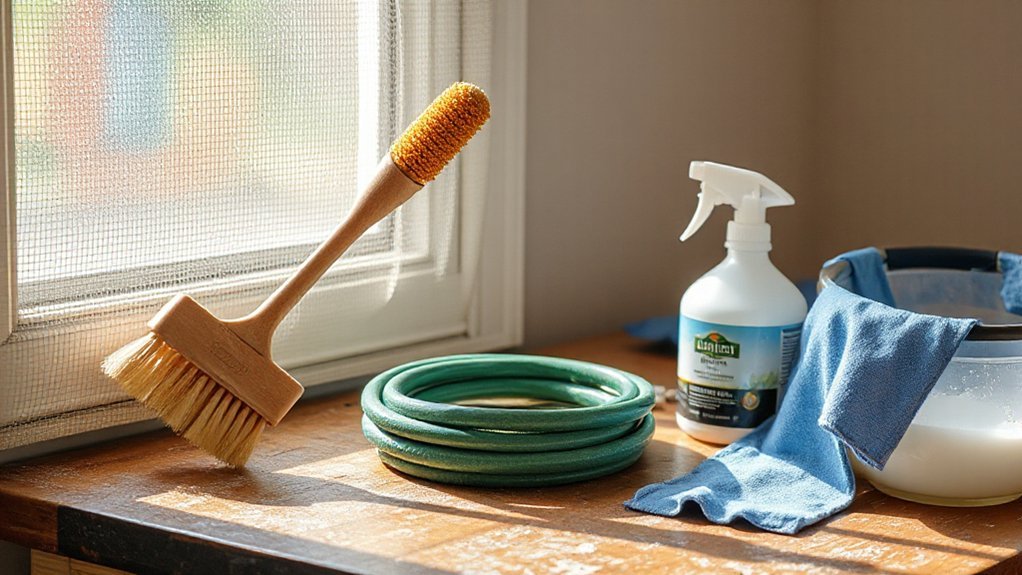
Before you start, gather a few basic cleaning tools like a soft brush, sponge, bucket, and a hose or spray bottle. Choose mild cleaning solutions — dish soap or a gentle all-purpose cleaner — and avoid harsh chemicals that can damage the mesh. Don’t forget protective gear (gloves, safety glasses) and extras like towels, a drop cloth, and a vacuum for loose debris.
Basic Cleaning Tools
Gathering the right tools makes cleaning window screens faster and more effective. You’ll want basic gear that fits different screen types and saves time without needing complex cleaning solutions here. Start with items that handle dust, pollen, and light grime safely.
- Soft-bristle brush or microfiber cloth for gentle scrubbing
- Handheld vacuum with brush attachment for quick debris removal
- Garden hose with adjustable spray for rinsing larger frames
- Small bucket and non-abrasive sponge for targeted cleaning
Pick tools that match mesh material—fiberglass vs. metal—so you don’t stretch or damage screens. Keep a ladder or step stool if screens sit high. Store items together so you can switch between dry vacuuming and wet rinsing smoothly.
Mild Cleaning Solutions
Although you don’t need harsh chemicals, a few mild cleaners and the right supplies will make screen cleaning safe and effective. Use a gentle dish soap mixed with warm water as your basic solution — it cuts grease without damaging mesh. For pollen or stubborn grime, mix equal parts white vinegar and water; it disinfects and won’t leave residue. Consider natural cleaners like diluted castile soap or a baking soda paste for spot cleaning. If you prefer store-bought, pick labeled eco friendly solutions free of ammonia and bleach. Have a soft-bristle brush, spray bottle, and microfiber cloth ready to apply and remove solutions without stretching the screen. Test any cleaner on a small corner first to verify colorfastness and material compatibility.
Protective Gear and Extras
Now that you’ve picked the right mild cleaners, make sure you protect yourself and your screens with a few basic tools and safety items. You’ll want protective gear to keep debris, cleaners, and splashes off your skin and eyes, and extras that make the job faster and safer. Prioritize cleaning safety by choosing sturdy, comfortable items and replacing anything worn.
- Gloves (rubber or nitrile) for skin protection and grip
- Safety glasses to prevent splashes into your eyes
- Soft-bristle brush or sponge to avoid tearing mesh
- Microfiber cloths and a small bucket for controlled rinsing
Use gloves and glasses every time, work on a stable surface, and store extras so they’re ready for the next cleaning.
How to Remove Removable Screens Safely
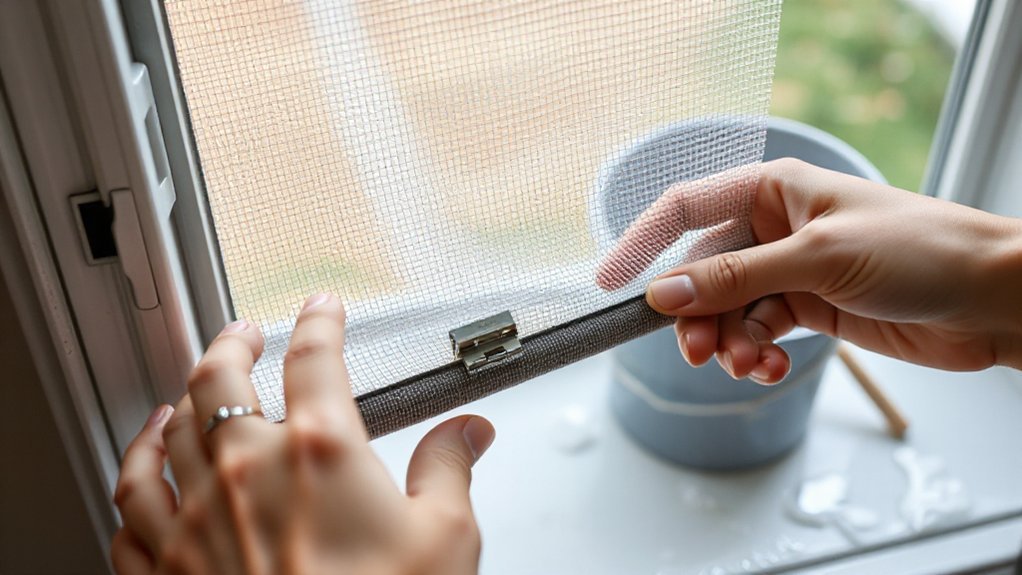
Start by checking how your screen is secured to the frame — clips, spring-loaded pins, or simple lift-out tabs — so you know which release method to use and where to apply pressure. Use gentle, deliberate screen removal techniques: press or lift the fasteners as intended, support the frame with both hands, and slide the screen out along its tracks to avoid bending. If the screen is large, get a helper to steady it. Wear gloves and eye protection for safe handling, and set the screen on a soft, flat surface to prevent warping. Keep screws and small parts in a container so nothing gets lost. Inspect the frame and spline for damage before cleaning or storing the screen.
Cleaning Fixed or Hard-to-Remove Screens
If your screens are fixed or hard to remove, start by protecting the surrounding trim and floor with drop cloths or towels and cover nearby plants or furniture. Use a soft brush or sponge with mild soap and gentle, even strokes to loosen dirt without stretching the mesh. Let the screens air-dry fully before reinstalling any fasteners or trim to prevent mold and warping.
Prep and Protect Surrounding Areas
Before you clean fixed or hard-to-remove screens, protect the areas around the window to prevent water damage and dirt spread. For good screen preparation, clear the sill and floor, remove nearby decor, and plug electrical outlets. Use drop cloths and towels to contain runoff and keep the workspace tidy.
- Lay a waterproof drop cloth or plastic sheeting over the sill and floor.
- Tape towels or painters’ tape along edges to catch drips.
- Move plants, electronics, and fragile items well away from the window.
- Keep a bucket and cleaning supplies within reach but off the protected surfaces.
These simple area protection steps reduce mess, prevent staining, and let you focus on cleaning without worrying about collateral damage.
Gentle Scrubbing Technique
Reach for a soft-bristled brush or a sponge and work in gentle, overlapping strokes to loosen dirt and pollen without stressing the mesh. For fixed or hard-to-remove screens, support the frame with one hand while you clean with the other to avoid bending. Mix mild detergent with warm water; avoid strong chemicals that can damage delicate mesh types like fiberglass or aluminum. Start at the top and move downward so loosened debris travels off the screen, rinsing the brush frequently. Use a soft toothbrush for corners and a microfiber cloth to blot stubborn spots. If grime persists, repeat briefly rather than scrubbing harder. Finish by giving the screen a final light rinse—don’t dry or reinstall yet—to avoid trapping moisture.
Drying and Reinstalling Tips
Once the rinse is done, let the screen air-dry completely while supported flat or propped upright to keep the frame from warping; you don’t want to trap any moisture that can cause mildew or attract dirt. Use simple drying techniques: a clean towel to blot excess water, a fan for airflow, or sun exposure for a short period. Don’t lean screens against rough surfaces.
- Check frame and spline for damage before reinstalling.
- Verify channels and tracks are dry and free of debris.
- Align the screen carefully, then seat clips or spline evenly.
- Test operation and make minor adjustments as needed.
Follow these reinstallation tips so the screen fits snugly, operates smoothly, and won’t retain moisture that invites mold.
Gentle Washing Techniques for Different Mesh Types
Because different mesh materials handle water, soap, and agitation differently, you’ll want to adjust your cleaning method to match the screen type. Identify screen mesh types—aluminum, fiberglass, stainless steel, and specialty meshes—then choose gentle techniques: fiberglass tolerates mild soap and a soft brush; aluminum prefers low-pressure rinsing and a soft cloth to avoid denting; stainless steel can take a bit more scrubbing with a soft brush and mild detergent; coated or decorative meshes need only light wiping with a damp cloth to protect finishes. Rinse thoroughly and avoid soaking frames that may trap moisture. Match your cleaning frequency to exposure—more often near trees or pollen, less often indoors. Test a small area first and always let screens dry fully before reinstalling.
Removing Stubborn Stains, Pollen, and Mold
When pollen, mildew, or grime won’t come off with a quick rinse, you’ll need targeted cleaners and a careful technique to avoid damaging the mesh or frame. Start by removing the screen and laying it flat. Mix mild detergent or a cup of white vinegar with water for most stains; use a soft brush and short, gentle strokes. For mold, apply a diluted bleach solution briefly, then rinse thoroughly and dry completely to prevent regrowth. Adopt stain removal techniques that match the soil: oil, pollen, or organic mildew.
- Test cleaners on a hidden corner first
- Work from top to bottom to avoid redepositing debris
- Rinse with low-pressure water only
- Dry fully; store upright for mold prevention tips
Repairing Small Tears and Loose Spline
If you spot a small tear or a loose spline, you can often fix the screen yourself with a few basic tools and a steady hand. For minor rips, trim jagged edges, then patch from the back with a small piece of matching mesh and clear adhesive or a vinyl patch; press firmly and let cure. For holes near the frame, replace the damaged section of mesh or use a pre-cut patch sized to overlap the opening by at least half an inch. When the spline comes loose, remove a short length, seat the mesh evenly in the channel, and press new spline into place using a spline roller. Spline replacement prevents sagging and keeps insects out, making this screen repair quick and effective.
Drying, Reinstalling, and Preventive Maintenance
After rinsing, let the screens drip-dry on a flat, elevated surface so water won’t pool in the corners; you can speed drying by blotting excess moisture with a lint-free towel and setting them in a well-ventilated spot out of direct sun. Once dry, inspect frames and spline, then reinstall screens starting at the top to guarantee a snug fit. Use gentle pressure to avoid bending the frame. Tighten any loose fasteners and test the window operation.
- Check for remaining debris and mold before reinstalling
- Lubricate moving parts and hinges lightly to prevent sticking
- Schedule seasonal cleanings as preventive maintenance tips
- Replace worn spline or mesh to support screen longevity strategies
Following these steps keeps screens functional and extends their life.
Conclusion
You’re ready to keep screens clear and functional: clean them when pollen, dust, or grime builds up, gather mild detergent, vinegar, a soft brush, hose, and repair kit, and remove screens carefully. Lay them flat, scrub gently according to mesh type, rinse without soaking frames, and tackle stubborn stains or mold with targeted cleaners. Repair small tears or loose spline, let screens drip-dry completely, then reinstall snugly. Repeat seasonally to prevent buildup and damage.