Water rings happen when moisture soaks into the finish or the wood itself, and you can often fix surface marks with simple household methods before they get worse. Start by identifying whether the ring is white (finish only) or dark (penetrated wood), because the fixes differ and some treatments risk damaging the finish. Read on to learn safe quick fixes, when to use heat or light sanding, and how to restore or refinish if needed.
Key Takeaways
- Determine ring type: white/cloudy = moisture trapped in finish; dark = moisture has penetrated into the wood.
- For white rings, gently rub with non-gel toothpaste or baking soda paste, then wipe and recondition the finish.
- Use controlled heat (low iron over a cloth or hair dryer) to evaporate trapped moisture from surface finishes.
- For dark/penetrating stains, test with bright light; treat with diluted oxalic acid or light sanding, then refinish as needed.
- If rings are large, overlapping, or wood is soft/split, consult a professional for sanding and full refinishing.
What Causes Water Rings on Wood
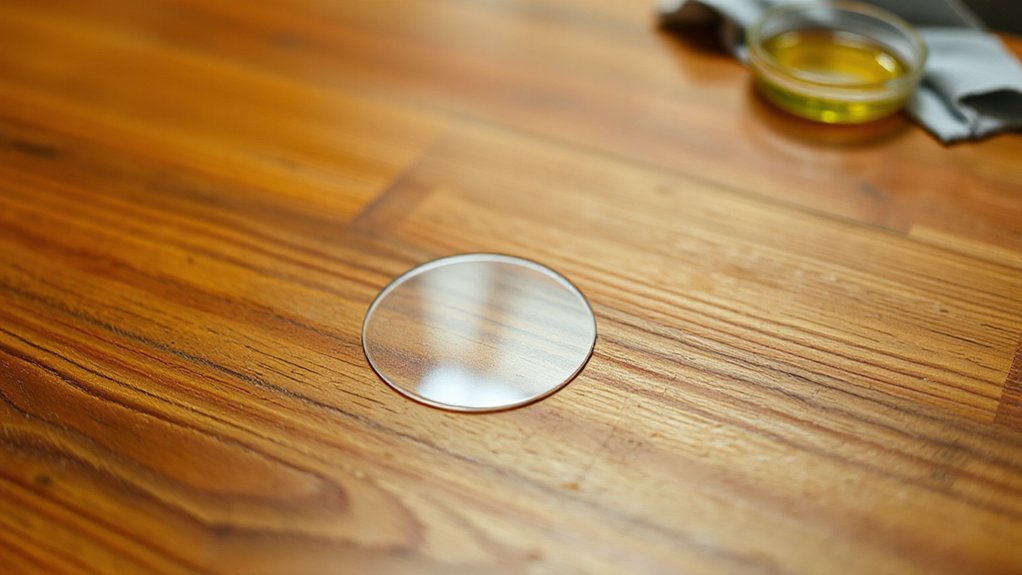
When a cold or wet glass sits on wood, moisture soaks into the finish and reacts with the underlying finish or wood—leaving pale, white rings from trapped moisture in the finish or darker stains when water reaches the bare wood and alters the grain pigments. You should understand that causes moisture-related damage are twofold: surface finish failure and wood absorption. Finishes can trap vapor between layers, causing white rings as moisture distorts finish pigments and refracts light. If finish is breached, water penetrates cell walls, altering tannins and dyes and producing darker stains. Temperature changes, prolonged contact, and solvents accelerate these processes. You can prevent rings by minimizing prolonged wet contact, using coasters, and maintaining a properly sealed finish to reduce wood absorption.
Identifying White Versus Dark Stains
You’ll first need to tell whether the mark sits on the finish or has soaked into the wood — surface rings look milky and wipe away or react to heat, while penetrating stains stay dark and feel part of the grain. Heat-related marks often show as white or cloudy rings from trapped moisture in the finish, whereas water-only or longer-exposed damage can turn the wood darker. That distinction guides whether you try topical fixes (polish, heat) or more aggressive steps (sanding, stain correction).
Surface vs. Penetrating Marks
Although both look like rings, white marks sit on the finish while dark stains have soaked into the wood, and identifying which you’ve got determines how to treat it. You’ll check whether the mark is surface damage or penetrating by simple tests and choose appropriate stain removal methods. If a mark wipes away or lightens with gentle polishing, it’s surface; if it persists, it’s penetrated.
- Lightly rub with oil and a soft cloth: surface damage often responds.
- Apply a small amount of diluted bleach or peroxide on an inconspicuous spot: penetrating stains may change color beneath the finish.
- Sand a tiny area through the finish to the bare wood: if the discoloration remains, it’s penetrated.
You’ll avoid aggressive treatments on surface marks to prevent unnecessary refinishing.
Heat-related Versus Water-only
Because heat can alter the finish differently than plain water, you’ll often see white, cloudy rings from steam or hot items while true water-only stains tend to turn darker as moisture reaches the wood fibers. You can use that visual cue to decide treatment: white rings mean the finish trapped moisture (surface issue), while dark rings indicate deeper moisture absorption into the wood itself. With heat application the finish proteins denature or swell, creating a cloudy, liftable layer; with plain moisture the pigment or tannins react and penetrate. Inspect edges and test a small area: if white mark rubs away or clears with gentle heat the finish is affected; if it remains after drying, plan a penetrating repair—light sanding and re-staining or using a wood bleach.
Quick Fixes for Surface (White) Rings
If a water ring sits only on the finish and hasn’t penetrated the wood, you can remove it quickly with common household items and a little care. You’ll focus on surface removal techniques that respect the finish and overall wood care. Start gentle and increase pressure only if needed.
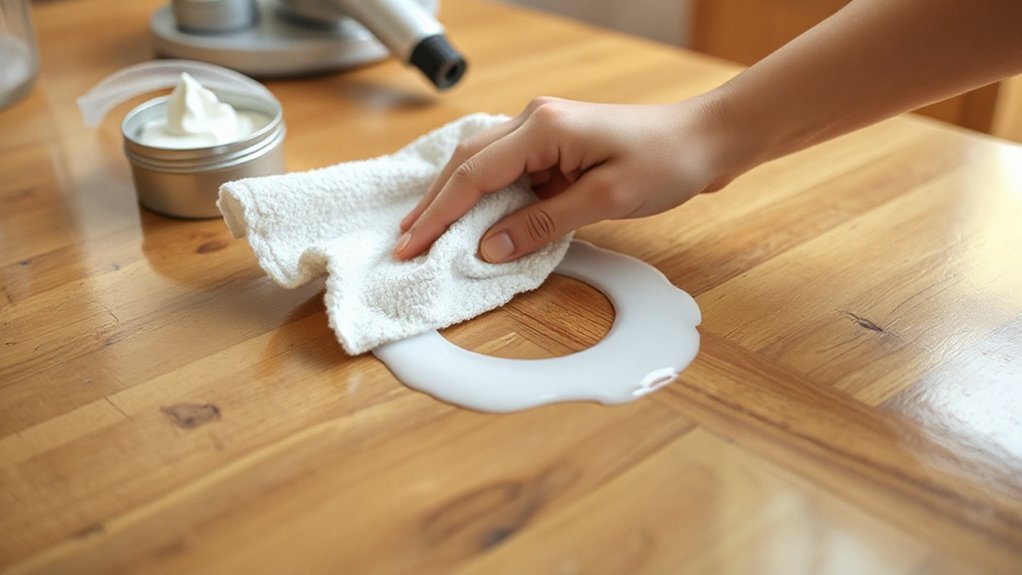
- Rub with a soft cloth and a dab of non-gel toothpaste or baking soda paste; work lightly until the ring fades.
- Apply a warm iron over a cloth for a few seconds to evaporate trapped moisture; check frequently to avoid heat damage.
- Use a furniture polish or mayonnaise sparingly to recondition the finish after stain removal.
Test any method in an inconspicuous spot first. Stop if the mark darkens—don’t risk penetrating the wood.
Deeper Treatments for Dark or Penetrating Stains
When a water mark has soaked into the wood and turned dark, you’ll need more than surface tricks: penetrating stains require careful removal or repair to avoid further damage to the finish and wood fibers. Begin by evaluating stain penetration depth with a bright light and gentle scraping. Use a diluted oxalic acid solution for iron-tannin stains; follow manufacturer instructions, neutralize, and rinse—this is targeted deep cleaning, not scrubbing. For organic water stains that resist bleach, consider light sanding through the finish to reach affected fibers, then feather and re-stain. If the grain is compromised, fill and refinish after matching color. Test any chemical or sanding in an inconspicuous spot first. When unsure, consult a professional restorer to avoid irreversible damage.
Using Heat Safely to Evaporate Moisture
You can use controlled heat to draw trapped moisture out of the finish, but you’ve got to be careful to avoid heat damage. For small rings, move a clothes iron over a soft cloth on low to medium heat in quick passes, checking frequently. A hair dryer on a medium setting works similarly—keep it moving and test an inconspicuous spot first.
Use an Iron Carefully
Although heat can lift trapped moisture from finish and wood fibers, you’ll need to use an iron with care to avoid damaging the surface. You’ll control heat, time, and protection precisely: set the iron to a low or medium setting (test on inconspicuous area), choose a plain cotton fabric choice as the buffer, and never let steam touch the finish.
- Place a single, dry cotton cloth over the ring to distribute heat evenly.
- Move the iron in quick, light passes—10–15 seconds—then check progress.
- If finish darkens or softens, stop immediately and let the wood cool.
Use iron settings conservatively, avoid steam and excessive pressure, and repeat cycles sparingly until the moisture lifts.
Hair Dryer Technique
A hair dryer offers a gentler way to evaporate moisture from wood finishes without the concentrated heat of an iron, so hold it on a low or medium setting and keep it moving to avoid overheating. Aim the airflow at the ring from about 6–8 inches away, sweeping continuously; concentrated heat can darken or blister finish. Use hair dryer safety: avoid wet hands and keep the cord clear, unplug when done. Monitor the finish frequently; stop as soon as the cloudy ring lightens. If the mark persists, combine brief drying with gentle rubbing using a soft cloth and a small amount of furniture polish or mineral oil, then buff. Effective drying is controlled, gradual, and monitored to protect finish integrity.
Chemical and Abrasive Methods: When to Use Them
When stains resist heat-and-oil treatments, chemical and abrasive methods offer controlled ways to remove or minimize water rings without replacing the finish. You’ll choose chemical solutions when the ring sits within the finish or deeper in the wood; abrasive techniques suit thin, surface-only stains. Test an inconspicuous spot first and work slowly.
- Use mild chemical solutions (oxalic acid, wood cleaners) to lighten white or dark rings; neutralize and rinse promptly.
- Apply fine abrasive techniques (0000 steel wool, micro-abrasives) with gentle pressure along the grain to remove surface haze.
- Combine both approaches only when tests show safe results; always finish with a compatible cleaner and protective wax or polish.
You’ll avoid aggressive sanding that reaches raw wood unless you’re prepared to refinish.
Repairing Finish Damage and Blending Spots
If a finish is nicked, cloudy, or uneven after stain removal, you’ll want to repair and blend the damaged area so it recedes into the surrounding surface rather than standing out. Assess the damage: is the topcoat compromised or just the stain layer? Light scuffs respond to fine sanding (400–600 grit) and a targeted application of matching stain or toner. For deeper nicks, fill with colored grain filler or a dye stick, then feather edges with progressive sanding. Use blending techniques like feathered brush strokes, thin glaze layers, or spot-spraying to match sheen and color. After color match, apply thin coats of the same finish (shellac, lacquer, varnish) and polish to the existing sheen. These precise steps complete finish restoration without refinishing the whole piece.
When to Refinish or Call a Professional
If the finish is only a thin surface coat you can often spot-repair it yourself, but deep finish loss usually means sanding and refinishing the whole piece. Large or multiple rings that overlap suggest a larger refinishing job or professional attention to achieve an even color and sheen. And if the wood is swollen, split, or soft beneath the stain, call a pro—those are structural issues that simple refinishing won’t fix.
Finish Depth and Damage
Because finish thickness determines how much damage you can remove without exposing raw wood, check how deep the ring penetrates before deciding to refinish or call a pro. You’ll do a quick damage assessment: wipe the area, press a fingernail to detect raised finish, and look for color change through the coating. Shallow rings often respond to surface methods; deeper stains that reach the stain layer or wood need more intervention.
- Surface-only: finish intact, ring cloudy, finish thickness sufficient for polishing or mild abrasion.
- Mid-layer: discoloration into stain layer, thin finish, requires spot-sanding and refinishing.
- Through-coating: bare wood or fiber swelling, finish compromised—call a professional for full restoration.
Large or Multiple Rings
When large or multiple water rings cover a significant area, you’ll usually need more than spot repairs — the finish’s integrity and visual continuity are at risk, so plan to refinish or consult a professional. Assess the extent: if rings repeat across panels or penetrate varnish, light sanding and localized blending won’t restore uniform sheen or color. For effective water ring removal, you’ll strip the old finish, address any tannin bleed or discoloration, and reapply stain and topcoat to match surrounding surfaces. If you’re unsure about color matching, spray techniques, or matching sheen, hire a pro who understands wood care and can avoid lap marks, blotching, or incorrect sealers. Budget for labor and testing before full refinishing.
Structural Wood Problems
Although many water rings are cosmetic, structural wood problems demand a different approach and often professional help. You should assess wood integrity immediately when stains accompany warping, soft spots, or a musty odor. Minor surface rings you can treat yourself, but beyond finish damage you risk concealed moisture damage that weakens joints and framing.
- Deep soft spots or crumbling fibers indicating decay
- Warped boards or separated joints compromising stability
- Persistent moisture odor or recurring stains after drying
If you find any of these, stop DIY refinishing. A pro will measure moisture content, repair or replace compromised sections, and restore protective finishes to prevent recurrence. Prioritize safety and long-term wood integrity over quick cosmetic fixes.
Preventative Measures to Avoid Future Rings
To keep water rings from returning, adopt a few simple habits and protective products you can use every day. Use coasters, placemats, and trays to separate wet items from wood surfaces, and never slide glasses—lift them. Wipe spills immediately with a soft cloth; even brief exposure can start a mark. Apply protective coatings such as varnish, polyurethane, or hard wax oil to vulnerable pieces; follow manufacturer cure times before use. Implement regular maintenance: dust and clean with a pH-neutral cleaner, inspect finish wear, and recoat thinly when sheen dulls. Control humidity and temperature to limit wood movement that opens pores to moisture. With these disciplined practices you’ll drastically reduce future water rings and prolong your wood’s finish.
Caring for Wood After Stain Removal
After you’ve lifted the water ring and stripped any damaged finish, treat the exposed wood promptly to restore protection and appearance. You’ll want to clean the surface, assess grain and color, then choose a restoration approach that fits the piece and your skill level. Good wood maintenance prevents recurring damage and preserves value.
- Sand lightly with fine-grit paper, following the grain to smooth fibers and remove haze.
- Apply a matching stain or toner sparingly; test on an inconspicuous spot to confirm color.
- Seal with an appropriate clear coat (wax, oil, or polyurethane) for long-term stain protection.
Work in thin, even layers, allow full cure time, and buff between coats if recommended. Regular inspection keeps the finish effective.
Conclusion
You can remove most water rings yourself if you first identify whether the stain’s surface (white) or penetrating (dark). Try gentle methods first — toothpaste or baking-soda paste, or a warm iron over a cloth to draw out moisture — then move to light sanding or oxalic acid only for dark stains. Stop if finish or wood looks worse; refinish or call a pro. Protect and maintain the surface to prevent future rings and prolong results.