You can keep your microwave safe and odor‑free with a few simple steps you’ll do regularly. Start by wiping spills right away, then use a steam treatment with water and lemon or vinegar for tougher grime, and follow up with careful wiping and attention to seals and the turntable. There are also specific tips for stainless steel and built‑ins that’ll save you time and prevent damage—here’s how to proceed.
Key Takeaways
- Steam-clean the interior by microwaving a bowl of water with vinegar or lemon for 3–5 minutes, then wipe softened grime.
- Wipe spills immediately with a damp microfiber cloth and mild dish soap to prevent stubborn burns and odors.
- Remove and wash the turntable and any detachable parts in warm, soapy water weekly.
- Use a baking soda paste for stubborn spots, then rinse and dry thoroughly to avoid residue.
- Clean stainless steel and built-in frames with a pH-neutral cleaner, wiping with the grain and avoiding moisture near vents and seals.
Why Regular Microwave Cleaning Matters
Grease and food residue build up quickly in a microwave, and if you don’t clean it regularly those splatters can harbor bacteria, produce unpleasant odors, and reduce cooking efficiency. You’ll protect your household’s health benefits by removing residues that attract germs and mold; routine cleaning lowers contamination risk, especially after reheating meat or dairy. You’ll also notice an efficiency improvement: a clean cavity heats more evenly, reducing hot spots and shortening cook times. Regular maintenance prevents stubborn burns that demand abrasive scrubbing, which can damage interior coatings and compromise safety. Clean promptly to avoid smoke or sparks from charred food. Aim for short, scheduled cleanings after spills and a deeper wipe-down weekly to keep performance reliable and safe.
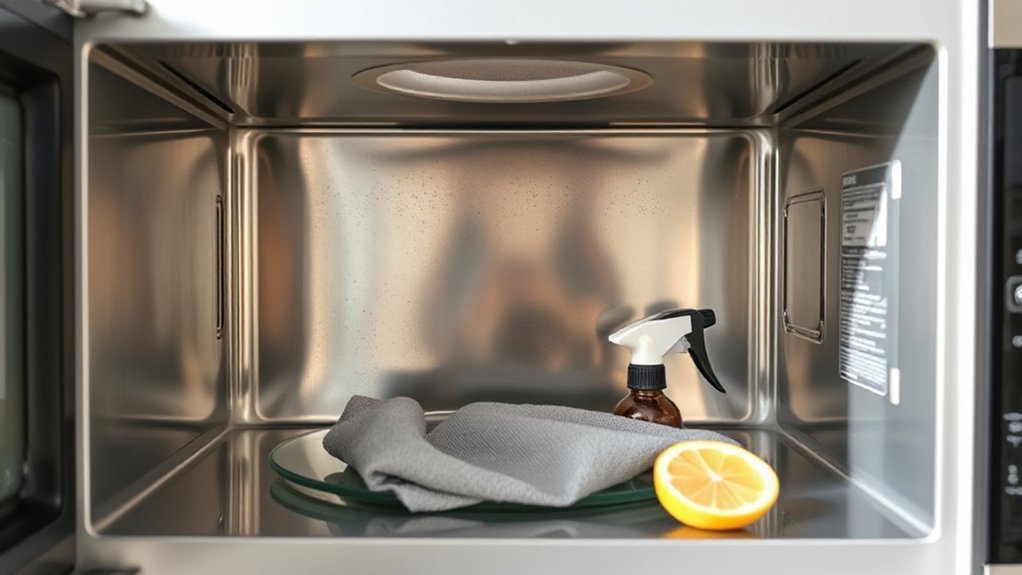
What You’Ll Need Before You Start
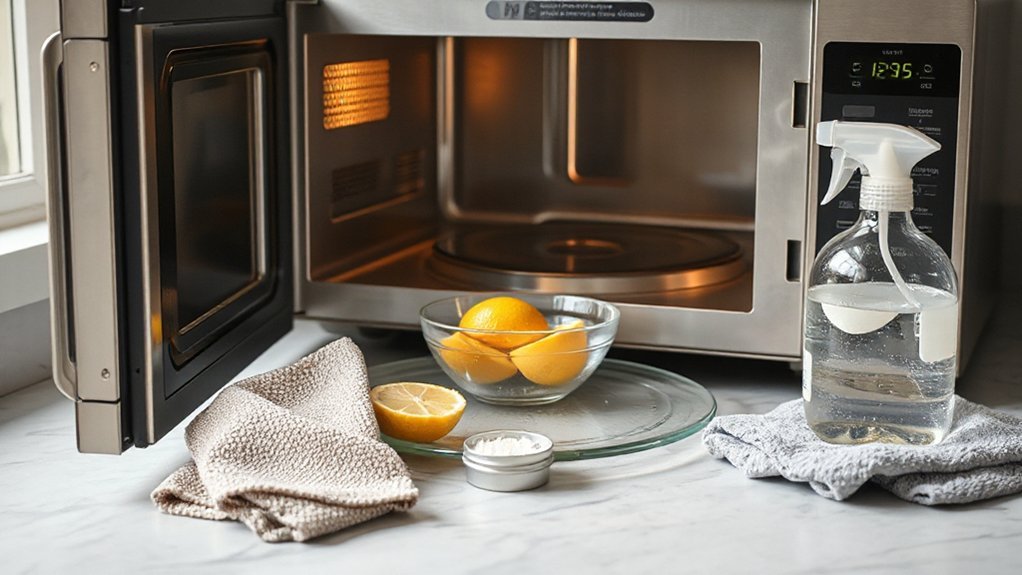
Before you start, gather a few basic items so you can clean efficiently and safely: a microfiber cloth or soft sponge, a mild dish soap, a spray bottle with a 50/50 water–white vinegar solution (or a microwave-safe bowl and lemon slices for steaming), baking soda for stubborn spots, rubber gloves, and a bowl to hold removed parts like the turntable. Use these cleaning supplies and follow safety precautions: unplug the microwave before deep cleaning and handle glass parts carefully.
- Remove and soak the turntable and rollers in warm, soapy water.
- Prep your vinegar spray or lemon-steam bowl for loosening grime.
- Wear gloves, ventilate the area, and avoid harsh abrasives.
- Keep a damp cloth and a small brush for crevices.
Quick Daily Wipe-Downs for Light Messes
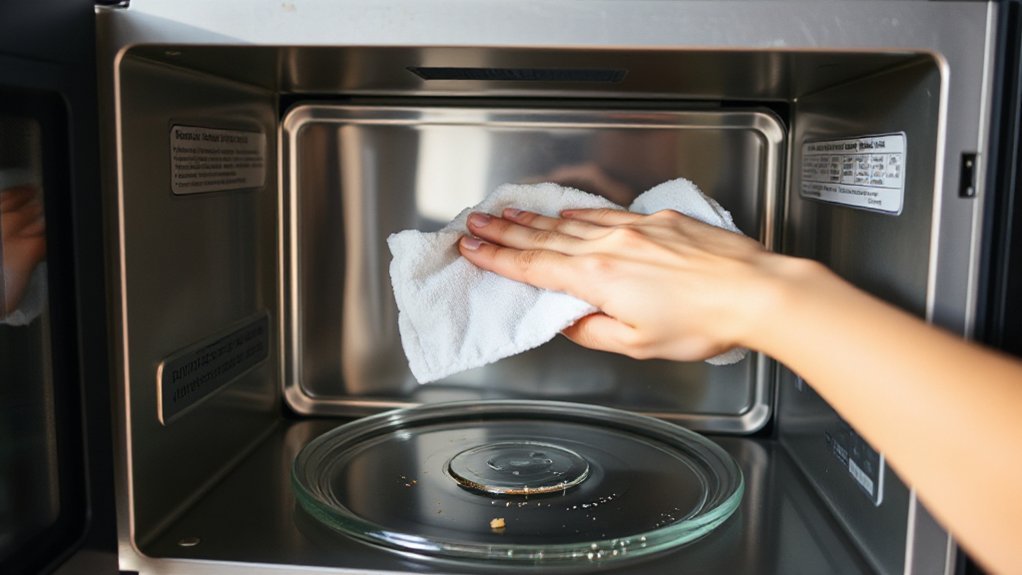
When you notice spills or splatters, wipe them up right away with a damp microfiber cloth and a drop of mild dish soap to prevent buildup and lingering odors; this quick action keeps your microwave hygienic and reduces the need for heavy scrubbing later. For daily cleaning, open the door and remove the turntable; wipe the glass and plastic parts with the cloth, then dry with a clean towel. Use a soft-bristled brush for crevices around the door seal and control panel—avoid excess moisture near electronics. Don’t use abrasive pads or harsh chemicals that can damage surfaces. Rinse and wring the cloth frequently to avoid spreading grease. Consistent, simple attention like this lowers the risk of odors and supports ongoing microwave maintenance.
Steam Cleaning With Natural Ingredients
If you’d like a fast, chemical-free way to loosen stuck-on food, steam cleaning with simple kitchen ingredients is effective and safe. You’ll harness steam benefits while using natural alternatives like vinegar, lemon, or baking soda. Place a microwave-safe bowl with 1 cup water and 2 tablespoons white vinegar (or juice from half a lemon) inside. Heat on high for 3–5 minutes until the interior steams; let it sit closed for 2 minutes to avoid burns. Carefully remove the bowl, then wipe interior surfaces with a damp cloth.
- Mix water + vinegar or lemon in a microwave-safe bowl.
- Heat until room fog appears, then let sit sealed.
- Remove bowl with oven mitts; ventilate briefly.
- Wipe softened residue; repeat if needed.
Removing Stubborn Food Splatters and Stains
Although steam will loosen most grime, some splatters need targeted action to come off completely; you’ll want to tackle hardened grease and baked-on sauces with the right tools and gentle abrasives. Wear gloves, unplug or verify the microwave is off, and remove the turntable. Use a plastic scraper or credit card to lift crusts—don’t pry metal. Apply a paste of baking soda and water to stains, let sit 10–15 minutes, then wipe with a damp microfiber cloth. For stubborn spots, dampen a cloth with white vinegar, blot, and reapply the baking soda paste if needed. Rinse surfaces with a clean damp cloth and dry thoroughly. Practice food splatter prevention by covering dishes and using stain removal techniques promptly to avoid heavy buildup.
Deodorizing and Removing Lingering Odors
To neutralize lingering smells, you can steam a vinegar‑water mix in the microwave for a few minutes to loosen odors and wipe them away while hot steam softens residue. For stubborn scents, apply a baking soda paste to the interior, let it sit safely for 10–15 minutes, then rinse and dry. If odors persist, place a bowl of activated charcoal overnight to absorb smells without chemicals.
Steam With Vinegar
One simple method to deodorize your microwave is to steam white vinegar: place a microwave‑safe bowl with equal parts water and distilled white vinegar, heat until it boils and the interior is steamy, then let it sit with the door closed for 5–10 minutes so the vapors loosen grime and neutralize odors. You’ll notice vinegar benefits immediately: odor molecules break down and lingering smells fade without harsh chemicals. Use caution when removing the hot bowl; steam effectiveness depends on adequate dwell time.
- Let steam condense on walls for easier wiping.
- Use oven mitts to remove the bowl safely.
- Wipe interior with a damp cloth, rinsing residue.
- Ventilate briefly after cleaning.
Baking Soda Paste
If vinegar steam neutralized odors but left stubborn smells or stains, try a baking soda paste to absorb and lift what’s left. Mix 2–3 tablespoons baking soda with just enough water to form a spreadable cleaning paste. Wearing gloves, apply the paste to interior surfaces, focusing on stained areas and the ceiling where splatters hide. Let it sit 10–15 minutes to neutralize odors and loosen residues, then scrub gently with a nonabrasive sponge—don’t use steel wool or harsh scrubs that can damage the finish. Wipe thoroughly with a damp cloth to remove all residue, then dry with a clean towel. Leave the door open briefly to air out. Dispose of used paste and rinse utensils; keep pets and children away until surfaces are rinsed.
Activated Charcoal Bowl
Place a small bowl of activated charcoal inside the microwave to absorb lingering odors and airborne particles; charcoal works passively, so you can leave it for several hours or overnight for best results. You’ll benefit from activated charcoal benefits like non-toxic odor trapping and low maintenance. Use a covered, heat-safe bowl and don’t operate the microwave while the bowl’s inside.
- Choose loose granules or pre-packed sachets for targeted charcoal odor absorption.
- Place the bowl on the turntable center to maximize exposure.
- Leave it 6–12 hours for routine deodorizing, longer for strong smells.
- Replace granules every 1–3 months or when they lose effectiveness.
Handle charcoal with care to avoid spills; vacuum any residues and wash hands after replacing material.
Cleaning the Turntable and Removable Parts
Before you remove anything, unplug the microwave or switch off its circuit breaker to eliminate shock risk. Remove the turntable, roller ring and any removable parts, noting how they fit so you can reassemble. Carry the glass plate to the sink and wash with warm water and dish soap, scrubbing stubborn spots with a nonabrasive sponge. Soak the roller ring and support if greasy, then rinse and dry completely. Wipe the cavity where the turntable sits with a damp cloth and mild detergent, avoiding pooled water near vents or electronics. Inspect parts for cracks; replace damaged pieces. Let everything air dry fully before reinstallation to prevent electrical hazards. Reconnect power only after confirming all components are dry and properly positioned.
Safe Cleaning for Built-In and Stainless Steel Microwaves
Now that the removable parts are clean and dry, you’ll want to handle the built-in frame and stainless steel exterior with care to avoid damaging finishes or electrical components. Use only safe materials and gentle cleaning techniques to protect seals, vents, and wiring.
Handle the built-in frame and stainless steel gently—use safe cleaners, avoid spraying vents, and protect seals and wiring.
- Wipe stainless steel with a microfiber cloth and a mild, pH-neutral cleaner; follow grain to avoid scratches.
- Clean the built-in frame by unplugging power (or switching off breaker) and using a damp cloth—never spray liquids into vents or seams.
- For stubborn spots, apply a paste of baking soda and water, test on an inconspicuous area first, then rinse and dry immediately.
- Finish by buffing with a dry microfiber cloth; inspect seals and vents for residue before restoring power.
Simple Maintenance to Prevent Future Buildup
If you make a few quick habits part of your routine, you’ll greatly reduce grease and food buildup and keep the microwave working efficiently. Wipe spills immediately with a damp cloth and mild detergent to prevent hardened residues. Use a microwave-safe cover when reheating to contain splatters and reduce cleaning frequency. Clean the turntable weekly: remove, wash with warm soapy water, dry thoroughly, and reseat. Check door seals and vents for crumbs; remove debris with a soft brush to maintain proper airflow and safety. Run a steam cycle with water and lemon or vinegar monthly to loosen grime for easy wiping. These preventive measures and maintenance tips are quick, safe, and cost-free ways to extend appliance life and avoid heavy scrubbing.
Conclusion
Keeping your microwave clean saves time, cuts odors, and prevents bacterial growth, so wipe spills promptly and steam-clean weekly. Use a microwave‑safe bowl with water and vinegar or lemon, heat 3–5 minutes, then let it sit before wiping with a soft cloth. Remove and wash the turntable, check seals for debris, and tackle stubborn spots with a baking soda paste. For built‑in or stainless units, follow manufacturer guidance and avoid abrasive tools to protect finishes.