

Connecting your printer to Wi‑Fi is straightforward once you pick the right setup method and have your network name and password ready. You’ll use the printer’s control panel, a manufacturer app, WPS, or a USB helper depending on the model and your router. Follow a few simple steps to select your SSID and enter credentials, and you’ll be set — but first check a couple of compatibility and network settings that can block the process.
Key Takeaways
- Choose a setup method (printer control panel, manufacturer mobile app, USB-to-WiFi tool, or WPS) based on your printer’s features.
- Ensure the router uses a compatible frequency (typically 2.4 GHz), and have the exact SSID and Wi‑Fi password ready.
- From the printer’s Network or Wireless Setup menu, scan for your SSID, enter the password, and confirm an Infrastructure connection.
- If available, use the manufacturer’s app or bundled PC software for guided Wi‑Fi setup or USB-assisted credential transfer.
- If connection fails, move the printer closer to the router, check for password or IP conflicts, restart devices, and update firmware.
Choose the Right Setup Method for Your Printer
Start by deciding how you’ll connect the printer: directly from the printer’s control panel, using a USB-to-WiFi setup tool on your computer, or through a mobile app. You’ll check printer compatibility first — confirm your model supports the chosen method and your router’s frequency (2.4GHz vs 5GHz). Read the manufacturer’s setup instructions for step-by-step details and required software or apps. If you prefer hands-on control, use the control panel for network scanning and PIN or WPS entry. Choose the USB-to-WiFi tool when the printer lacks a touchscreen but supports temporary wired setup. Opt for the mobile app for quick scans and cloud features. Pick the method that matches your device capabilities and comfort level, then follow the tailored setup instructions precisely.
Prepare Your Network and Gather Information
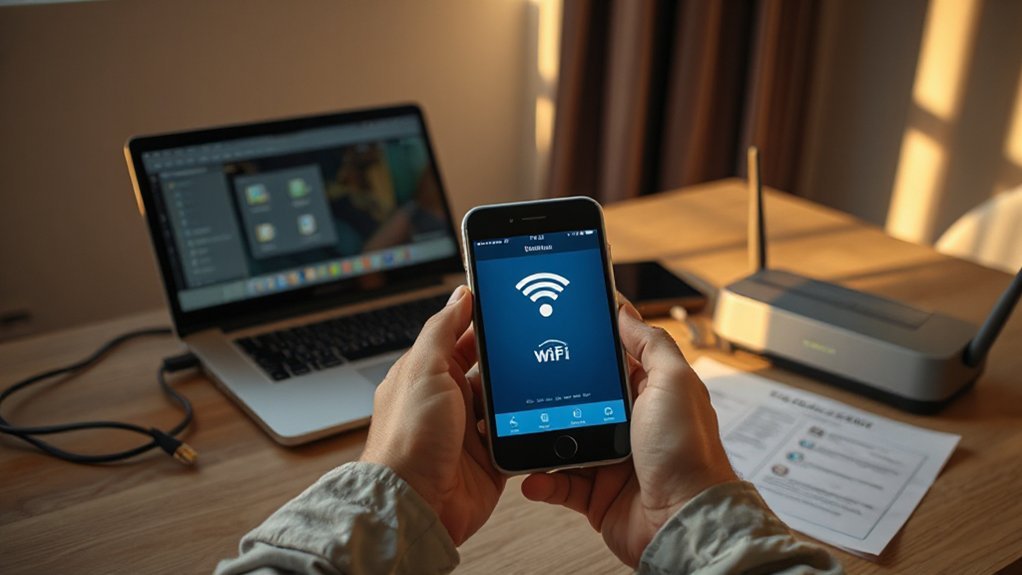
Before you start setup, confirm the exact Wi‑Fi network name (SSID) your printer should join. Make sure you have the correct network password ready and enter it carefully during setup. Also note how close the printer will be to the router so you can avoid weak signal issues.
Confirm Wi‑Fi Network Name
Which Wi‑Fi name are you connecting the printer to? First, confirm the SSID shown on your router or device list — that’s the exact name you’ll select during setup. Note whether the network broadcasts a visible name or uses a hidden SSID; for hidden SSIDs you’ll need to enter it manually on the printer.
Next, check Wi Fi frequency and Network compatibility: many printers support 2.4 GHz but not 5 GHz. Verify the SSID corresponds to the 2.4 GHz band if your printer has that limitation. Also confirm you’re choosing your main home or office network, not a guest or IoT network with restricted access. Having the correct SSID ready prevents connection errors and speeds the setup process.
Check Network Password
What password will you use to connect the printer to the network? First, locate the current Wi‑Fi password—check your router label, password management app, or ask the person who set up the network. Confirm you have the SSID you verified earlier and the exact password (case sensitive). If you’re using a guest network, verify it permits device connections; some guest networks limit access for printers. For stronger network security, consider using WPA2 or WPA3 and avoid open networks. If you don’t know the password, reset the router only as a last resort and update password management records afterward. Enter the password carefully on the printer’s setup screen, and test the connection before moving to the next step.
Note Router Proximity
When setting up your printer, note how close it will sit to the router so you can avoid weak signals and interference; ideally place the printer within the same room or a single wall away and keep it at least a few feet from large metal objects, cordless phones, and microwave ovens. Check your router range on the manufacturer’s specs or app so you know expected coverage. Walk the intended placement area with your phone to test signal strength; drop-offs or unstable bars indicate you should move either device. If you must place the printer farther away, consider a Wi‑Fi extender, mesh node, or Ethernet-to-Wi‑Fi bridge. Position antennas vertically, avoid tight enclosures, and keep firmware updated to maintain consistent signal strength for reliable printing.
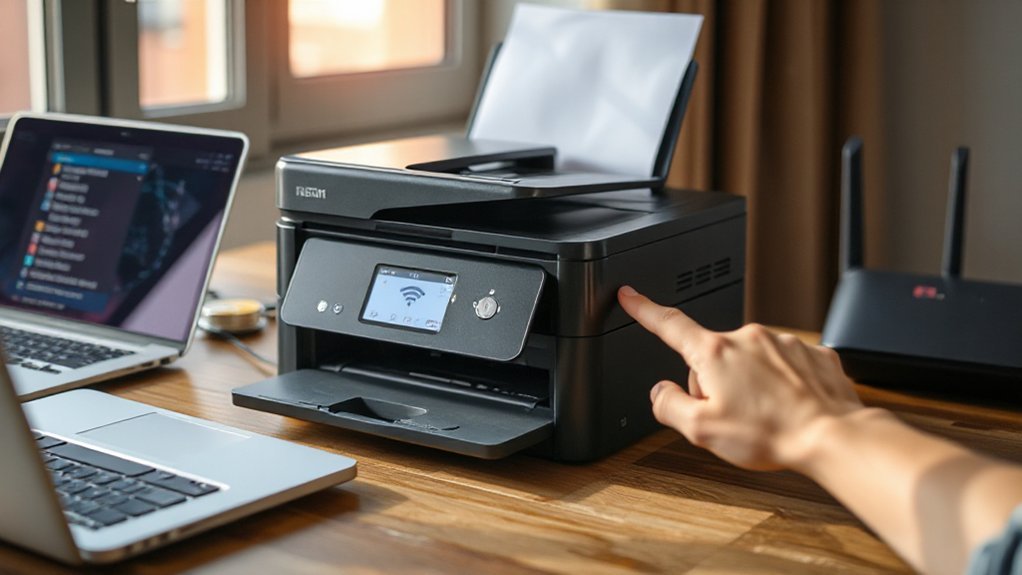
Step‑by‑Step Wi‑Fi Setup Using the Printer Control Panel
Start by turning on the printer and locating its control panel menu; you’ll use that interface to enter your Wi‑Fi settings directly. From the printer control home screen, open Settings or Network, then choose Wireless Setup. The printer will scan for networks—select your SSID from the list. When prompted, enter the Wi‑Fi password using the touchscreen or keypad; double‑check characters, then confirm. If asked, set the connection type to Infrastructure (not Ad‑Hoc). After confirming, wait while the printer connects; a success message or Wi‑Fi icon should appear. Print a network configuration or test page to verify IP and signal strength. If connection fails, recheck SSID/password, move the printer closer to the router, then retry the wireless setup process.
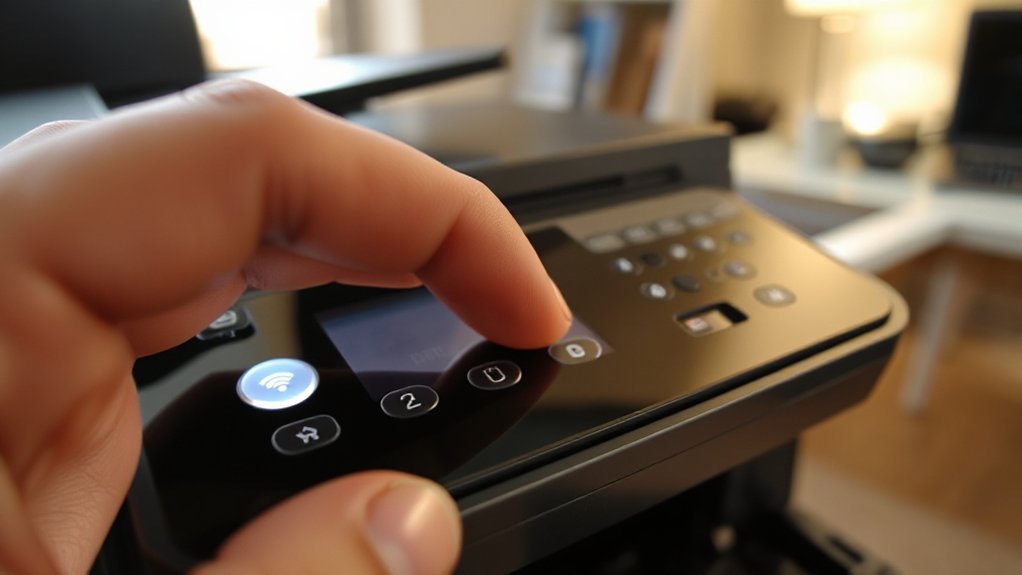
Alternative Setup Methods: WPS, Manufacturer App, and USB Helper
If you’d rather skip manual entry on the printer, you can use WPS, the manufacturer’s mobile or desktop app, or a USB “helper” setup to get the device onto your Wi‑Fi quickly and reliably. Each method shortens Network setup and can be easier than typing a password on small screens.
- Use the WPS button on your router and press the printer’s WPS button within two minutes to pair automatically.
- Install the Manufacturer app on your phone or computer, follow the on‑screen wizard, and grant Wi‑Fi access to complete Network setup.
- Connect a USB connection from the printer to a PC, run the bundled setup software, and transfer Wi‑Fi credentials.
- Choose the method that matches your devices and security preferences.
Common Connection Problems and How to Fix Them
If your printer won’t stay connected, check three common causes: a weak Wi‑Fi signal, an incorrect network password, or an IP address conflict. You can move the printer closer to the router, re-enter the Wi‑Fi password exactly, and set a static IP or restart devices to clear conflicts. Troubleshooting those steps will solve most connection failures.
Weak Wi‑Fi Signal
When your printer keeps dropping off the network or prints slowly, a weak Wi‑Fi signal is often the culprit; you’ll want to locate and remove the obstacles reducing signal strength so the device gets a steady connection. Check position first: move the printer closer to the router or to a central open spot to reduce walls and interference. Consider signal boosters or network extenders if you can’t relocate devices.
- Measure signal strength at the printer using your phone or a laptop to confirm weak coverage.
- Remove physical obstructions (metal, thick walls) and avoid placing the printer near microwaves or cordless phones.
- Change router channel or frequency (2.4 GHz for range, 5 GHz for speed) if interference is suspected.
- Use a wired Ethernet connection if wireless issues persist.
Incorrect Network Password
Why won’t the printer join your network? A common cause is an incorrect network password. Check characters carefully — uppercase, lowercase, numbers, and symbols must match exactly. If you copy-paste, verify no extra spaces. Many routers enforce network security and require WPA2 or WPA3 credentials; confirm the printer supports the same protocol. If your router uses a guest SSID, it may block device-to-device access even with the right password.
To fix it, re-enter the password on the printer using its touchscreen or setup utility, then restart both printer and router. If problems persist, temporarily simplify password complexity to test connection, then restore a strong password that meets your network security needs. Document the correct passphrase for future use.
IP Address Conflicts
Although your router usually assigns unique IP addresses automatically, conflicts can happen and prevent your printer from staying connected. You’ll notice symptoms like intermittent printing, “printer unreachable,” or the same ip address appearing on multiple devices. Check your printer’s network settings to confirm its current address.
- Restart router and printer to clear temporary lease issues.
- Reserve a static ip address for the printer in your router’s DHCP settings to avoid collisions.
- Manually set the printer’s network settings to a static address within your subnet but outside the DHCP pool if reservation isn’t available.
- Use your router’s device list to verify there are no duplicate addresses; remove or reconfigure conflicting devices.
After changes, reboot both devices and test a print to confirm connection.
Tips for Maintaining a Reliable Wireless Printing Setup
Because a stable wireless connection makes printing predictable, you should adopt a few simple habits to keep your printer online and performing well. First, follow basic printer maintenance tips: clean rollers and printheads, update firmware, and replace worn parts to prevent jams and errors. Schedule periodic dusting and keep ventilation clear so overheating doesn’t drop connectivity. Second, optimize placement: keep the printer within strong WiFi range, avoid thick walls and interference from microwaves or cordless phones, and use a dedicated SSID if possible. Third, apply wireless security practices: set a strong WPA3/WPA2 password, disable WPS if unused, and restrict access via MAC filtering or guest networks. Finally, reboot router and printer monthly and monitor logs for anomalies.
Conclusion
Now that you know the options, pick the setup method your printer supports, confirm you’re on the correct Wi‑Fi band (2.4 GHz if needed), and have your SSID and password ready. Use the printer’s control panel for direct setup, try WPS or the manufacturer’s app for guided pairing, or a USB‑to‑Wi‑Fi tool if available. If issues pop up, troubleshoot common problems listed earlier, and keep firmware updated to maintain a reliable wireless printing setup.