

You’ll want to back up important data first, sign out of accounts, and disable any factory‑reset protection. Charge the device or connect power. Then follow the device‑specific sequence: clear accounts, initiate erase, and confirm. Doing these steps prevents lockouts and data loss. Next, follow specific instructions for Android and iPhone.
Key Takeaways
- Back up all important data (photos, contacts, messages, app data) to cloud, PC, or external storage before resetting.
- Disable device locks and remove accounts (Google/Apple ID) to prevent Factory Reset Protection issues.
- Ensure at least 50% battery or keep the phone plugged into power during the reset.
- For Android: Settings > System > Reset options > Erase all data, or use Recovery Mode wipe data/factory reset; for iPhone: Settings > General > Transfer or Reset > Erase All Content and Settings.
- After reset, sign into your Google/Apple account, restore from your chosen backup, and reconfigure settings and apps.
What a Factory Reset Does


When you perform a factory reset, the phone returns its software to the original system state by deleting your user data and settings: it removes installed apps, app data, accounts, system preferences, and cached files; it restores default system apps and settings; and it reboots to the setup screen. Step 1: Back up essential files to external storage or cloud. Step 2: Disable device locks and remove linked accounts to prevent activation issues. Step 3: Initiate reset via Settings or recovery mode and confirm. Step 4: Monitor progress; device will erase partitions and reinstall baseline firmware. Step 5: Complete setup and selectively restore trusted data. Expect factory reset implications like loss of personalization, app licenses, and locally stored keys. Observe device performance improvements such as reduced background processes, reclaimed storage, and faster boot times. Use procedure when you want a clean software baseline for innovation, testing, or transfer.
When to Perform a Factory Reset

If your device shows persistent software faults, severe performance degradation, or you’re preparing it for a new user, perform a factory reset. Evaluate the situation: document data, sync accounts, and note installed apps. Prioritize fixes: reboot, safe mode, and targeted updates before reset. Use this checklist of common reset scenarios and triggers that justify a full wipe:
When persistent software faults or handoff require it, document data, try fixes, then perform a factory reset
- Boot loops, frequent crashes, or unrecoverable system errors.
- Severe performance issues despite cache clear and app pruning.
- Compromised security or persistent malware after scans.
- Failed OS upgrade or corrupted system partitions.
- Device handoff requiring clean, verified default state.
Execute the reset via settings or recovery mode. Verify backups, remove accounts, and decrypt storage if needed. After reset, apply system updates, restore essential data selectively, and reconfigure security. Measure stability and performance to confirm resolution and iterate only if issues persist. Document results and update procedures. Keep logs for future troubleshooting references.
When You Should Avoid a Factory Reset
Unless you’re certain a full wipe will fix the issue, don’t perform a factory reset; run these steps first: 1) Reproduce the problem and collect logs or screenshots to avoid unnecessary resets. 2) Test targeted fixes: clear app cache, uninstall recent apps, update firmware, reset network settings. 3) Use built-in diagnostics or safe mode to isolate hardware vs. software faults. 4) Try system restore points or OS repair tools before wiping. 5) Check manufacturer support and forums for patches or firmware flashes that fix bugs without erasing data. When to avoid reset: if the fault is intermittent, rooted modifications exist, or you lack verified recovery options and might incur irreversible data loss. If you’re exploring innovation—custom ROMs or developer previews—prefer incremental debugging and images-based recovery workflows that preserve partitions. Document each step so you can reproduce and measure results.
How to Back Up Your Important Data First
First, choose a backup method: cloud, local PC, or external drive, and pick one that preserves your contacts, photos, and app data. Follow the provider’s steps to start the backup and enable encryption if available. After completion, verify integrity by restoring a sample file or checking checksums/logs before you reset.
Choose Backup Method
- Decide which backup method fits your workflow and device; prioritize speed, security, and recoverability. You can use cloud storage for continuous syncing or an external drive for full-image backups. Choose one primary method and an alternative.
- Sync apps and contacts to cloud storage with account settings.
- Create a full device image to an external drive using vendor tools.
- Export photos and videos in original format to both locations.
- Back up messaging databases and key app data via app-specific exports.
- Encrypt backups and store credentials in a password manager.
- Enable Google Drive sync for contacts and settings
- Export SMS and call logs with a compatible app
- Copy DCIM and Documents to local storage or PC
- Backup app-specific data via app settings or adb
- Verify backup checksums and encryption status
Follow vendor instructions, verify available space, and schedule automatic backups. After backups complete, proceed to factory reset with confidence. Keep versioned copies for iterative restoration, and document your chosen method for future reference now today.
Verify Backup Integrity
After your backups finish, ascertain their integrity before you reset the phone. Step 1: locate each backup file or entry (cloud, local, SD). Step 2: confirm file sizes and timestamps match expected values and note anomalies. Step 3: run checksums where available (MD5, SHA-256) and compare against original hashes to detect data corruption. Step 4: perform selective restore tests: restore a representative sample of contacts, photos, and app settings to a temporary device or sandbox. Step 5: validate restored items function and open without errors. Step 6: review backup logs for failed operations and resolve issues, then re-backup if needed. Make sure you document the backup recovery procedure and store hashes securely for future verification. Automate verification where possible to reduce human error and time.
Factory Reset Steps for Android Phones
Make sure you’ve backed up contacts, photos, and app data to your Google account or external storage. Then remove your Google account from Settings > Accounts to disable Factory Reset Protection. Finally, perform the factory reset via Settings > System > Reset options > Erase all data (factory reset), confirm, and wait for the device to reboot.
Backup Your Data
First, back up your important data—contacts, photos, messages, app data, and settings—to Google Drive or local storage so you can restore it after the reset. Verify backups systematically: enable Google Drive sync, export SMS and call logs, and copy media to a computer or SD card. Assess cloud storage limits and encryption options; choose end-to-end encryption where available. Confirm file integrity before proceeding.
Proceed only when backups are complete and verified. Maintain versioned backups and retain copies offline for rapid recovery and audit today.
Remove Google Account
- Go to Settings > Accounts & backup or Accounts. Locate your Google account. Tap the account, then tap Remove account. Confirm removal when prompted; you’ll need your device PIN or biometric. This removal process disables sync and detaches your Google identity from the device.
- If you’ve enabled Find My Device or Factory Reset Protection, sign into your Google account on a browser, go to Security > Your devices, and remove this device to avoid lockouts. You should also revoke third-party app access under Security > Third-party apps.
- Verify removal by returning to Accounts; no Google account should appear. This protects account security and guarantees the device is ready for reset or transfer. Keep your credentials handy to streamline the removal process.
Factory Reset Procedure
Before you initiate the reset, confirm you’ve removed your Google account and backed up any data you want to keep; guarantee the device has at least 50% charge or is plugged in and remove any microSD or SIM cards. To perform a factory reset on Android, open Settings > System > Reset options, select Erase all data (factory reset), and confirm. If device won’t boot, use recovery mode: power off, hold Volume Up + Power, choose wipe data/factory reset. Use vendor factory reset tools for advanced cases. Verify setup after reboot.
- Back up photos and app data to cloud
- Note encrypted storage may require credentials
- Remove device from Google account list
- Use recovery mode if Settings is inaccessible
- Check logs for common issues first
Factory Reset Steps for Iphones
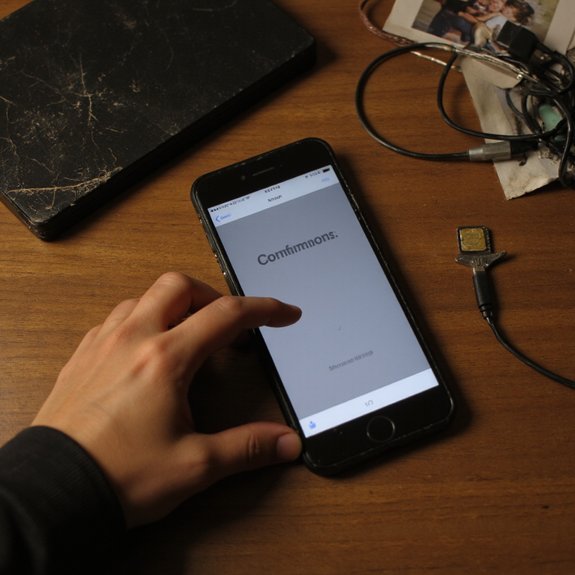
If you’re resetting an iPhone, back up your data to iCloud or a computer; sign out of iCloud/Apple ID (Settings > [your name] > Sign Out) and disable Find My iPhone; then erase all content and settings via Settings > General > Transfer or Reset > Erase All Content and Settings. Verify backup completion in iPhone settings; confirm battery >50% or connect charger. Go to Settings > General > Transfer or Reset and tap Erase All Content and Settings; enter your passcode and Apple ID when prompted. For iPhone troubleshooting, ascertain Activation Lock is off by signing out of iCloud before proceeding. If using Face ID or Touch ID, remove biometric data in iPhone settings to prevent authentication conflicts. After erase begins, keep the device connected to power and Wi‑Fi until it restarts. Use this reset when you need a fresh factory state for development only when needed.
Recovering Data and Restoring Settings After a Reset
After the reset completes, you’ll restore data from iCloud or a local computer backup and reapply system and app settings. First, connect to Wi‑Fi and sign into your Apple ID or Google account to trigger cloud sync. Next, choose the most recent backup; confirm size and timestamp to prioritize integrity. Then, monitor app reinstallation and enable background app refresh so configurations reinstate. For advanced data recovery, use encrypted backups and verify encryption keys before import. Finally, audit permissions and security settings, then run a quick performance check.
- Connect to Wi‑Fi and sign into account to initiate restore.
- Select backup by timestamp and size; validate integrity.
- Enable encrypted restore for saved passwords and keys.
- Reapply system preferences and app-specific settings.
- Audit permissions, biometrics, and run diagnostics.
These steps help you systematically restore settings, minimize data loss, and validate successful data recovery with minimal friction.