If your faucet drips, you can stop the waste and avoid bigger damage without calling a pro. You’ll shut off the water, identify the faucet type, and inspect cartridges, washers, and O‑rings for wear. With a few tools and the right replacement parts, most leaks are straightforward to fix—here’s what to check first…
Signs of a Leaky Faucet
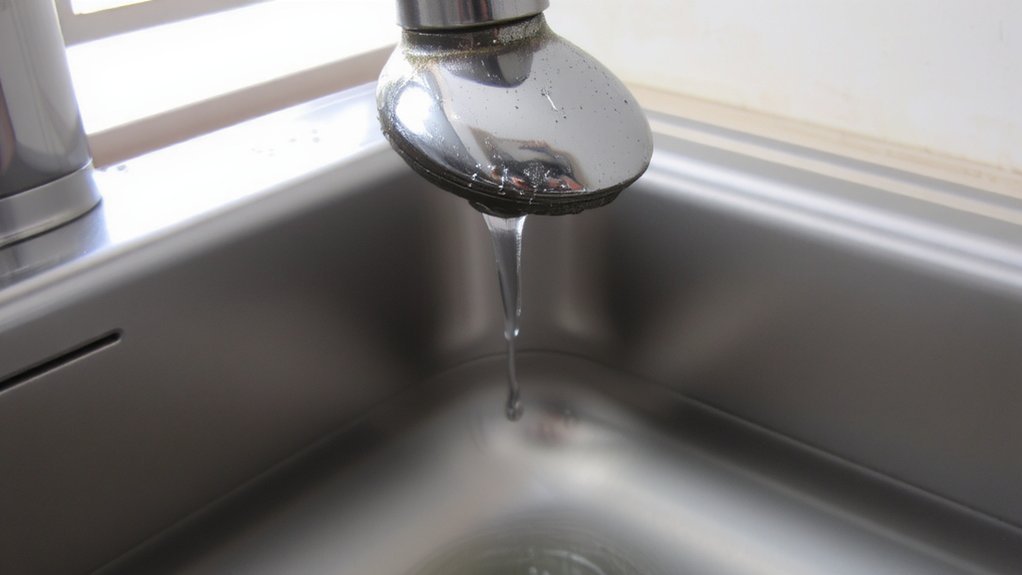
If you hear a steady drip or see small puddles around the base of the faucet, you’ve got a leak.
You’ll also notice water stains under the sink, a spike in your water bill, or mineral buildup on spouts and handles.
Faucets that squeak, feel loose, or require extra turns to shut off usually have worn parts.
Intermittent dripping when the tap is off, or low water pressure when it’s on, signals internal valve issues.
Hear banging pipes when you turn off nearby fixtures? That can point to pressure problems tied to the faucet.
Check both hot and cold sides; leaks can start on one and spread.
Catching these signs early keeps repairs simple and prevents water damage.
Act quickly to avoid costly repairs.
Tools and Materials You’ll Need
Now that you’ve identified the leak and its likely location, gather the tools and materials you’ll need to make the repair.
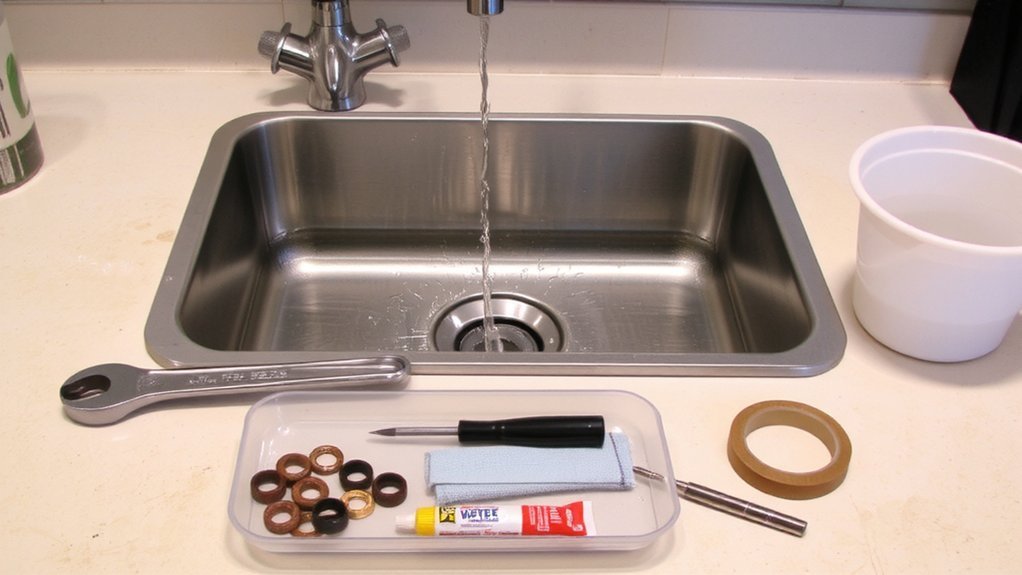
Essentials include an adjustable wrench, basin wrench, Phillips and flathead screwdrivers, needle-nose pliers, replacement cartridges or O-rings specific to your faucet model, and plumber’s grease.
Have replacement washers and seat washers on hand for compression faucets.
Bring clean rags, a small bucket, and plumber’s tape (Teflon tape) for threaded connections.
If you expect corroded parts, add penetrating oil and a wire brush.
Optional but helpful items are an allen wrench set, flashlight, and lubricant-safe silicone grease.
Lay everything out on a towel near the sink so you can work efficiently and avoid dropping small parts down the drain and keep parts organized nearby.
How to Shut Off the Water Supply
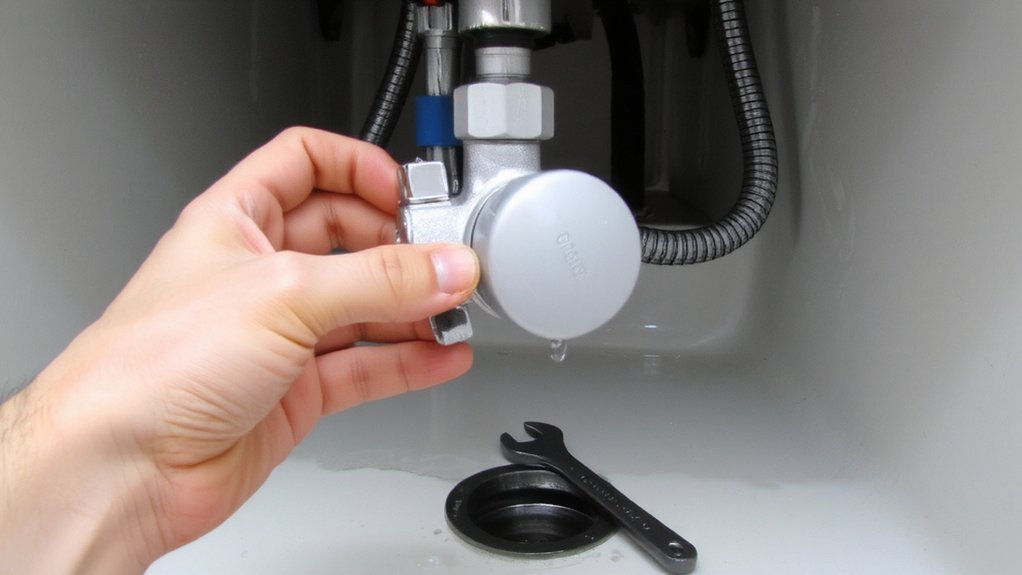
How do you shut off the water supply quickly and safely? Start by locating the shutoff valves under the sink: you’ll usually find two small angle stops—one for hot, one for cold.
Turn each valve clockwise until it stops; use an adjustable wrench if it’s stiff. If you can’t find or turn the under-sink valves, shut off the home’s main water valve (often near the meter or where the line enters the house).
After closing valves, open the faucet to drain remaining water and relieve pressure. Verify both hot and cold are off before starting repairs.
If a valve leaks or won’t close, stop and shut off the main before calling a plumber. Keep a small wrench nearby always.
Disassembling Common Faucet Types
When you’re ready to disassemble a faucet, first identify its type—ball, cartridge, ceramic-disk, or compression—since each has different fasteners and seals, and you’ll need the right approach.
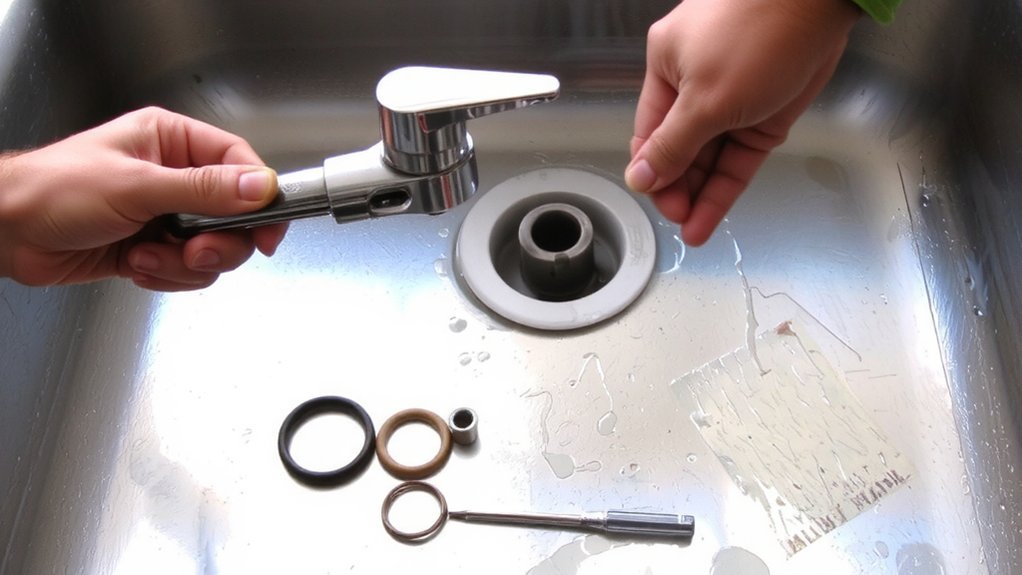
Remove decorative caps and loosen the handle set screw with the correct hex or screwdriver, then lift the handle off.
For cartridge and ceramic-disk faucets, unthread the bonnet or retaining nut and pull the cartridge or cylinder straight up; use pliers with a cloth if it’s stuck.
For ball faucets, remove the ball assembly, cam, and springs; note their orientation.
For compression faucets, unscrew the packing nut and extract the stem.
Keep parts organized and photographed so you can reassemble in the exact order.
Work slowly and avoid forcing corroded parts to prevent damage or further leaks.
Inspecting Washers, O‑rings, and Seals
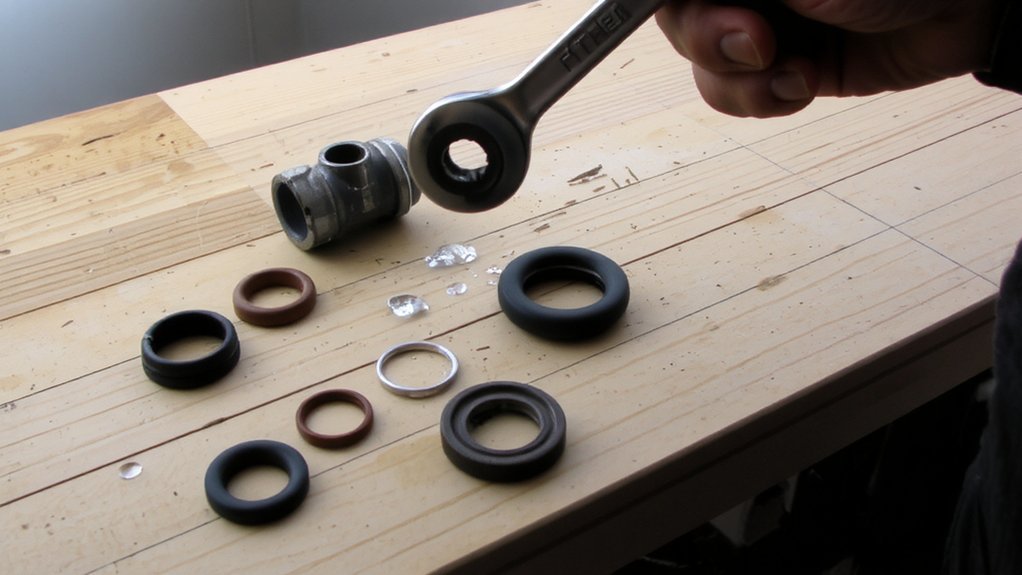
Inspecting the washers, O‑rings, and seals is a quick, crucial step: remove each part and check for cracking, hardening, flattening, or excessive mineral buildup, and compare them to new replacements to confirm correct size and profile.
Wear is usually obvious—thin, misshapen, or torn rubber won’t seal. O‑rings can shrink in grooves; replace any that feel brittle or loose.
Match material type (rubber, silicone, neoprene) to the faucet’s specifications. When installing new parts, seat them squarely and lightly lubricate with plumber’s grease rated for seals so they don’t bind.
Don’t reuse compressed or deformed washers. After reassembly, test the faucet at low pressure first and recheck for leaks; a quick repeat inspection saves time.
If unsure, take parts to a hardware store for comparison now.
Cleaning Mineral Buildup and Valve Seats
After you’ve swapped worn washers and O‑rings, check the faucet for mineral buildup that can keep valve seats from sealing; calcium and lime deposit on seats and inside cartridges, stopping a tight shutoff.
Start by shutting water, removing the handle and cartridge or stem to expose seats.
Soak removable parts and the aerator in white vinegar or a commercial descaler for 30 minutes, then scrub with an old toothbrush or small brass brush.
For fixed valve seats, use a valve‑seat brush, dental pick, or soft needle to break deposits without scoring metal.
Rinse thoroughly, reassemble, and test.
If sealing surfaces are pitted or damaged after cleaning, you’ll need a seat reseat tool or replacement parts.
Wear eye protection and gloves while working on fittings.
Replacing Worn Parts Step by Step
Preparing your workspace and gathering the right replacement parts makes the job faster and prevents surprises.
First, shut off the water supply under the sink and open the faucet to relieve pressure.
Remove decorative caps, unscrew the handle, and lift out the cartridge or stem; note orientation.
Inspect O-rings, seals, and valve seat for wear or damage.
Replace worn O-rings and seals with exact-size parts, and swap the cartridge or seat if it’s corroded.
Lubricate O-rings with plumber’s grease and seat threads lightly.
Reassemble in reverse order, ensuring parts sit flush and screws are snug but not over-tightened.
Restore water, operate the faucet, and check for steady, drip-free operation.
If leaks continue, double-check part fit or consult a hardware specialist. Bring model numbers too.
Preventing Future Faucet Leaks
To keep leaks from returning, adopt a few regular habits that take little time but pay off.
Inspect faucets monthly for drips, loose handles, or mineral buildup.
Clean aerators every few months to remove sediment that stresses seals.
Exercise valves and shutoffs so they move freely and actually stop water.
Replace worn O-rings and washers at the first sign of wear; stock common sizes so you can swap them quickly.
Use plumber’s grease on O-rings and threads to maintain seals so you don’t overtighten.
Avoid harsh chemical cleaners that degrade rubber parts.
Monitor water pressure—install a simple gauge if pressure spikes—and address high pressure with a regulator.
Finally, wipe under sinks to spot leaks early and act before damage occurs.
Replace corroded parts promptly.
When to Call a Professional
When should you call a professional? If the leak persists after replacing washers or cartridges, if water sprays or you see corrosion, or if the valve seat is damaged, call a plumber.
Also call when the repair requires specialized tools, soldering, or dismantling supply lines, or when you spot water stains, mold, or rising water bills—signs of hidden damage.
If you’re unsure about turning off the main shutoff, if the plumbing is old, or if multiple fixtures leak, get professional help.
A licensed plumber will diagnose underlying issues, prevent water damage, and ensure repairs meet codes.
For rental properties or complex installations, avoid DIY liability and schedule a qualified technician.
Ask for estimates and verify insurance before they start work to protect yourself financially.
Conclusion
You can stop a leaky faucet by shutting off the water, taking the handle off, and inspecting the cartridge, stem, O‑rings, and washers for wear. Replace damaged parts, clean mineral buildup, and lubricate seals with plumber’s grease before reassembling. Test the faucet and tighten connections as needed. If you still see leaks or feel unsure, don’t hesitate to call a professional—it’s safer and often faster than repeated repairs. To avoid water damage and extra cost.