

If you’re tackling drywall solo, you’ll need a clear plan, the right tools, and steady technique. You’ll measure and mark studs, cut and fit panels, brace ceilings, and fasten screws without overdriving. Safety and dust control matter. Keep going—you’ll get practical, step‑by‑step tips to hang panels efficiently and finish them cleanly.
Measuring and Planning Your Drywall Layout
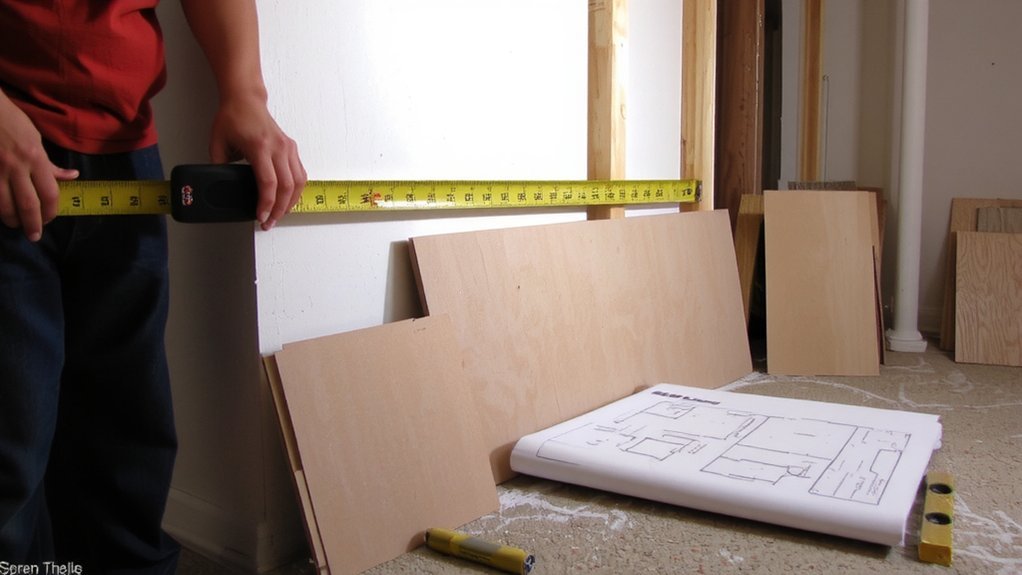
Before you cut any sheets, measure the room and plan where seams will fall so they land on studs and stagger between rows.
You’ll measure wall heights and widths, note door and window openings, and mark stud locations on the floor and ceiling.
Work out full-sheet runs to minimize joints; place partial sheets at corners or behind cabinets.
Plan horizontal versus vertical orientation based on wall height and structural support.
Account for outlet boxes and vents, marking centers for cutouts.
Sketch a layout with dimensions and seam lines, labeling studs and seam offsets for each sheet.
Double-check measurements before cutting.
With a clear plan, you’ll avoid wasted material, reduce seams, and speed installation.
Adjust plan for electrical, plumbing, or unusual framing if present nearby.
Tools and Equipment You’ll Need
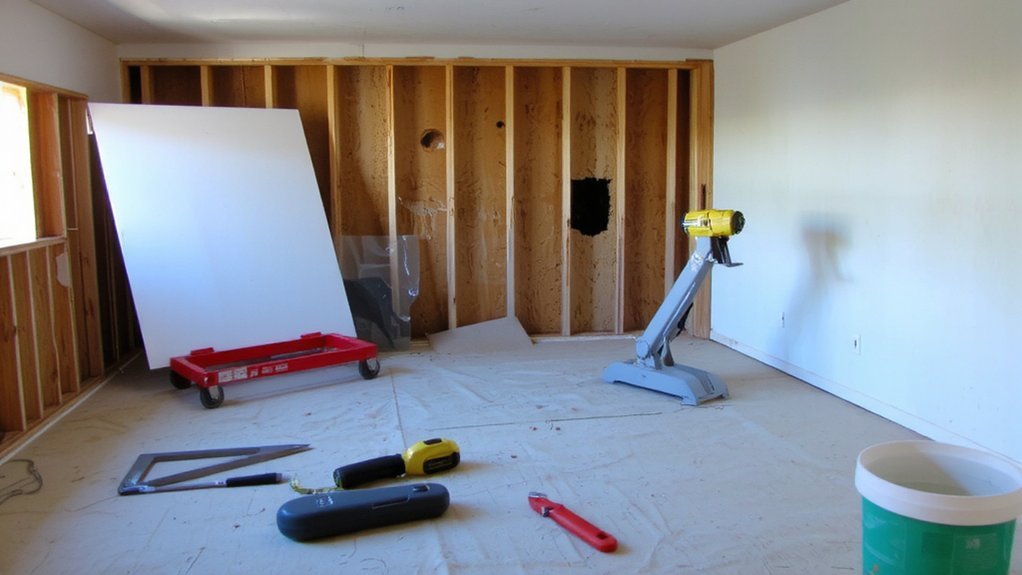
You’ll need a compact set of essential tools plus a few specialty items to hang drywall safely and efficiently: a drywall lift or panel hoist (if working solo), an adjustable screw gun with drywall bit and depth control, a utility knife with fresh blades, a long drywall T-square and measuring tape, and a keyhole or jab saw for cutouts.
Add joint knives (6″ and 12″), a mud pan, hawk, and sanding block or pole sander for finishing.
You’ll want a drywall rasp, corner trowel, and drywall clips or backing materials.
For safety and comfort, use safety goggles, a respirator or dust mask, work gloves, knee pads, and a sturdy step ladder or scaffold. Keep spare screws and extra blades handy and a flashlight too.
Preparing Sheets and Marking Stud Locations
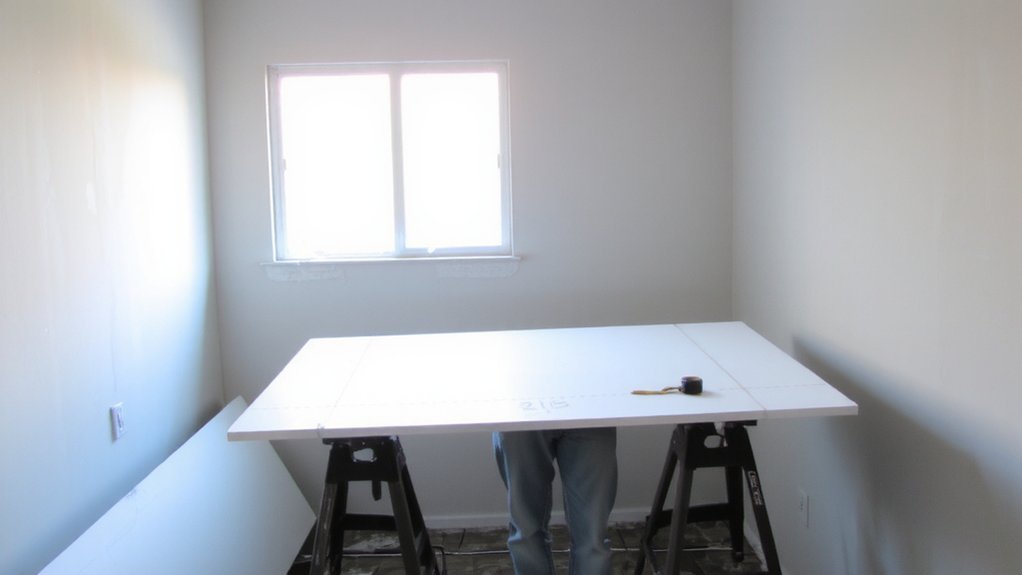
When you’ve measured the wall, lay out each sheet and score along your marks so you can snap clean edges and cut any openings, labeling the face of every panel for its location and orientation.
Mark stud lines on the back of each sheet by transferring measurements from the wall—use a tape and T-square to ensure accuracy.
Number panels, noting top/bottom so you hang in sequence. Plan seams to fall centered on studs and stagger end joints between rows.
Mark locations for electrical boxes and any inside corners on the face, but save actual cuts for the next section. Chalk a straight guideline on the wall at stud centers to follow while fastening. Keep consistent fastener spacing and leave gaps at floors and ceilings.
Cutting Drywall for Straight Runs and Openings
Now that you’ve marked and numbered each panel, cut along those lines for straight runs and open up any boxes or penetrations.
Use a utility knife to score the face paper, snap the board back, and cleanly cut the paper on the opposite side.
For long straight cuts, use a T-square or straightedge to guide the blade.
Measure and transfer outlet, switch, and pipe locations accurately; drill small pilot holes at corners and use a jab saw or oscillating multi-tool to cut openings.
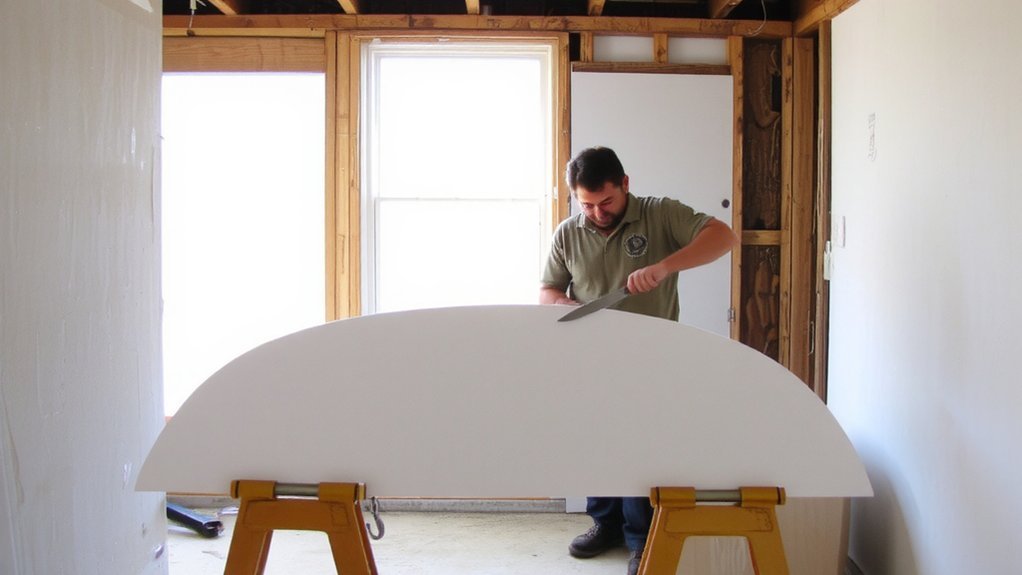
For curved cuts, draw the contour and cut slowly with a keyhole saw.
Remove dust and rough edges with a rasp or sanding block to ensure panels sit flush against studs and trim, producing tight joints for taping and finishing soon.
Lifting and Positioning Ceiling and Wall Panels
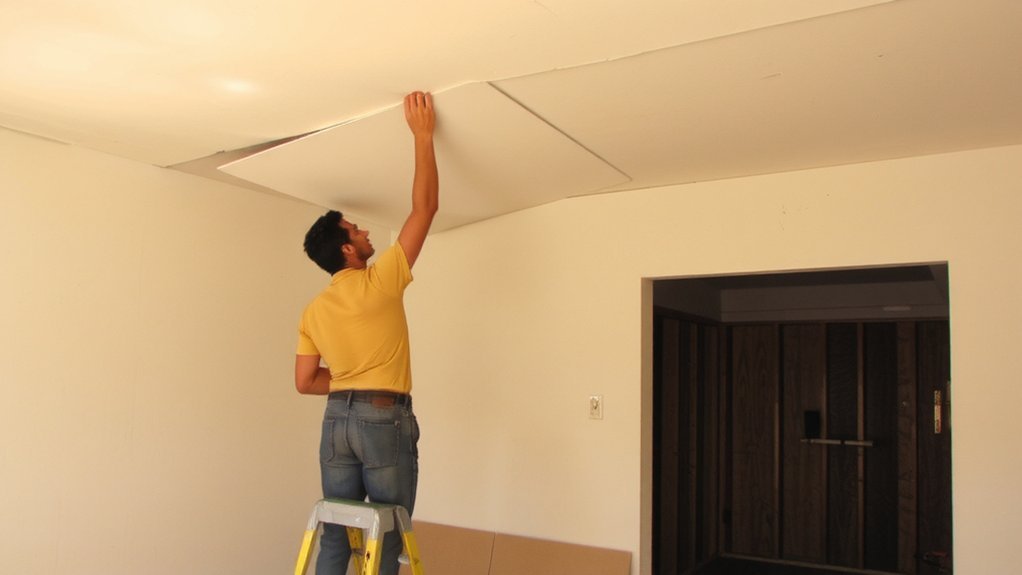
Bracing the panel and using the right tools makes lifting drywall safe and accurate: have a helper or a drywall lift hold the sheet at ceiling height, keep the face toward you so the finished side ends up out, and orient the long edge perpendicular to joists or studs so seams land on framing.
Lift ceilings from the center, walk panels into place, and tilt them up evenly to avoid binding.
For walls stand the sheet upright, align edges with corner beads or abutting sheets, check top and bottom clearances.
Use a level and straightedge to confirm flatness, shim where gaps or bows occur, and brace so panels stay flush while you prepare to fasten them.
Handle panels with hands to prevent damage safely.
Securing Panels With Screws and Proper Spacing
Once the panel’s held flush and plumb, start fastening with the right screws and a consistent pattern so joints stay tight and surfaces stay flat.
Use 1¼‑inch to 1½‑inch drywall screws for 1/2‑inch panels; choose coarse‑thread for wood studs and fine‑thread for metal.
Space screws about 8 inches along edges and 12 inches in the field on walls; tighten spacing to 8–12 inches on ceilings.
Drive screws until the paper is slightly dimpled but not torn—don’t overdrive.
Stagger fasteners so seams pull evenly to framing.
Keep screws roughly centered on studs and stop at every stud intersection.
After a run, scan for popped or high screws and reset them.
Clean swarf and check panel alignment before taping and finishing.
Work methodically and stay consistent.
Working Around Electrical Boxes, Doors, and Windows
When you’re working around electrical boxes, doors, and windows, start by shutting off power and removing covers so you can accurately fit panels without risking wires or hardware.
Measure and transfer box, switch and outlet locations to the drywall, then cut openings slightly oversized so boxes or extenders fit.
For doors and windows, scribe or mark the jamb and trim profile, then trim the panel to leave a 1/8″ to 1/4″ reveal for joint compound and movement.
Use a keyhole saw or oscillating tool for precise cuts and a rasp to clean edges.
Fasten panels to studs, keeping screws at least 1″ from box edges and clear of jambs.
Install mud stops or box extenders where flush mounting’s needed.
Check fit before final fastening.
Safety, Dust Control, and Cleanup
Because drywall work throws up a lot of fine dust and creates trip hazards, you should make safety, dust control, and cleanup your first priorities before you cut or sand.
Wear N95 or P100 respirator, safety glasses, and hearing protection.
Use knee pads and steel-toe boots if you’re handling sheets alone.
Keep a clear path and store unused sheets flat against wall.
Turn off breakers when near electrical boxes and cover outlets.
Control dust with a quality drywall sander attached to a HEPA vacuum or use wet sanding for small spots.
Run a shop vac with HEPA filter during cutting.
Hang plastic sheeting to seal the work area and use a door zipper.
Clean up frequently: vacuum, damp-wipe surfaces, and bag debris for disposal.
Conclusion
By following these steps, you can hang drywall by yourself with confidence. Measure and plan, mark studs, and cut panels accurately. Use a lift or braces for ceilings, align and shim sheets, then fasten with the right screws at proper spacing without overdriving. Work carefully around boxes, doors, and windows, control dust with a vacuum and PPE, and brace panels while fastening. Tidy up thoroughly, and you’ll have a clean, professional-looking finish. You’ll be proud.