

If you’re installing a ceiling fan, start with safety—turn off and lock out the circuit and verify power is dead. You’ll need the right tools and a fan‑rated ceiling box. I’ll guide you through mounting, downrod and wiring steps, plus testing and balancing, so you avoid common mistakes and finish confidently.
Safety and Preparation Checklist
Before you begin, turn off the circuit and test the wires with a voltage tester, then clear the work area and set up a stable ladder; you’ll also want the fan’s instructions, proper tools, and a helper on hand.
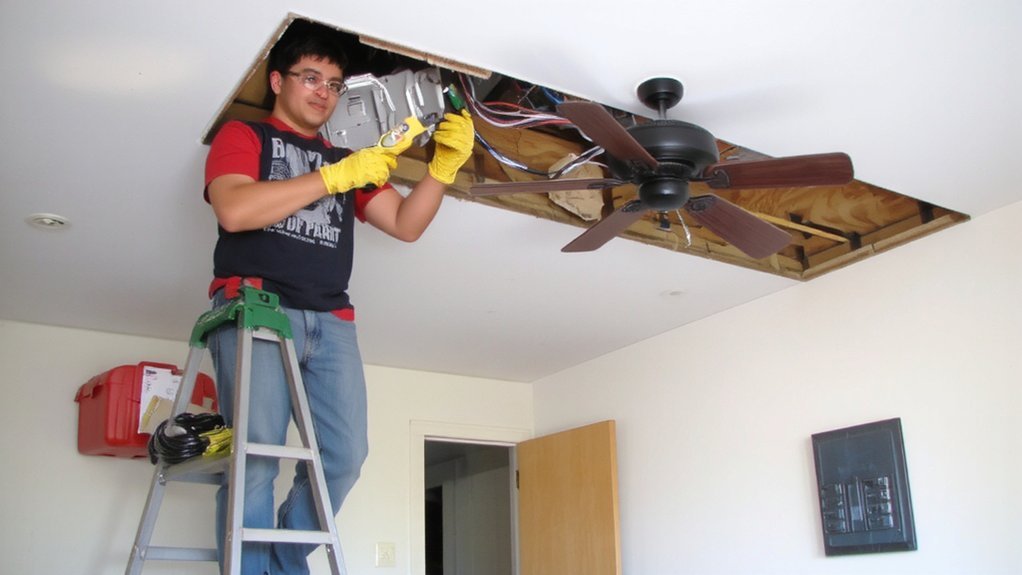
Next, confirm the ceiling junction box is fan-rated and firmly attached to a joist or cross brace; a flimsy box won’t support the motor.
Turn off and lock out the breaker, then re-test to verify no voltage.
Inspect wiring for frays, overheating, or improper splices.
Measure ceiling height and blade clearance to ensure safe operation.
Remove existing fixtures carefully, keeping wiring labels.
Review local electrical codes and any permit requirements.
Plan for a helper to steady the fan during mounting and initial power-up and testing.
Tools and Materials You’ll Need
Now that you’ve verified power is off, the junction box is secure, and the area is clear, gather the tools and materials you’ll need so the installation goes smoothly.
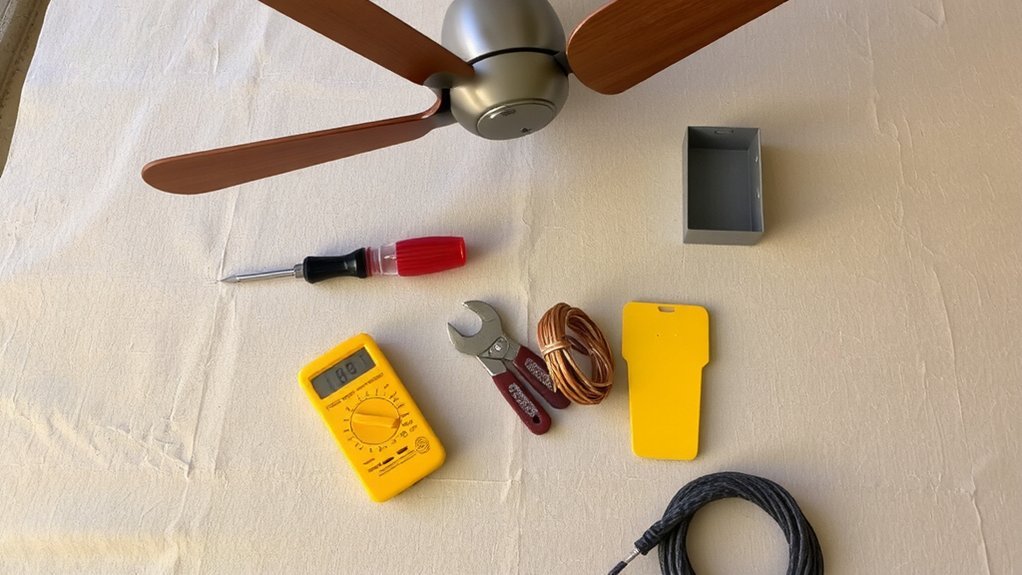
You’ll want: the ceiling fan kit with mounting bracket, canopy, blades, motor assembly, and hardware pack.
Bring a sturdy ladder, Phillips and flathead screwdrivers, needle-nose pliers, adjustable wrench, and a ratchet set.
Use wire strippers and crimpers for clean connections; have quality wire nuts and electrical tape on hand.
A drill with assorted bits and a stud finder simplifies mounting.
Keep a level to ensure blades sit straight and a blade balancing kit handy.
Finally, verify you have the correct fan-rated ceiling box and any extension downrod for high ceilings before you start the install.
Verifying Power Off and Preparing Wires
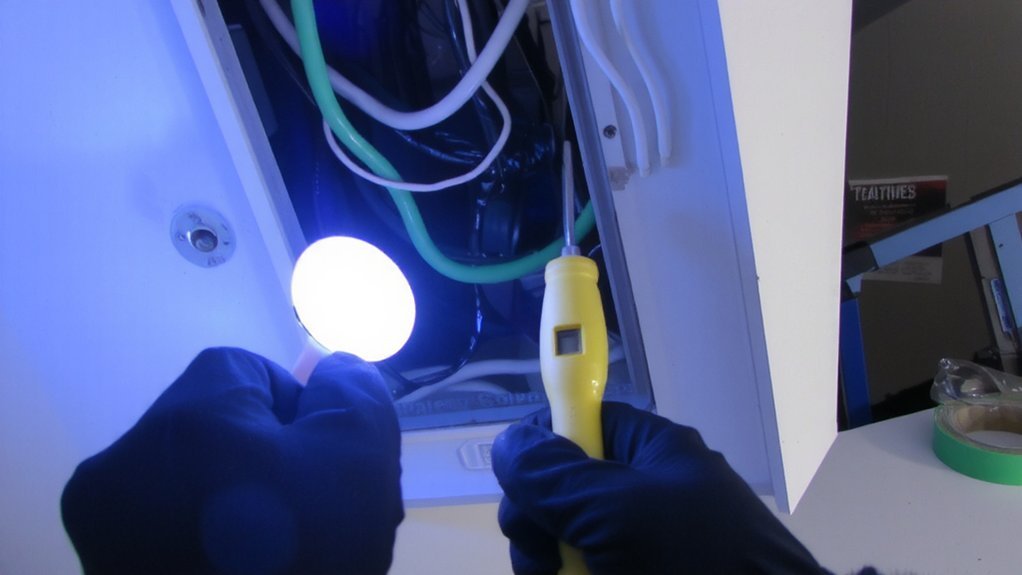
Although you’ve flipped the breaker, confirm the circuit is dead by testing each conductor and the ground with a non-contact voltage tester (and a multimeter if you have one).
Test every wire individually, including switched hots and travelers, and verify the tester works on a known live source first.
Once dead, label hot, neutral and ground with tape or markers so you don’t mix them later.
Trim damaged insulation, then strip about three-eighths to one-half inch of insulation from each conductor with a stripper.
Twist stranded wires neatly and apply the correct size wire nut; back them up with a wrap of electrical tape if local code allows.
Coil and tuck the prepared wires into the ceiling box, leaving length to make secure connections.
Installing the Mounting Bracket and Downrod
Gather the fan components and the ceiling box hardware, then mount the bracket securely to the box using the supplied screws or bolts, aligning its keyholes with the box anchors so it sits flush and won’t shift.
Next assemble the downrod to the motor: slide any canopy and grommet onto the downrod, seat the motor coupling, and fasten the downrod pin and cotter pin or tightening set screws per manufacturer instructions.
Lift the motor assembly and seat the downrod into the ceiling bracket’s ball or hook, ensuring the ball snaps into the bracket and the hanger ball is fully engaged. Tighten all fasteners, torque to spec, and steady the fan to confirm there’s no wobble before finishing the canopy installation. You should recheck mounting.
Connecting Electrical Wiring Safely
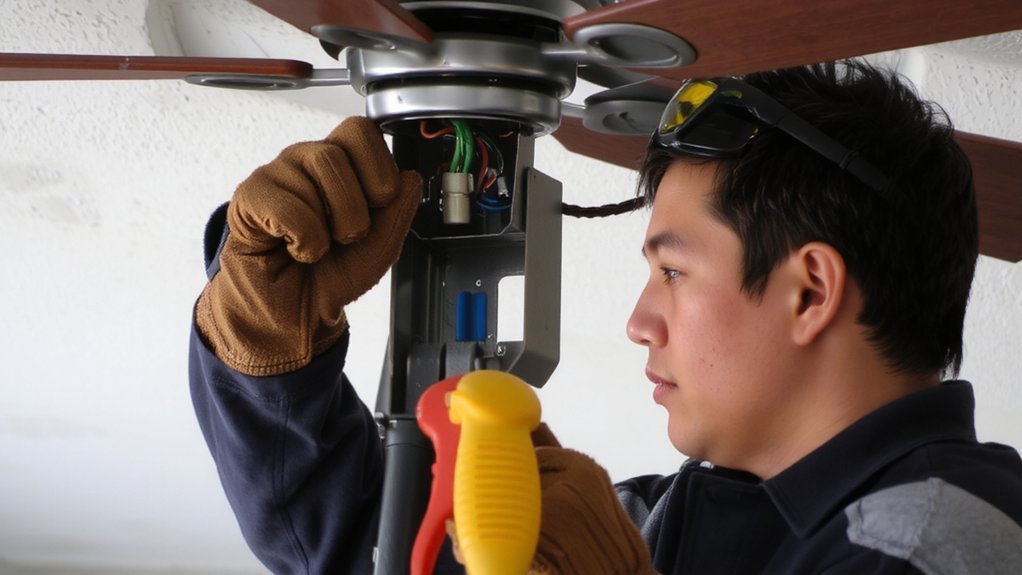
Before you touch any wires, turn the circuit off at the breaker and verify power’s off with a non-contact tester.
You’ll identify the house hot (usually black), neutral (white), and ground (bare or green) and match them to the fan’s corresponding leads.
If your fan has a separate light or remote lead (usually blue), connect it to the switched hot from the wall.
Use appropriately sized wire nuts, twist wires together firmly, and tug to check connections.
Attach the ground to box and fan grounding screw.
Ensure the fan’s canopy and mounting hardware don’t pinch wires; use the rubber grommet or strain relief where the downrod enters the box.
After tucking wires, restore power and again test function, stop if anything sparks or smells.
Assembling Fan Blades and Attaching the Canopy
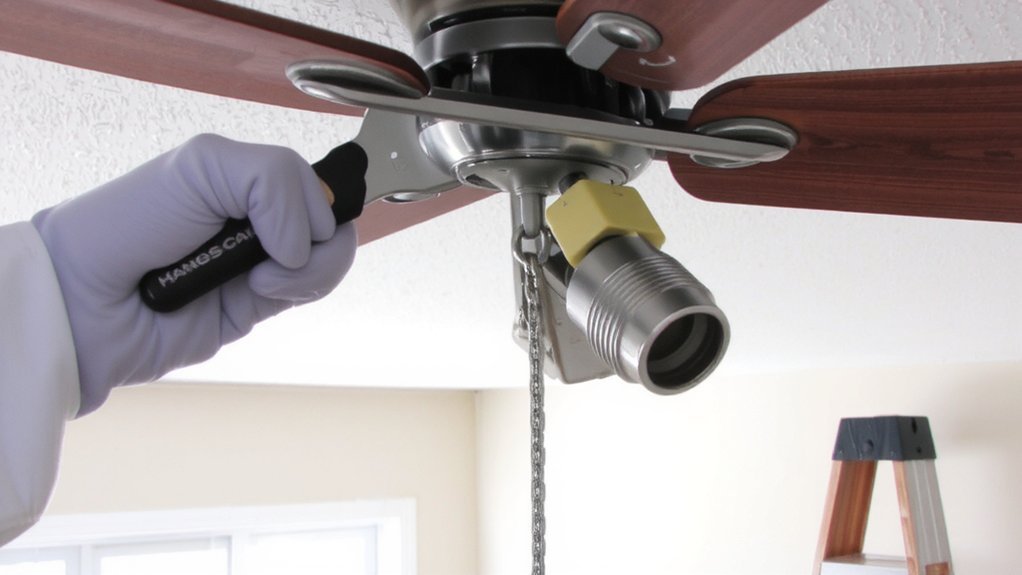
When you install the blades, bolt each blade to its blade arm with the supplied screws and lock washers, tightening them snugly but not over‑torquing, then attach the completed arms to the motor following the manufacturer’s sequence to keep the rotor balanced.
Inspect each arm for correct seating and consistent screw depth, then spin the assembly by hand to check for wobble.
If blades wobble, loosen fasteners, re-seat blades, and retighten in specified order.
Next, tuck the electrical connections neatly into the mounting bracket and position the canopy over the bracket.
Align canopy keyholes or tabs, lift to engage, then secure with the provided screws or collar until flush.
Confirm the canopy sits evenly and there aren’t loose fasteners before moving to next step.
Installing the Light Kit and Final Testing
Installing the light kit is the last mechanical step before testing, so connect the fixture wiring to the fan’s leads (matching colors and using wire nuts or connectors per the manual), secure the kit to the fan’s housing with the supplied screws or collar, and tighten evenly.
Next, install bulbs rated for the kit and attach shades or glass per instructions.
Restore power and operate fan and light controls from the wall switch and pull chains (it’s safe).
Check rotation direction at low speed, verify wobble is minimal, and tighten blade screws if needed.
Use a level and wobble tester or mark any persistent wobble to rebalance.
Confirm lights dim and respond correctly, and listen for unusual noises indicating loose parts.
Finish securing canopy.
Conclusion
You’ve completed the main steps to install your ceiling fan safely and confidently. After confirming power’s locked out, securing a fan‑rated box, mounting the bracket, assembling the motor and downrod, and making solid wire connections, attach the blades and canopy, install the light kit, then restore power and test operation. If the fan wobbles, balance the blades and tighten fasteners. When everything runs quietly and smoothly, you’re done and can enjoy improved comfort and airflow.