

If you’re installing a kitchen backsplash, you’ll want a clear plan before you start: measure and prepare the wall, choose the right backer board and adhesive, and learn proper cutting and grouting. Following the right steps helps you avoid costly mistakes and get a durable, professional finish—first, tackle surface prep and layout, and you’ll see why.
Preparation and Planning
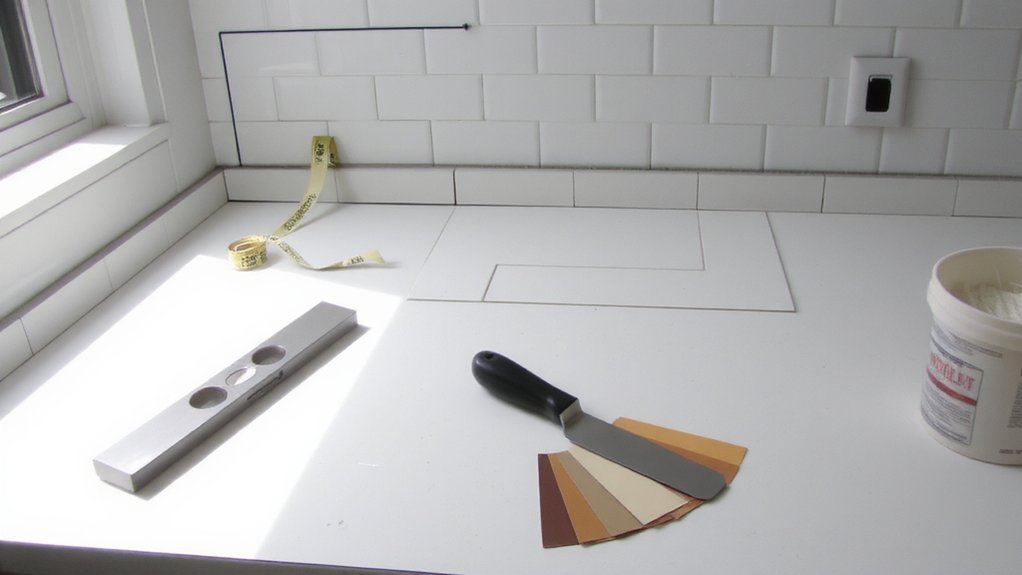
Before you lay a single tile, make a plan. Measure the wall height and length, note outlets, switches, windows and any trim you’ll work around.
Sketch the backsplash to scale, try different tile layouts and locate focal points so cuts fall where they’ll be least visible. Choose tile size, material and grout color for durability and style, and confirm how many boxes you’ll need plus 10–15% extra for cuts and waste.
List required tools: tile saw or cutter, spacers, trowel, level, bucket, sponge, and safety gear. Schedule time for cutting and installation, and decide whether you’ll hire a pro for complex patterns or plumbing and electrical relocations.
Keep permits and manufacturer instructions handy. You’ll avoid surprises, save time, and stay within your budget too.
Surface Preparation and Backer Board
Once you’ve cleared the work area and removed any old tile or trim, clean and inspect the substrate—drywall, plaster, or existing tile—so you know whether it needs repair or a backer board.
Patch soft spots or damaged areas with joint compound or replace sections of drywall.
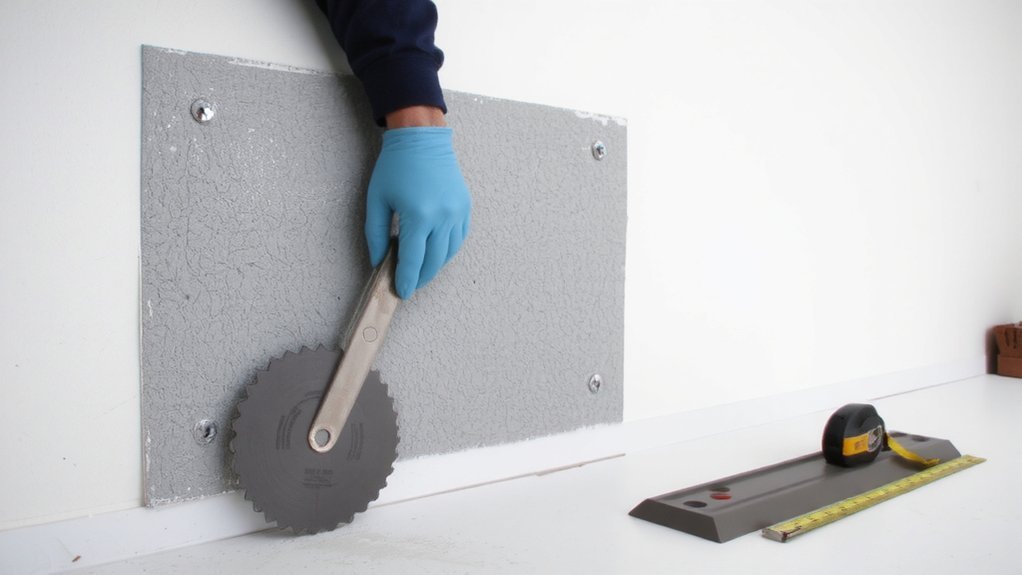
If the area will face moisture (near sinks or ranges), install cement backer board: cut panels to fit, leave 1/8″ gaps at joints, and fasten with corrosion‑resistant screws every 6–8″. Tape joints with alkali‑resistant mesh and cover with thinset mortar.
Feather thinset onto screw heads and seams for a flat surface. If you want extra protection, apply a liquid waterproofing membrane over seams and around electrical boxes. Ensure the finished surface is flat, clean, and cured before tiling.
Tile Layout and Dry Fitting
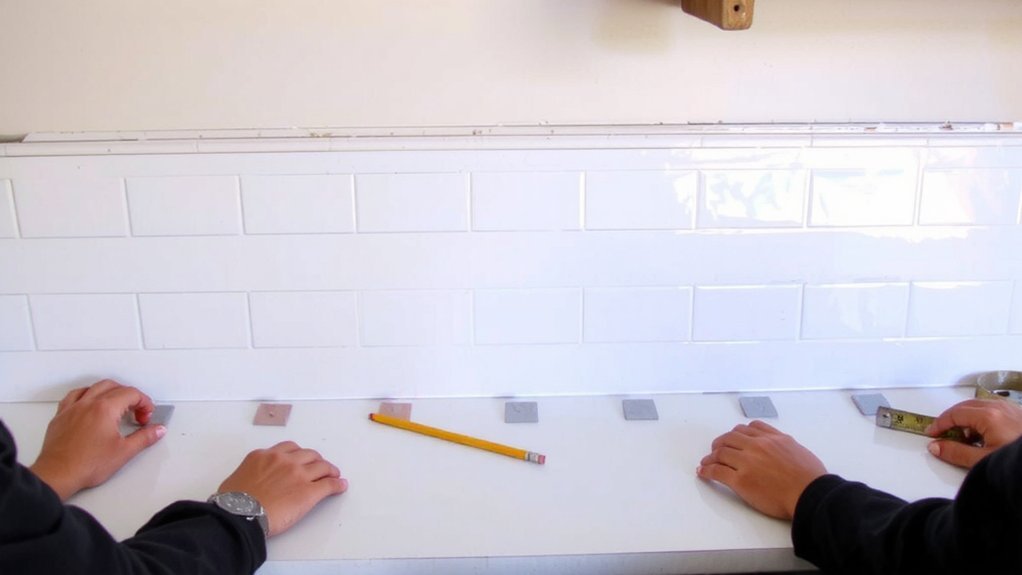
If you want even, professional-looking results, start by measuring the wall and snapping a level centerline or horizontal guideline where the bottom row will sit, then lay out full tiles along that line with spacers to establish consistent grout joints.
Work outward from that line, dry-fitting entire sheets or individual tiles to determine edge cuts and pattern balance.
Aim for symmetrical cut sizes at both ends of runs and avoid tiny slivers; adjust starter line if necessary.
Mark tiles that need trimming and test-fit around outlets, windows, and corners.
Check tile orientation, grout alignment and flatness to prevent lippage.
Walk back frequently to verify visual flow.
Once satisfied with the mock-up, photograph or mark layout lines so you can reproduce it during installation easily.
Adhesive Selection and Tile Installation
You’ve laid out and marked your tiles, so pick an adhesive that matches your tile type and wall substrate: premixed organic mastic works for lightweight, non-porcelain tiles on drywall, while polymer-modified thin-set mortar is required for porcelain, natural stone, moisture-prone areas, or over cement board.
Mix thin-set to a creamy, lump-free consistency and follow manufacturer pot time.
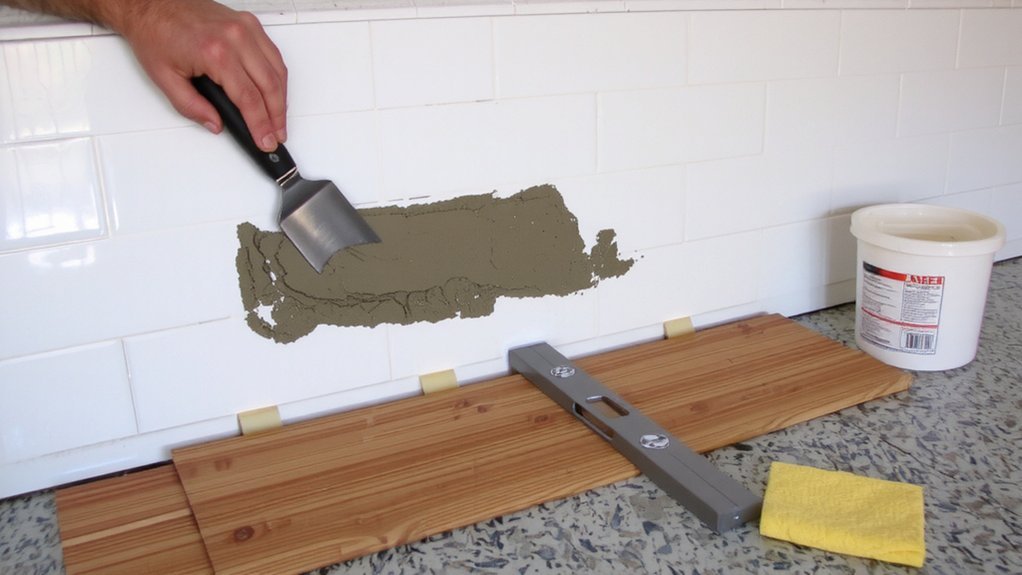
Use the trowel notch size recommended for your tile thickness to ensure full bedding; back-butter large or uneven tiles for solid contact.
Spread adhesive in a small area you can tile within the open time, combing with the notched side.
Press tiles into place using twisting and consistent spacing with spacers.
Clean adhesive from joints and tile faces before it sets, and let adhesive cure before grouting.
Cutting Tiles and Fitting Around Obstacles
Measuring and cutting tiles accurately makes the difference between a professional-looking backsplash and a patchwork job.
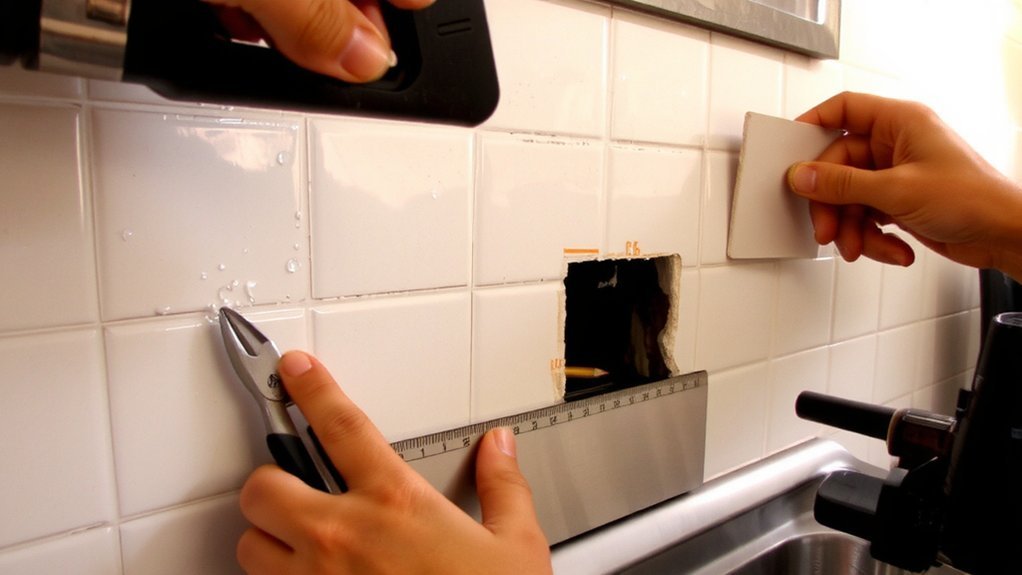
You’ll measure each run and mark tiles for cuts, accounting for grout gaps and fixture clearances.
Use a wet saw for porcelain or large ceramic tiles; score-and-snap cutters work for smaller, softer tiles.
When cutting curves or notches for outlets, faucets, or switches, drill a starter hole and use a nibbler or tile saw with a diamond blade.
Dry-fit every piece before applying adhesive to confirm alignment.
For corners and trim pieces, cut tiles at miters or use bullnose tiles to create smooth transitions.
Wear eye and hand protection, clamp small pieces, and clean cut edges to ensure safe, precise installation, and remove sharp burrs with a file.
Grouting, Sealing, and Final Touches
After the adhesive cures, grout the joints using a grout appropriate for the gap width—sanded for 1/8″ and wider, unsanded for tighter joints and polished stone—and mix to a toothpaste-like consistency.
Use a rubber float at a 45° angle to force grout into joints, working in small sections.
Wipe excess with a damp sponge before it skins over, rinsing the sponge often.
After grout firms, buff haze with a soft cloth.
Seal porous tile and grout with a penetrating sealer per manufacturer timing; test a hidden area first.
Recaulk at countertops and corners with flexible silicone to prevent water intrusion.
Replace outlet covers, clean tiles with pH-neutral cleaner, and inspect for gaps.
You’ll be pleased with the durable, water-resistant result.
Conclusion
By following these steps, you’ll plan carefully, prepare a stable surface, dry‑fit tiles to avoid tiny slivers, and pick the right adhesive for your material. You’ll cut and fit tiles around outlets and corners, press them with spacers, then let mortar cure. After grouting and wiping haze, you’ll seal porous surfaces and recaulk edges for durability. Take your time, double‑check measurements, and you’ll end up with a professional, long‑lasting backsplash, and you’ll feel proud today.