

When your car won’t start, you need to know how to jump a battery safely and efficiently. You’ll want the right gear, a clear sequence for connecting cables, and simple checks to avoid sparks or damage. I’ll guide you through the steps, precautions, and troubleshooting so you can get moving again—starting with safety.
Safety Precautions Before You Begin
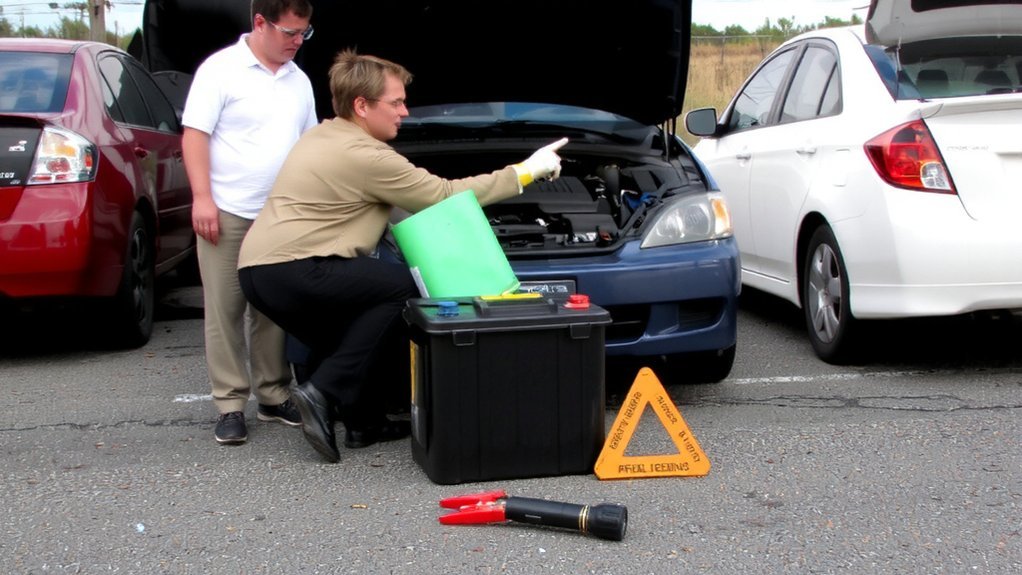
Before attempting a jump start, take a moment to make safety your priority.
You’ll want to position both cars safely: park on level ground, set the parking brake, and leave the engines off.
Turn off lights, fans, and electronics so nothing draws power.
Don’t smoke or let open flames near the battery—hydrogen gas can ignite.
Remove jewelry and loose clothing that could contact terminals.
Inspect the battery and surrounding area; if you see cracks, swelling, leakage, severe corrosion, or an odd smell, don’t try to jump it—call a professional.
Keep bystanders and children back, and wear eye protection if you have it.
If you’re ever unsure about any step, stop and seek professional assistance rather than risking injury.
Safety prevents accidents and saves lives.
What You Need to Jump Start a Car
Now that you’ve confirmed it’s safe, gather the right gear so the procedure goes smoothly.
You’ll need a set of heavy-duty jumper cables or a portable jump starter rated for your vehicle’s voltage.
Have a second vehicle with a fully charged battery ready, parked close enough for cables but not touching.
Bring protective gloves and safety glasses to prevent injury, and keep a flashlight handy for low light.
Keep your owner’s manual nearby for model-specific guidance.
Make sure both vehicles are in park or neutral with parking brakes engaged and engines off.
Remove loose jewelry and avoid clothing that can snag.
If battery terminals look heavily corroded or damaged, don’t attempt a jump; call roadside assistance.
Have a charged phone and emergency contacts written.
Locating and Identifying Battery Terminals
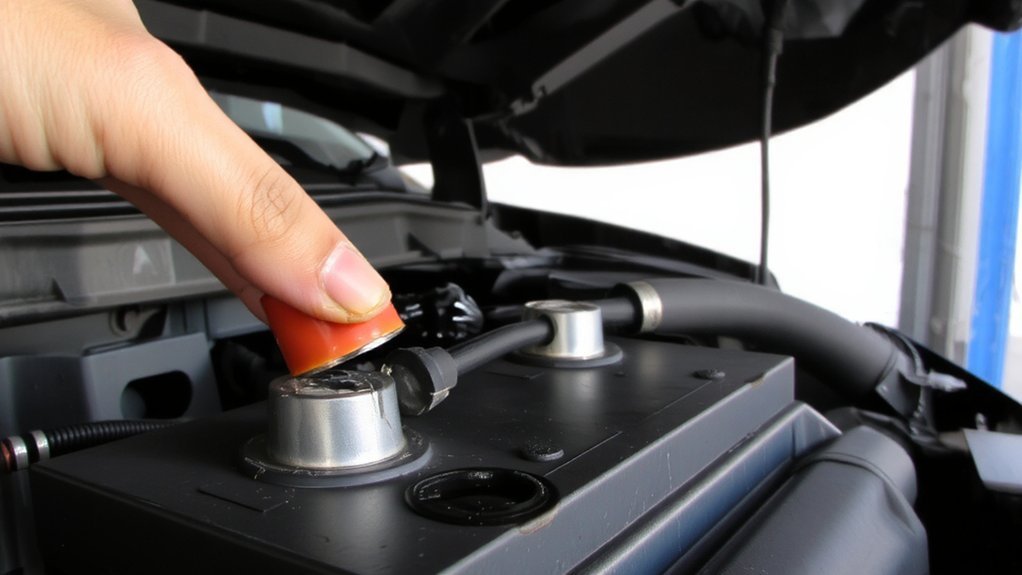
Look under the hood and you’ll quickly spot the battery and its terminals—one marked with a plus (+) or red cover for positive, the other marked with a minus (–) or black cover for negative. Identify which terminal is which before you touch anything: positives often have a plastic cap, larger post, or a “POS”/“+” stamp; negatives may be labeled “NEG”/“-” or connect directly to a thick black cable that goes to the chassis.
Some cars use remote jump points or fuse-box-mounted terminals—check owner’s manual to locate them.
Inspect terminals for heavy corrosion, loose clamps, or frayed cables; light surface corrosion looks like white or blue powder.
Take note of terminal orientation so you attach clamps to the correct posts and avoid reverse connection.
Preparing Both Vehicles for Jump Starting
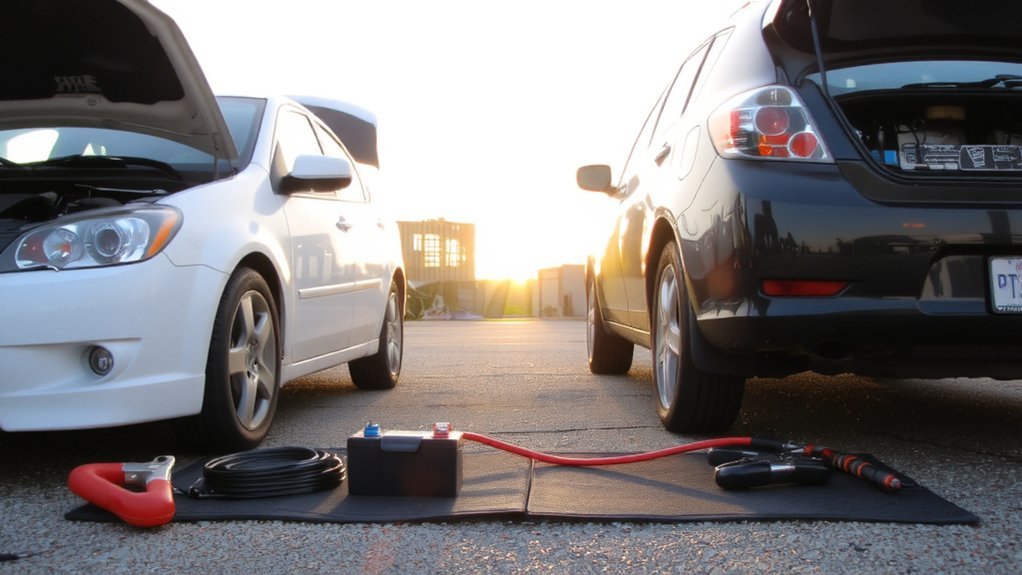
After you position the vehicles close enough for the cables to reach without stretching, park them so they don’t touch, engage both parking brakes, turn off ignitions and all accessories (lights, HVAC, radio), and place automatics in Park or manuals in Neutral with the wheels chocked if needed.
Open both hoods and prop them securely.
Inspect batteries for cracks, leaks, heavy corrosion or bulging; don’t proceed if you see significant damage.
Remove any jewelry and keep tools and metal away from battery tops.
Put on safety glasses and gloves.
Confirm both vehicles share the same nominal voltage (usually 12V).
Clear bystanders and pets, turn off heaters and fans, and make sure headlights and interior lights are off.
Keep paperwork like owner’s manuals handy nearby.
Step-by-Step Cable Connection Sequence
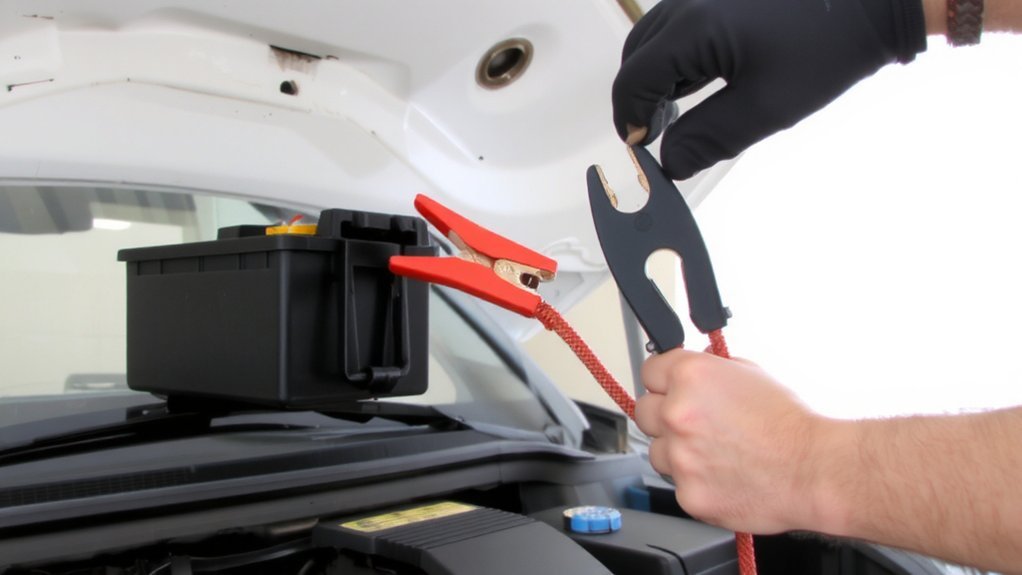
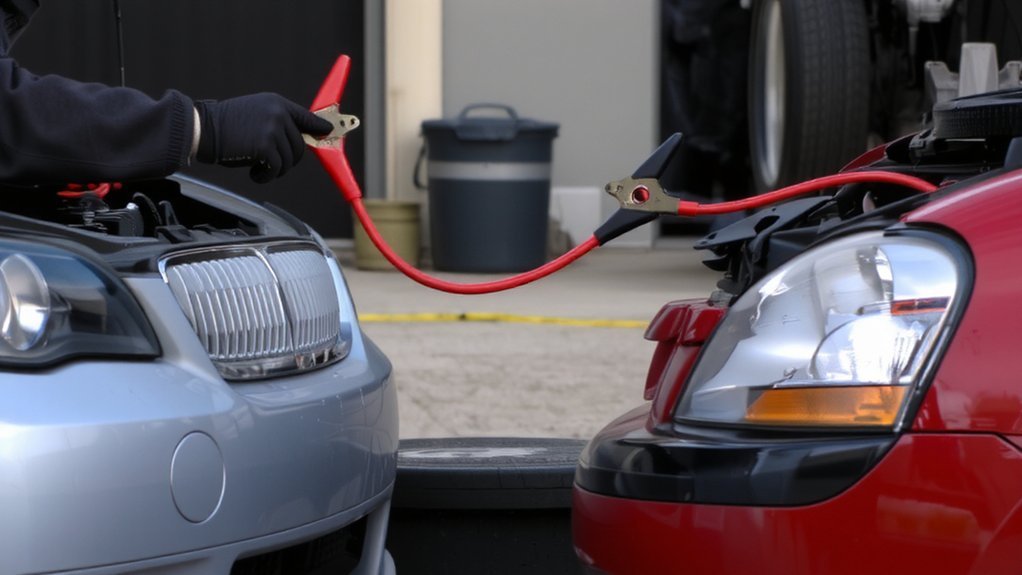
With both cars prepped, you’ll attach the jumper cables in a specific order to minimize sparks and risk—start by clamping the red (positive) cable to the positive terminal of the dead battery, then connect the other red clamp to the positive terminal of the good battery.
Next, clamp the black (negative) cable to the negative terminal of the good battery.
Finally, attach the other black clamp to an unpainted metal grounding point on the dead vehicle’s engine block or chassis, well away from the battery and moving parts.
Make sure clamps are secure and won’t slip, and keep cable leads clear of belts and fans.
When removing cables, follow the reverse order and avoid letting clamps touch each other or battery terminals at once.
How to Start the Vehicles Safely
When everything’s securely clamped and both cars are in Park (or Neutral) with their parking brakes engaged, start the donor vehicle and let it run at a moderate idle for a minute to build charge.
Keep accessories off in both cars — headlights, radios, heaters — to maximize available power. Confirm neutral safety: automatic in Park, manual in Neutral with clutch depressed.
After a minute, try starting the dead vehicle: turn the key or press start and crank in 5–10 second bursts only. If it doesn’t catch, wait 30–60 seconds before trying again to avoid overheating the starter.
Watch for smoke, sparks, or odd noises and stop immediately if you see them. Once it starts, let the revived engine run to stabilize electrical systems and components.
Proper Cable Disconnection Procedure
Once the revived car’s engine is running and both vehicles are idling, you’ll remove the jumper cables in the exact reverse order you connected them. First, disconnect the black clamp from the grounded metal on the dead car, then remove the black clamp from the donor battery’s negative terminal.
Next, remove the red clamp from the donor battery’s positive terminal, and finally take off the red clamp from the revived car’s positive terminal. Keep clamps from touching each other or vehicle metal. Lay cables where they won’t fall into engine bays.
Close hoods only after all clamps are clear. If a clamp sparks or feels hot, step back and wait a minute before repeating removal. Wear gloves and eye protection while handling clamps carefully.
Aftercare: Charging and Testing the Battery
After the engine’s running, don’t assume the battery’s recovered — you’ll need to charge it fully and test its condition to avoid another no-start.
Keep the engine idling for at least 20–30 minutes or drive the car; modern alternators recharge slowly, so a brief idle may not restore full charge.
If you have a battery charger, connect it per manufacturer instructions and charge at a low rate (2–10 amps) overnight for a full charge.
After charging, use a digital multimeter to confirm resting voltage: 12.6–12.8 volts is full.
Perform a load test or visit an auto shop if voltage drops under load or stays below about 12.4 volts.
Replace the battery if tests show poor capacity or repeated failures.
Keep records of charging and maintenance.
Troubleshooting Common Jump Start Problems
Why won’t the car start even with jump leads attached?
Check clamps for secure, clean contact and correct polarity—red to positive, black to negative/ground.
Make sure donor car’s engine is running and cable gauge is adequate.
Wait a minute or two after connecting so charge flows.
If it still won’t turn over, try a different donor or known good battery.
Inspect battery terminals for heavy corrosion or a cracked case; replace if damaged.
Verify the starter and solenoid by listening for clicks; no clicks may mean starter failure.
Check fuses and immobilizer lights; security systems can block starting.
If the engine cranks but dies, the alternator might be faulty.
When unsure, call roadside assistance or a mechanic.
Keep jumper cables in good condition.
Always.
Conclusion
You’re ready to jump start a car safely: take precautions, gather cables and gloves, and identify the battery terminals. Park and switch off both cars, attach red to positives first, then black to donor negative and a grounded point on the dead car. Start the donor, wait, then start the dead car, remove cables in reverse, and let the engine run to recharge. If it doesn’t start, troubleshoot or call for professional roadside assistance.