When you’re ready to open a savings account, you’ll pick the account type, gather your ID and tax info, and choose how to fund it — but rates, fees, and withdrawal limits can change which option fits you best. Keep going to learn what to prepare, how to apply, and what questions to ask.
What You’ll Need to Apply
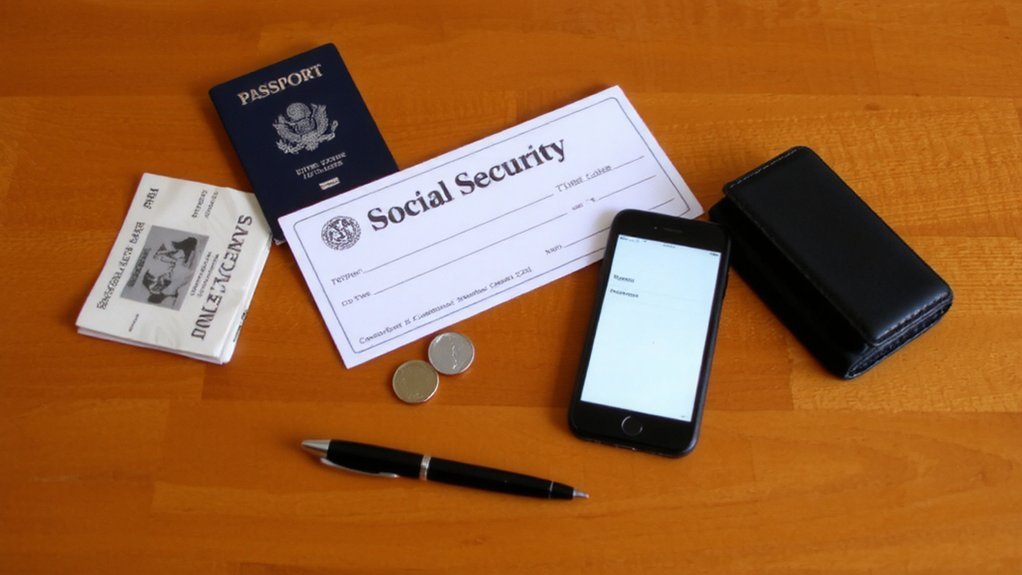
Before you apply, gather a valid photo ID (driver’s license, passport or state ID), your Social Security number or tax ID, proof of address (utility bill or lease), an initial deposit method (card, check, or transfer), and basic contact info; if you’re opening a joint or custodial account, bring the other person’s ID and any required consent forms, and if you’re under 18 confirm the bank’s age rules and parental documentation.
You’ll also note required signatures, funding limits, and any identity verification steps the bank uses, like a selfie check or mailed code.
Ask about fees, processing times, and required minimum balances before you submit your application.
Keep digital copies of documents so you can reapply or resolve issues quickly with customer support directly.
Choosing the Right Account Type

Which account fits your goals—short-term access, emergency savings, or long-term growth?
Consider a basic savings if you want easy access and low minimums; you’ll get modest interest but fewer restrictions.
Choose a high-yield savings if you prioritize higher rates and online access, but check balance requirements and fees.
Use a money market account when you want limited check-writing plus competitive yields.
Pick a certificate of deposit (CD) for higher fixed rates if you won’t need funds for a set term; watch early withdrawal penalties.
Look into target or goal-based accounts that help automate saving for vacations or bills.
Compare APYs, minimums, monthly fees, and withdrawal limits.
Match the account’s liquidity and rules to your timeline and risk tolerance so you’ll pick what suits you.
How to Apply: Online, In Person, Phone, or Mail

How do you apply? You can open a savings account online, in person, by phone, or through mail.
Online applications are fast: you’ll complete forms, upload ID, and electronically sign; expect instant decisions or short verification holds.
In person, a teller or banker will guide you, verify ID, and get wet signatures if required.
By phone, a representative walks you through the application and explains terms; you may need to mail or upload ID afterward.
By mail, request forms, complete and sign them, and include copies of ID—processing takes longer.
In all methods, read disclosures, confirm account features and fees, and ask about verification steps and timelines so you know when your account becomes active.
Keep records of communications and application confirmations for reference.
Minimum Deposits and Funding Options

Many banks and credit unions require a minimum opening deposit—often $0 to $100 or more—and may also set a minimum balance to avoid fees; you should check those amounts up front.
You can fund a new savings account several ways: transfer from an existing bank account, set up direct deposit from payroll, deposit cash or checks at a branch or ATM, or mail a check.
Online banks usually accept electronic transfers and mobile check deposits but mightn’t take cash.
If you plan recurring transfers, set them up during or right after account opening to build balances automatically.
Verify cutoffs and processing times for transfers and check holds so you know when funds become available.
Keep account and routing numbers handy for quick funding.
Fees, Limits, and Account Conditions

Once you’ve funded the account, check the fee schedule and account conditions so you won’t be surprised by charges or restrictions. Look for monthly maintenance fees, minimum-balance waivers, ATM and out-of-network fees, and penalties for excessive withdrawals.
Note any tiered rate structures tied to balances or linked accounts. Confirm daily and monthly withdrawal limits, transfer caps, and hold periods for deposits.
Understand requirements for maintaining promotional rates and what triggers fee waivers, like e-statements or direct deposit. Review overdraft and NSF policies, closure or dormancy fees, and how interest is compounded and credited.
If anything’s unclear, ask customer service for written terms. Keeping these details in mind helps you avoid unexpected costs and protects your savings growth. Compare terms across banks before deciding carefully.
After Your Account Is Opened: Managing and Funding
After you open your account, set up funding and basic management so your savings starts growing and stays protected.
Link an external checking account for transfers and enable automatic recurring deposits—weekly, biweekly, or monthly—so contributions happen without thinking.
Sign up for online and mobile access, set alerts for low balance, large withdrawals, and interest postings, and choose paperless statements to reduce risk.
Confirm FDIC or NCUA coverage and keep beneficiary designations current.
If your account has withdrawal limits or tiered rates, track transactions to avoid fees or rate changes.
Consider rounding up purchases into savings or using transfer rules for goals.
Review statements monthly, update contact info, and adjust deposits as life or goals change.
Don’t hesitate to contact customer service with any questions.
Conclusion
Now that you know what’s needed and which savings option fits you, go ahead and apply using the method that’s easiest—online, in person, by phone, or mail. Have your ID, tax number, and proof of address ready, fund the account to meet any minimum, and set up online access and automatic transfers. Review fees, withdrawal limits, and beneficiary info so you’re protected and can start reaching your savings goals with confidence today and stay disciplined.