

You want a pro finish, not streaks or drips. You’ll start by measuring surfaces, choosing the right primer and paint, and protecting floors and trim. You’ll learn simple repairs, cutting-in techniques, and rolling methods that cut touch-ups and save time. Start with the right prep — follow the next steps to get each stage right.
Preparation and Room Assessment
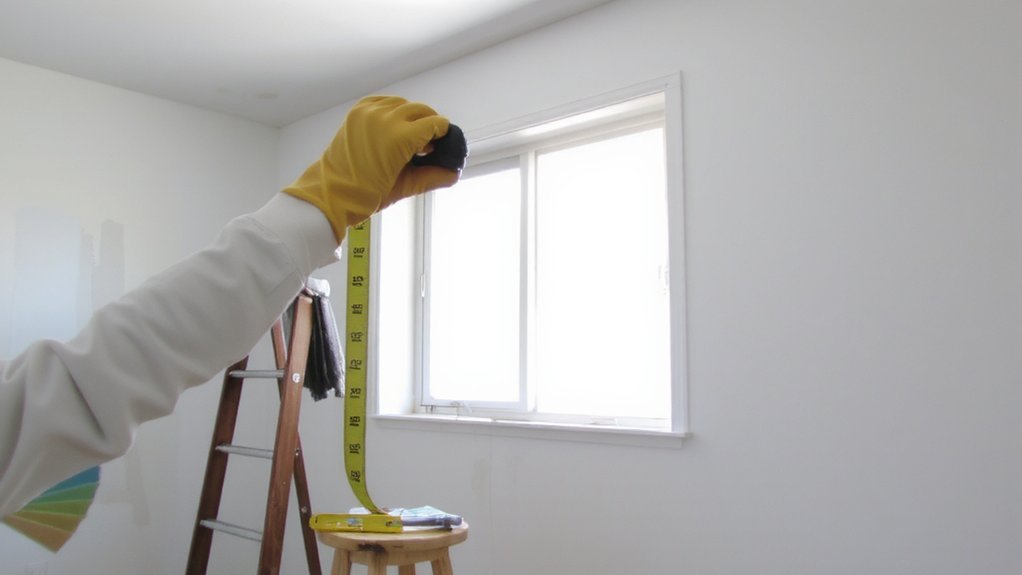
Before you pick up a brush, thoroughly assess the room: measure walls and ceilings, note surface conditions (cracks, peeling, stains), check lighting and ventilation, and decide what furniture or fixtures you’ll move or cover.
Identify areas needing repair — fill holes, sand rough spots, and scrape loose paint — so surfaces accept primer and paint evenly.
Test paint samples on small sections to check color in different light and with your fixtures.
Calculate paint quantity using your measurements and expected coats.
Choose primer and paint types for substrate and humidity.
Gather appropriate tools: quality brushes, rollers, extension poles, sandpaper, patching compound, caulk, and ladders.
Plan ventilation and drying time to avoid tackiness and odors.
Allow extra time for unexpected repairs and final touch-ups too.
Clearing and Protecting the Space
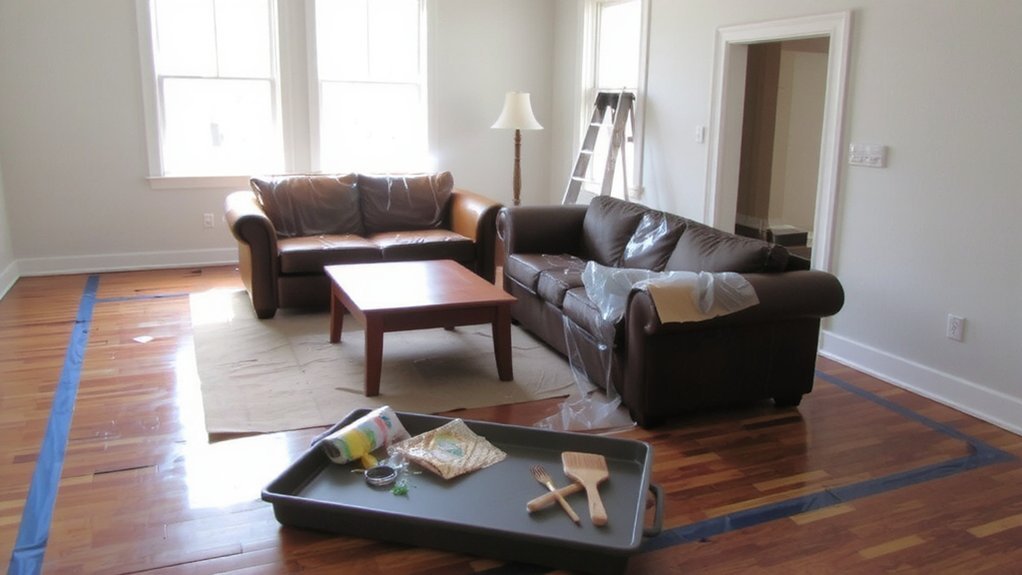
Once you’ve assessed the room, clear out furniture or move large pieces to the center and cover them with fitted drop cloths or plastic sheeting; roll smaller items into another room or stack them on covered pallets so you have unobstructed access.
Remove window treatments, rugs, outlet and switch covers, and light fixtures you can detach; store fasteners in labeled bags.
Lay canvas or rosin paper over floors and tape seams with low-residue tape, smoothing edges to avoid tripping hazards.
Apply painter’s tape to baseboards, trim, door frames, and any hardware you can’t remove, pressing firmly to seal.
Protect vents and ceiling fixtures with breathable covers.
Keep a clear path for tools and a dedicated bin for debris so you work efficiently and safely.
Wall Cleaning and Inspection
With the room prepped and protected, you’ll clean and inspect the walls so paint will stick and the finish looks professional.
Start by removing dust, cobwebs and loose debris with a soft brush or vacuum with brush attachment; work top to bottom.
Wash walls with a mild detergent solution, focusing on kitchen or high-traffic areas; use a degreaser for oily spots and rinse with clean water.
Allow surfaces to dry completely before continuing.
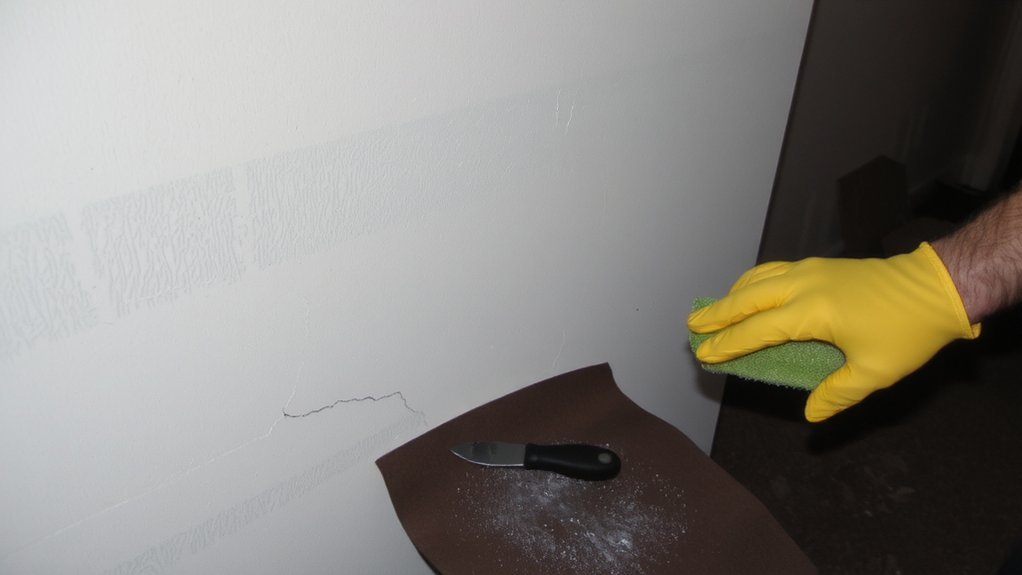
Turn on strong, angled lighting to reveal imperfections: hairline cracks, peeling, mold stains, nail pops, and texture inconsistencies.
Run your hand over the surface to feel rough patches. Mark every problem area with small painter’s tape or a pencil so you can address them in the next step during the prep.
Repairing and Sanding Imperfections
As you tackle repairs, address each marked spot systematically so the surface becomes smooth and sound for painting.
Start by knocking out loose plaster or flaking paint, then brush away dust.
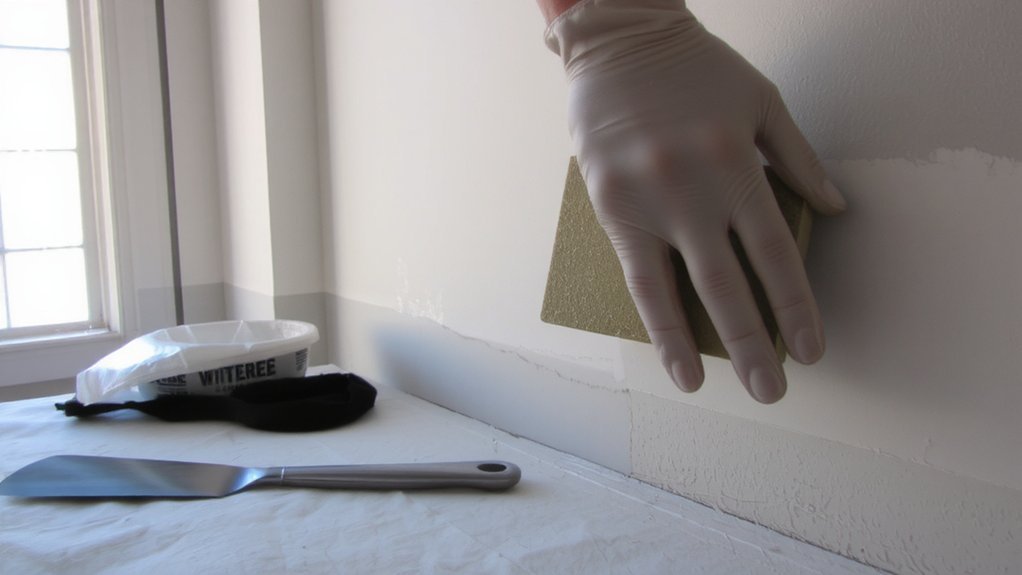
For small nail holes and hairline cracks, use spackling compound; for larger gouges, apply patching plaster or lightweight joint compound in thin layers, letting each layer dry.
Sand with fine-grit paper, feathering edges to blend with surrounding wall.
For textured walls, match texture with a stipple or spray before sanding.
Remove sanding dust with a vacuum and tack cloth.
Fill gaps around trim and baseboards with paintable latex caulk and smooth it with a wet finger.
Finally, inspect patches under raking light and prime repaired areas before topcoating.
You’ll get seamless results consistently
Taping and Edge Protection
Before you load the roller, tape and shield every edge so paint lines stay crisp and trim, outlets, and flooring stay clean.
Choose high-quality painter’s tape suited to your surface—delicate for fresh drywall, medium for painted trim.
Press tape down firmly with a plastic scraper or credit card to prevent bleed-through.
Cover hardware and switches with thin plastic, and use drop cloths or rosin paper for floors, taping seams so no paint sneaks underneath.
Protect windows and fixtures with masking film and secure corners tightly.
When you’re finishing a section, remove tape carefully at a 45-degree angle while paint is still slightly tacky or just dry to the touch to avoid lifting.
Label leftover rolls for future jobs.
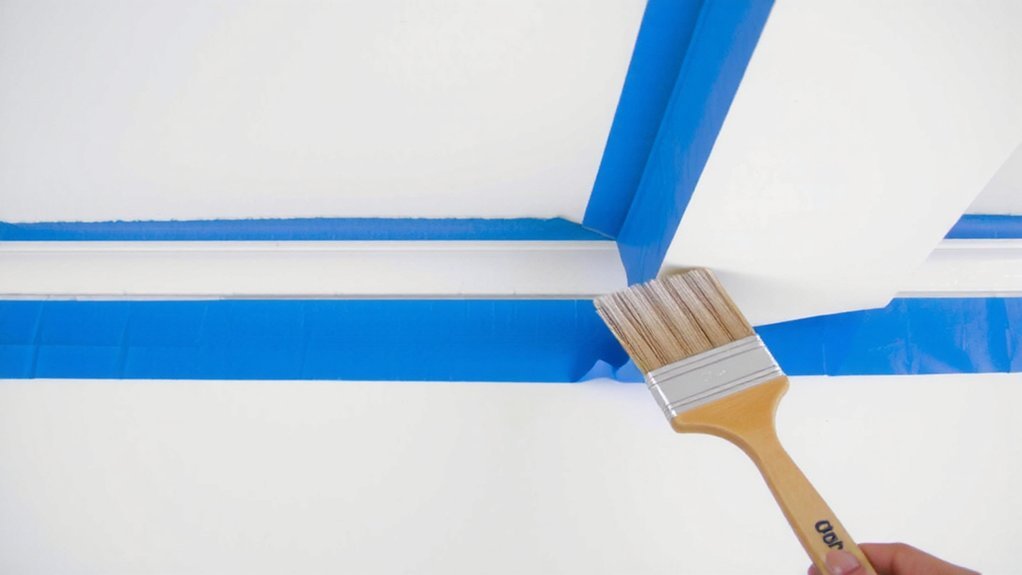
Cutting in With Precision
Now that you’ve taped edges, cut in by painting a 2–3 inch band along trim, corners, and ceiling lines with a 2–2.5 inch angled sash brush.
You’ll load the brush lightly, tap off excess, and start with a angled stroke that lays paint smoothly.
Work in short sections so paint stays wet where you meet main field.
Hold the brush like a pencil for control, using tip to follow seams and belly for coverage.
In corners, paint toward the corner from both sides, leaving a thin overlap.
Feather the edge by reducing pressure as you approach the unpainted area to avoid ridges.
Keep a damp cloth nearby to wipe mishaps.
Inspect under natural light and touch up any thin spots before they dry.
Rolling Techniques for Even Coverage
Loading a roller correctly makes the difference between streaks and a professional finish. You should roll in the tray’s well, spin to load evenly, and avoid globs at the edges.
Start with a three to four foot section, lay down a loose W or M, then fill in without lifting to blend. Use consistent, moderate pressure so nap meets wall uniformly; too light leaves thin spots, too heavy causes drips.
Keep a wet edge by working from the last painted area into the next before it skins. Back roll gently, pass the roller vertically once after filling to smooth texture.
Replace or clean rollers when they clog. Work methodically, keep edges feathered, and inspect under good light for missed areas as you go.
Managing Multiple Coats and Drying Times
Once you’ve covered the wall evenly with your roller, plan your next coats around recommended recoat times and the room’s conditions. Check the paint can for solvent- or water-based instructions; solvent paints generally need longer to dry.
Increase ventilation and raise temperature slightly to speed drying, but avoid direct heat that can cause blistering. Apply thin, even additional coats rather than heavy layers; they’ll dry faster and level better.
Lightly sand between coats only if the surface feels rough, then remove dust with a tack cloth. Test a discreet area to confirm coverage and color before committing.
Allow the final coat to cure according to the manufacturer before rehanging items or heavy cleaning to avoid marks. You’ll get a durable, professional-looking finish every time.
Removing Tape and Final Touches
Peeling the tape carefully while the paint’s still tacky to the touch—but not wet—lets you get crisp edges without lifting dried paint.
Work slowly at a 45-degree angle, pulling the tape back over itself rather than away from the wall.
If a tiny bead of paint has set along the edge, score it with a utility knife and lift the tape while the cut holds the paint line.
For final touches, inspect corners, trim, and outlets, using a small brush to feather and blend any thin spots or overlaps.
Sand tiny bumps lightly with fine-grit paper and touch up with matching paint for invisible repairs.
Check light from different angles; glare reveals flaws you can fix with precise brushwork and minimal layering for consistency.
Cleanup and Care After Painting
After removing tape and making touch-ups, you’ll tackle cleanup and care to properly preserve your finish.
Start by cleaning brushes and rollers with warm water and mild soap (latex) or mineral spirits (oil), then reshape and let them dry flat.
Seal leftover paint in labeled, airtight containers; press plastic wrap over the surface before sealing lids to reduce skinning.
Remove drop cloths carefully, folding dirty sides inward, and vacuum or sweep dust and debris from trim and floors.
Replace outlet covers and move furniture back after the paint fully cures—usually 24–48 hours for dry-to-touch, longer for full hardness.
Ventilate the room while curing to speed drying and dissipate odors.
Store tools and dispose of waste per local regulations.
Check manufacturer’s recommendations for stain removal.
Conclusion
You’ve prepped, protected and repaired, so you’re set to paint like a pro. Cut in carefully, work with a loaded roller and keep a wet edge, applying thin, even coats. Let each coat dry fully, then back-roll for uniformity. Pull tape at a 45° angle while it’s still tacky, touch up any flaws, ventilate for curing, and clean tools properly. Take your time and you’ll end up with a flawless, durable finish and feel proud.