

When you delete files, they’re often still on the disk until overwritten, so you can often get them back if you act fast. Stop using the drive, identify whether it’s an HDD, SSD, or encrypted volume, and avoid installing recovery tools onto it. Below are practical, step‑by‑step options to try next — from built‑in tools to safe imaging and when to call a pro.
Understanding How File Deletion Really Works
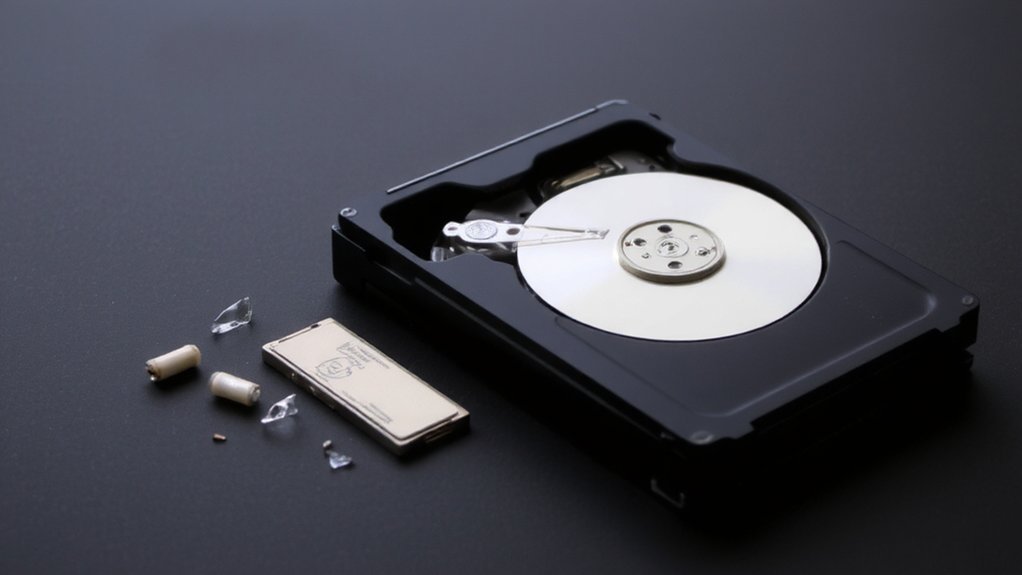
How exactly does deleting a file work? When you delete something, your system usually removes or hides the directory entry and marks the disk space as available; it doesn’t immediately erase the actual data blocks.
That means the file’s contents often remain intact until they’re overwritten by new data. If you want to recover a file, stop using that storage right away and avoid saving, downloading, or installing anything to it.
Use recovery tools that scan for leftover directory entries and data remnants, or create a forensic image and work from that to prevent further damage. Recovery success depends on whether those blocks have been reused and on how the storage and operating system manage deleted data.
Act quickly for the best chance possible.
Assessing Your Situation: Drive Type and File System
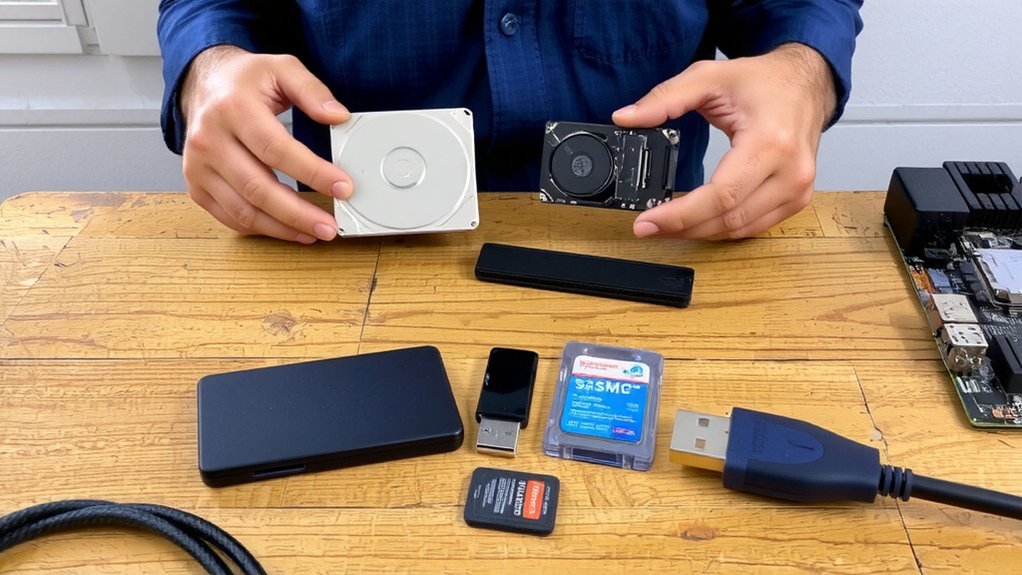
Because SSDs and HDDs handle deletions very differently, you should identify the drive type and the file system before attempting recovery. If you have an SSD, TRIM may have already purged deleted blocks, reducing recoverability; if it’s an HDD, deleted entries often remain until overwritten.
Next, note the file system: NTFS, FAT/exFAT, HFS+, APFS, and ext variants each track metadata differently. Journaling systems (NTFS, ext4, HFS+) record changes that can aid reconstruction; snapshot-capable systems (APFS, Btrfs, ZFS) might retain older versions.
Also check whether the partition table is MBR or GPT and whether encryption like BitLocker or FileVault is in use—encrypted volumes complicate recovery and often require keys. Match tools to your drive type and file system before choosing techniques carefully.
Immediate Actions to Maximize Recovery Chances

Now that you’ve identified the drive type, file system, partition scheme and any encryption, act quickly to preserve what’s left: stop using the affected system and avoid writing to the drive, unmount or power it down if possible, and don’t install recovery tools onto the same disk.
Next, remove external media and disconnect network shares to prevent background writes or sync.
If you must capture data, create a sector-by-sector image to a separate drive using read-only tools and verify checksums.
Label the image and document steps taken, timestamps, and symptoms.
Avoid automated cleanup utilities or defragmentation.
If encryption or RAID complicates recovery, note configuration details and consult a specialist.
Work methodically to keep original media untouched until recovery attempts begin to maximize success now.
Using Built-In Operating System Tools for Recovery

Across common desktop OSes, start with the built-in, non-destructive options before trying deeper recovery tools: check the Recycle Bin/Trash and any cloud sync trash.
Then look for versioned backups such as Windows File History or Previous Versions/Shadow Copies, macOS Time Machine, or your distro’s scheduled snapshots.
If you don’t find files there, use file explorers’ restore/version features to recover items, and check device backups.
On Windows, enable Show Hidden and inspect Restore points for Previous Versions; on macOS, enter Time Machine to browse backups; on Linux, use snapshot manager (Timeshift, Btrfs snapshots) or inspect /var/backups.
Don’t write to the affected drive—work from mounts or external media—and copy recovered files to a different volume to avoid overwriting remaining data.
Verify integrity before deleting originals permanently.
Best Free and Paid Recovery Software Options

Which tool should you pick when built-in options fail? You’ll choose based on file type, drive condition, and budget.
Free tools like Recuva, PhotoRec, and TestDisk handle many accidental deletions; they’re great for straightforward recoveries and for testing whether files are recoverable.
Paid options—such as EaseUS Data Recovery Wizard, Stellar Data Recovery, and R-Studio—offer deeper scans, better file previews, and customer support, which help with complex cases or formatted drives.
Look for secure scanning, read-only recovery, and clear pricing.
Try a free scan first to assess recoverability, then upgrade if you need advanced features or faster results.
Always install recovery software on a different drive than the one you’re recovering to avoid overwriting data.
Check reviews and trial limits before committing to paid software.
Recovering Data From SSDS and Trim-Enabled Drives
If you tried software on a hard drive, be aware SSDs behave very differently and often defeat typical recovery tools—SSD controllers use wear leveling and logical-to-physical mapping, and TRIM lets the drive erase blocks the OS marks as deleted, so the data may be irretrievable almost immediately.
If TRIM’s active you should power down the system to prevent further writes and disconnect the SSD to avoid additional garbage collection.
Software recovery rarely works once TRIM has cleared data; commercial labs sometimes extract remnants by accessing the controller or NAND directly, but that’s costly and not guaranteed.
For accidental deletions on modern SSDs, rely on backups or manufacturer utilities that offer built-in undelete features, and disable TRIM only with full understanding of long-term performance risks.
Creating and Using Disk Images for Safe Recovery
Because recovery attempts can overwrite or alter remaining evidence, always create a sector-by-sector (bit-for-bit) disk image of the affected drive and perform all analysis and restoration on that image rather than the original media.
You’ll use imaging tools like dd, ddrescue, or dedicated forensic software to capture an exact copy, including unallocated space and slack.
Verify the image integrity with hashing (MD5, SHA1, or SHA256) before you begin. Work only on mounted read-only images or write-protected clones to avoid accidental changes.
Label and store both image and hash securely, and keep a clear chain-of-custody log if needed. If initial imaging fails, consider controlled retries with adjusted parameters to avoid further damage. Keep originals offline and document every step for reproducibility and accountability immediately thereafter.
When to Seek Professional Data Recovery Services
After you’ve created and verified a bit-for-bit image, you still need to recognize situations where you should call a professional.
If the drive shows physical faults — clicking, grinding, burning smell, or won’t spin — stop and get expert help to avoid further damage.
Call pros for RAID arrays, servers, or multi-disk systems where rebuilds can overwrite data.
If multiple recovery attempts fail, or recovery tools report corrupted file tables or missing metadata, professionals have specialized lab equipment and firmware expertise.
Use pros when the data is business-critical, irreplaceable, or legally sensitive, or when you need a documented chain of custody.
Also consult them before opening sealed drives or voiding warranties; DIY tinkering can permanently destroy recoverability.
Get quotes and check credentials before surrendering media.
Handling Encrypted or Password-Protected Storage
Encryption protects your files by design, so you’ll need the right keys, passwords, or recovery tokens before attempting recovery.
First, identify the encryption method (BitLocker, FileVault, VeraCrypt, hardware device) and gather any recovery keys or account credentials.
Work on a sector-level image of the device; don’t modify the original media.
If the container needs mounting, mount the image with the appropriate tool and supply credentials.
If credentials are truly lost, avoid guessing that could corrupt headers; consider key-recovery tools only when supported and lawful.
Check for available OS-level recovery features like key escrow or cloud-stored recovery keys tied to your account.
When unsure, contact the encryption vendor or a qualified data-recovery specialist who handles encrypted media.
Document passwords securely and test access on copies.
Preventing Future Data Loss With Backups and Cloud Storage
If you want to avoid future recovery headaches, build a backup strategy that combines local copies, offsite/cloud storage, and regular testing.
Keep one fast local backup for quick restores and one remote copy for disaster protection.
Use incremental backups to save space and versioning to recover older file states.
Encrypt backups and use strong passwords or keys for cloud services so lost devices don’t expose data.
Automate schedules so backups run without relying on memory.
Periodically restore files from backups to confirm integrity and update documentation of what’s backed up and where.
Test recovery times so you know how long a restore takes.
Finally, review and adjust retention policies to balance cost, compliance, and your need for historical data.
Start today and stay consistent.
Conclusion
You can often recover deleted files if you act quickly and avoid using the drive. First, identify whether it’s an HDD, SSD, or encrypted volume, then make a bit‑for‑bit image and work from that copy. Try built‑in tools and reputable recovery software, but stop and call professionals for encrypted, RAID, or physically damaged media. Finally, set up regular backups and cloud sync so you won’t face this stress again and reduce your data loss risk.