You can capture anything on your Android in several quick ways, and you’ll want the method that fits how you use your phone. You’ll use buttons, gestures, Quick Settings, or Google Assistant depending on your device. Keep going to learn the exact steps, how to take scrolling shots, edit and annotate, and avoid common pitfalls.
Key Takeaways
- Press Power + Volume Down (or Power + Home on some phones) briefly to capture the screen.
- Use gestures like a three-finger swipe or palm swipe if your device supports them and they’re enabled in Settings.
- Tap the Screenshot tile in Quick Settings/notification shade for a one-tap capture or delayed/scrolling options.
- Say “Hey Google, take a screenshot” to Google Assistant for hands-free captures where supported.
- Edit, annotate, blur sensitive info, then organize or securely share screenshots from the preview or Gallery/Photos app.
Use Hardware Buttons to Capture a Screenshot
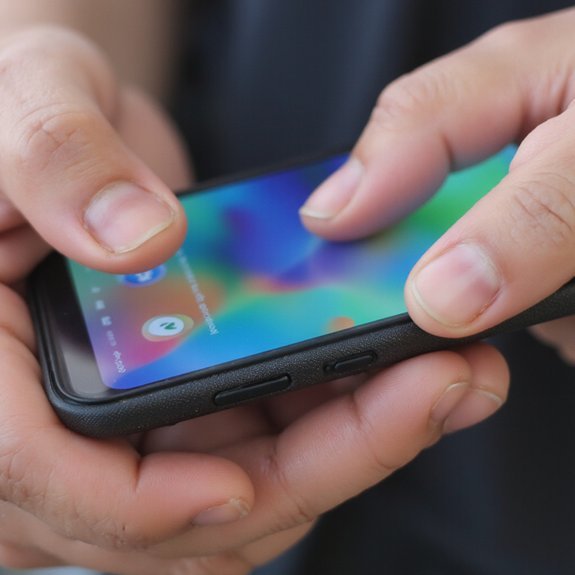
On most Android phones, press and hold the Power and Volume Down buttons briefly to capture the screen. You’ll use simple hardware button combinations that are consistent across many models, and they’ll trigger an instant capture you can edit or share. If your phone adds alternatives — like Power plus Home — learn the specific combo in Settings or the quick-start guide. After you capture, open the screenshot to trim, annotate, or change export options; some phones expose screenshot quality settings so you can balance file size and clarity. If you need longer scrolling captures, check the preview tools that stitch pages, but keep to system controls rather than third-party apps for security and speed. Practice the timing so you don’t open power menus or voice assistants by accident. This method stays fast and reliable when you want a no-fuss, hardware-driven approach to saving what’s on your screen.
Take a Screenshot With Gestures and Motion Controls
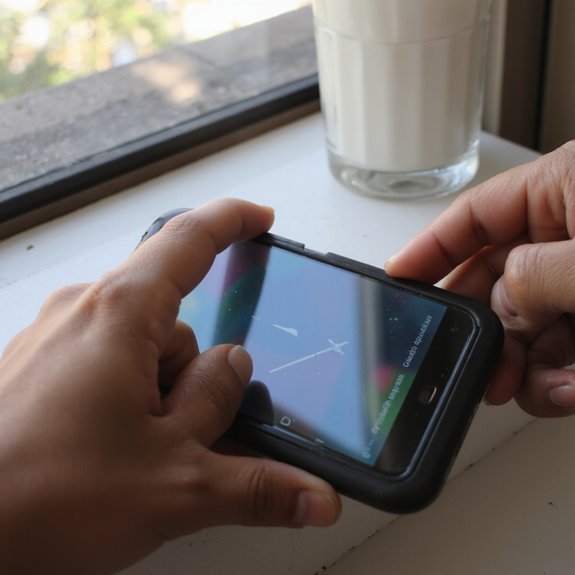
Many phones let you capture the screen with gestures or motion controls—like a three-finger swipe, palm swipe, or a quick shake—so you can grab screenshots without pressing buttons. You’ll activate the feature in Settings under Gestures or Motion. Toggle it on, then test gesture sensitivity and motion activation options. Adjust sensitivity so the phone responds when you want it to and ignores accidental triggers.
Try these common gesture and motion options:
- Three-finger swipe: drag down with three fingers to capture.
- Palm swipe: edge of your hand brushes the screen to snap.
- Quick shake: shake the device for an instant grab.
- Lift-to-capture or double-tap (if supported) for hands-free shots.
If captures fail, recalibrate or lower gesture sensitivity, and verify motion activation isn’t blocked by battery saver or screen protectors. These methods speed capture and feel futuristic once you’ve tuned them reliably for your workflow today.
Use Quick Settings and Notification Shade Shortcuts
If your phone includes a Screenshot tile, pull down the notification shade (swipe down twice if needed) and tap it to grab the screen instantly. Many Android skins let you reorder quick settings tiles, so add Screenshot to the set you access quickly: tap edit, drag the tile into place, and confirm. Once present, a single tap captures the display without juggling buttons or gestures. Some manufacturers include a delayed capture or scrolling screenshot option within that tile—tap the tile and choose the mode you want. If your device lacks a dedicated tile, check for a Screen Capture shortcut in the notification shade shortcuts or in a system toolbar. Using these controls speeds workflows, reduces errors, and integrates with sharing targets so you can annotate or send immediately. Tailor the quick settings layout to match your habits, and you’ll capture, edit, and share screens with minimal friction effortlessly.
Capture Screens Using Google Assistant or Voice Commands
When you enable voice controls, you can grab a screenshot hands-free by saying “Hey Google, take a screenshot” (or a similar phrase), and Assistant will capture the screen, show the preview, and offer share or edit options. You’ll first enable Google Assistant and give it permission to use voice commands and device controls. Once set up, trigger it with your wake phrase or the Assistant button, then say the capture command. The image lands in your Photos or Gallery and shows quick actions.
- Use precise phrases like “take a screenshot” or “capture screen”
- Combine voice commands with Assistant’s edit or share prompts
- Grant microphone and screenshot permissions in Settings
- Expect small variations across OEM Android skins
Voice-driven captures speed workflows and keep your hands free during demos or multitasking. If privacy matters, confirm where Assistant stores and shares screenshots before use for your security.
Take Scrolling or Long Screenshots of Webpages and Chats
Beyond voice captures, you can grab an entire webpage or long chat by using your phone’s scrolling (or “capture more”) screenshot feature. On many Android phones, take a normal screenshot, then tap the scrolling screenshots or Capture more button that appears; the interface scrolls down and stitches the content automatically. Keep tapping until you reach the desired end, then save. For web pages, this preserves layout and links visually; for Chat conversations, it captures message flow and timestamps in a single image.
If your phone lacks a built-in option, use a reputable app that offers panoramic or scrolling screenshots—choose one with quick stitching and minimal compression. Preview the result and crop extraneous UI before sharing. This method speeds documentation, simplifies reporting, and helps you archive long threads or articles as a single, readable image without switching tools. You’ll save time and keep context intact for future reference always.
Find, View, and Organize Your Screenshot Files
You’ll find screenshots in the Screenshots folder in your Photos/Gallery app or the Files app. Open them in Gallery or Files to preview, crop, or share quickly. Then sort into albums, rename files, or delete duplicates to keep things organized.
Locate Screenshot Folder
Although the exact path varies by device, you’ll typically find screenshots in a folder named “Screenshots” that’s visible in your Photos/Gallery app or in internal storage under Pictures or DCIM; if you don’t see it, open the Files (or My Files) app and look for Pictures → Screenshots or use the app’s search to locate files named “Screenshot”. You can manage screenshot storage and improve screenshot organization by renaming, moving, or tagging files. Use the Files app or a file manager to sort, batch-move, or compress screenshots to save space. Consider cloud sync to free storage and enable backups.
- Quick actions for organizing
- Folder naming conventions
- Batch selection tips
- Cloud synchronization options
These steps keep your captures discoverable and scalable as your collection grows.
Open and Preview
To open and preview screenshots, go to your Photos/Gallery or Files app, tap the Screenshots folder (or search for “Screenshot”) and tap a thumbnail to view it full-screen; swipe left or right to browse, pinch to zoom, and use the on-screen edit, share, or delete icons to act on a capture. Preview controls let you crop, draw, annotate, or revert edits; use undo if you change your mind. Tap info or details to see file size, resolution, and timestamp so you can validate captures. If you use third-party screenshot apps, they often add floating tools, cloud sync, or automated tagging — test settings to match your workflow. Apply screenshot basics: keep consistent organization and delete unwanted shots promptly to save space and streamline retrieval.
Sort and Rename Screenshots
After previewing screenshots, organize them so you can find what you need quickly: create descriptive folders (Work, Receipts, References), move captures into those folders, and rename files with short, consistent patterns like YYYY-MM-DD_subject or project_keyword for easier searching. Maintain screenshot organization and strict file naming to enable fast retrieval. Use your Gallery or Files app to sort, tag, and batch-edit. Consider cloud rules or apps for automatic renaming. Keep naming conventions across devices and purge duplicates regularly. Leverage OCR, metadata, and smart-search features to surface relevant captures across projects, speeding decision-making and automation. Schedule monthly reviews to refine rules and folders regularly.
- Batch-move to folders
- Use consistent date tags
- Tag and favorite key shots
- Auto-rename with tools
You’ll spend less time searching later consistently.
Edit, Crop, and Annotate Screenshots on Android
After you take a screenshot, you’ll quickly trim it with built-in crop tools to remove unwanted areas and focus on the important content. You’ll use the markup editor to draw, highlight, or add text and arrows for clearer explanations. These simple edits make sharing and revisiting screenshots faster and more effective.
Quick Crop Tools
When you take a screenshot on Android, a quick-edit toolbar usually pops up so you can crop, annotate, and share without opening a separate app. You’ll see quick crop options for trimming edges, switching aspect ratios, and focusing on content; this is core screenshot editing that saves time. Tap a crop frame, drag corners, and release to lock the crop. Use rotation and undo if you change your mind. For faster workflows, rely on presets and smart auto-crop where available.
- Drag corners to resize precisely
- Choose aspect presets (1:1, 16:9, etc.)
- Use auto-detect to crop content
- Tap undo or reset to revert changes
These quick tools keep you in flow, ideal when you need rapid revisions before sharing or saving to cloud storage options.
Annotate With Markup
Anyone can use Android’s built-in Markup to add notes, arrows, shapes, text, or blur sensitive info right after taking a screenshot. You’ll open the Markup editor from the screenshot preview, where intuitive markup tools let you draw, highlight, erase, and add typed captions. Tap shapes or arrows to point out details, use the pen with adjustable thickness and color, and apply the blur tool to hide private data. Crop and rotate quickly, then save edits or share directly to apps. These screenshot enhancements streamline feedback and documentation, so you’ll communicate faster and clearer. If you need advanced edits, open the image in a third-party app, but start with Markup to iterate rapidly and maintain quality, and reduce friction when collaborating across teams remotely efficiently.
Adjust Screenshot Settings and Storage Location
To keep screenshots organized and save space, open your phone’s Settings or the Screenshot toolbar and adjust options like image format (PNG vs JPEG), capture quality, and auto-crop. You can also set where captures land: internal memory or an SD card. When you adjust screenshot settings and choose a storage location, you’ll streamline access and free up space for creative work.
- Choose PNG for lossless detail or JPEG for smaller files
- Enable auto-save to a chosen folder for quick retrieval
- Switch default storage between device and SD card to manage capacity
- Turn on cloud sync to back up and access screenshots across devices
Check folder paths in the Gallery or Files app after changing settings. Keep naming conventions and folders logical so your screenshots remain discoverable and ready for sharing or editing without extra steps. Make these choices to optimize workflow and storage now.
Troubleshooting Common Screenshot Problems
If your phone won’t capture, save, or show screenshots the way you expect, don’t worry — most problems have straightforward fixes. First, check screen capture settings: enable gestures or button combos, and confirm storage permissions for the Screenshot app or Files. If captures fail sporadically, reboot your device and try again; a restart clears transient software conflicts. Low storage can prevent saving, so free space or change the storage location. If you see distorted images or black bars, update apps and your system; incompatible app overlays or outdated firmware cause rendering issues. For repeated failures, boot into safe mode to rule out third-party apps interfering with captures. Clear the cache of the system UI or screenshot service to resolve persistent glitches. If nothing helps, back up essential data and perform a factory reset or consult manufacturer support. These pragmatic screenshot malfunction fixes get you back to reliable captures.
Tips for Securely Sharing and Managing Sensitive Screenshots
Before you share screenshots that contain names, account numbers, or other personal details, redact or blur those items using your editing tools. When you need to send sensitive images, use apps or services that offer end-to-end encryption and don’t send them over public channels. Also store screenshots in a secure folder or encrypted backup so you can control access and deletion.
Redact Personal Information
How you redact screenshots determines whether sensitive data stays private or ends up exposed. When you crop, blur, or black out details, leverage your device’s privacy settings and think ahead about secure sharing. Use built-in tools or trusted apps to remove names, numbers, account IDs, and location metadata before you send anything. Keep a habit of reviewing images in your gallery and deleting originals after you share a redacted copy.
- Crop to limit visible content.
- Blur or pixelate identifiers.
- Replace text with neutral placeholders.
- Strip metadata and check app permissions.
Redaction should be fast, repeatable, and auditable so you can innovate workflows that protect users and reduce accidental leaks. Document your redaction steps to build consistent, auditable security practice today.
Use Encrypted Sharing
When you share sensitive screenshots, use end-to-end encrypted tools and time-limited, password-protected links so only authenticated recipients can open them. Choose encrypted apps that support messages, access revocation, and audit logs. Before sending, crop or redact unnecessary data, then attach the screenshot within the app’s secure container. Verify recipients with multi-factor authentication or verified contact lists so you don’t cause accidental leaks. For team workflows, use enterprise secure sharing platforms that integrate with your device’s file manager and DLP policies. If you must use cloud storage, set strict link expirations and require passphrases. Finally, delete local copies after confirming receipt and review sharing logs to maintain control and quickly revoke access when needed. Train collaborators on these practices to quickly reduce accidental exposure risks.