You can capture your iPhone screen in a few quick ways, and I’ll show the right method for your model. If your iPhone has no Home button, press Side + Volume Up; older models use Home + Power. I’ll also cover AssistiveTouch, Back Tap, editing, and troubleshooting — keep going so you can pick the easiest option for your setup.
Key Takeaways
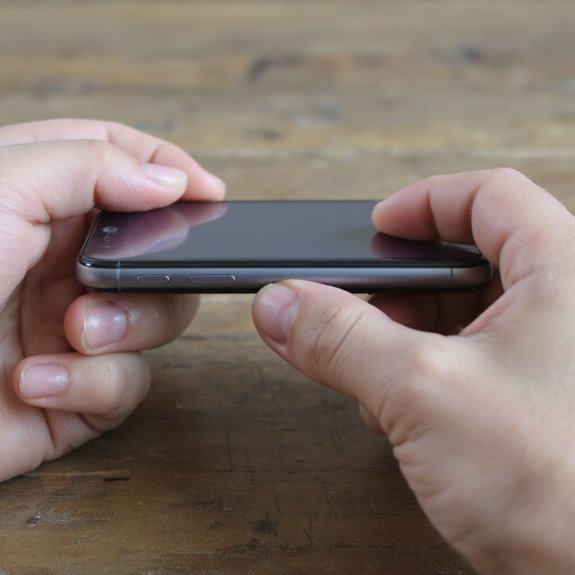
- On iPhone X and later, press Side button and Volume Up simultaneously, then release quickly to capture a screenshot.
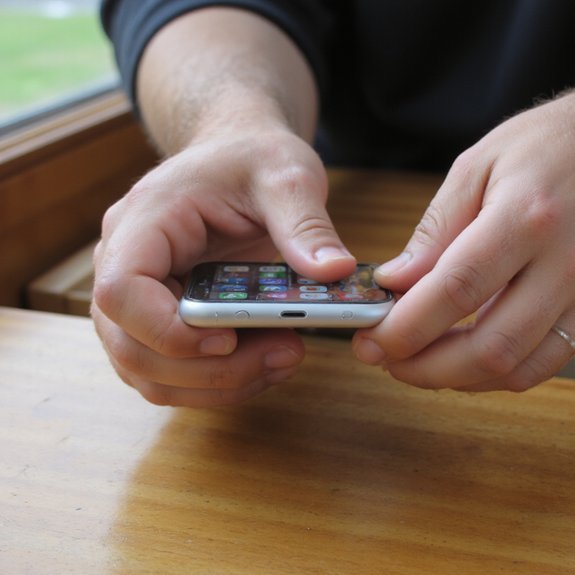
- On iPhones with a Home button, press Home and Power (Side/Top) together and release to take a screenshot.
- Tap the floating screenshot thumbnail to crop, annotate, or share using Markup, or swipe it away to save automatically.
- Enable AssistiveTouch or Back Tap in Settings > Accessibility to assign a screenshot action for one-handed or gesture capture.
- For full-page web captures in Safari, take a screenshot, tap the preview, choose the Full Page tab, and save as a PDF.
Which Iphone Models Use Side Button + Volume up

Most current iPhones use the Side button + Volume Up shortcut: if your device doesn’t have a circular Home button (that is, iPhone X and all later models — including XR, XS, 11, 12, 13, 14, 15 series and their Mini/Pro/Pro Max variants), press the Side button and Volume Up simultaneously to capture a screenshot. You’ll feel a brief screen flash and hear a shutter—then tap the preview to edit or swipe it away to save.
If you want clarity about iPhone models and button combinations, follow these steps: 1) Verify your model name in Settings > General > About. 2) Make sure your fingers press together and release quickly. 3) Check AssistiveTouch if buttons are damaged. 4) Use the new QuickTake-style timing if you prefer gestures. These tips keep the process innovative and reliable, so you can capture ideas, designs, and moments without friction. Effortless results.
How to Screenshot on Iphones With a Home Button

To take a screenshot on iPhones with a Home button, press the Home and Power buttons at the same time and release quickly. You’ll find the image in the bottom-left preview or in Photos, where you can tap Edit to crop or annotate. When you’re ready, tap Share to send it via Messages, Mail, or other apps.
Press Home and Power
Press the Home and Power (sleep/wake) buttons at the same time to capture your screen. Keep a light grip, place your thumb on the Home button and your other finger on the Power button, then press and release quickly. You’ll see a brief flash confirming capture. If it doesn’t work, try pressing slightly faster or adjusting your hold. Practice once or twice to build confidence. Use this method on devices with a physical Home button; it’s fast and predictable for everyday use.
| Step | Finger | Result |
|---|---|---|
| 1 | Thumb on Home button | Ready |
| 2 | Finger on Power button | Capture |
Try adding this gesture into daily routines, automations, or experiments to speed tasks and inspire new ideas.
Find, Edit, Share
1 quick way to locate your screenshot is to open the Photos app and tap Albums → Screenshots; from there you can tap an image to view it, use the preview thumbnail that appears immediately after capture to crop or annotate, and then tap the share icon to send it via Messages, Mail, or social apps. After you open a screenshot, use built‑in screenshot tools like Markup to draw, add text, or crop precisely. Tap Done to save to Photos or Files. When you’re ready, explore sharing options: AirDrop, Messages, Mail, and third‑party apps appear in the share sheet. Choose recipients, add context, and send. If you want a version for notes or presentations, save a copy to Files or Notes before sharing for future reference.
Using AssistiveTouch to Take a Screenshot

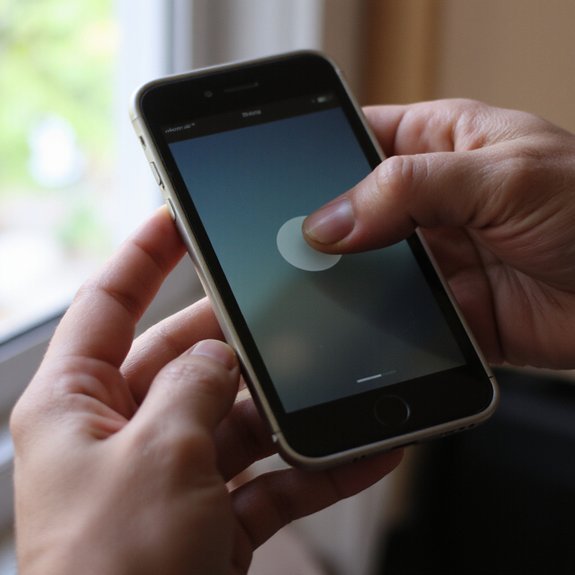
If you prefer a touch-based shortcut, enable AssistiveTouch in Settings > Accessibility so a floating button appears. Tap Customize Top Level Menu to add the Screenshot action or replace an existing icon. Then tap the AssistiveTouch button and choose Screenshot whenever you want to capture the screen.
Enable AssistiveTouch
Before you take your first AssistiveTouch screenshot, enable the feature in Settings so a floating button appears on-screen to handle taps and gestures. Open Settings, go to accessibility settings, find assistive touch under Touch, and enable it. Turn the AssistiveTouch switch on; you’ll see a translucent button you can move. That button gives quick access to controls without hardware presses. To capture a screenshot, tap the floating button and use the Screenshot option that appears. If Screenshot isn’t visible, tap Device > More. Practice once or twice to build confidence — you’ll appreciate the streamlined workflow. If you want to conserve space, place the button at an edge. You’re set to innovate how you grab and share moments on your iPhone with reliable control.
Customize Top-Level Menu
One quick tweak is to put Screenshot directly on AssistiveTouch’s Top-Level Menu so you can grab shots with a single tap. Open Settings > Accessibility > Touch > AssistiveTouch, tap Top Level Menu, and choose Customize. Replace an icon with Screenshot, or add one if space allows. Confirm with Done. This top menu customization improves workflow and supports menu accessibility for different grips and setups. You’ll feel more efficient and empowered.
- Tap Top Level Menu to view icons.
- Press an icon, select Screenshot from actions.
- Use + to add a new slot if needed.
- Tap Done to save your layout.
You can revisit these settings anytime to iterate on your setup as your needs change. Try variations to match specific apps and gestures daily.
Take Screenshot With Assistivetouch
When your Home or side buttons are hard to reach or aren’t working, AssistiveTouch lets you grab screenshots with a tap. Enable AssistiveTouch in Settings > Accessibility > Touch, then toggle AssistiveTouch on. Tap the floating menu, choose Device, More, and Screenshot to capture immediately. For faster access, add Screenshot to the Top Level Menu: open Customize Top Level Menu, tap an icon, select Screenshot. You can also create a Custom gesture setup: record a tap sequence and assign it to a custom action like Double-Tap the AssistiveTouch icon to take a screenshot. These steps highlight AssistiveTouch benefits: reduced physical strain, faster workflows, and adaptable controls for creative users who want innovative shortcuts and accessibility combined. for modern productivity and effortless device control daily.
Using Back Tap to Capture Screenshots
If your iPhone supports Back Tap, you can set a double- or triple-tap on the back to take screenshots — it’s fast and handy when the physical buttons are hard to press. Start by opening Settings, tap Accessibility, then Touch, and choose Back Tap. Pick Double Tap or Triple Tap and assign Screenshot. Test a light tap to confirm it captures the screen. You’ll like how this integrates with Custom settings and saves time during quick captures.
- Tap Settings > Accessibility > Touch > Back Tap to begin.
- Choose Double Tap or Triple Tap, then select Screenshot.
- Try gentle taps to avoid accidental captures during handling.
- Combine with other shortcuts for a personalized workflow.
If you want more control, revisit Back Tap anytime to refine behavior. This method suits innovators who prefer efficient, noninvasive gestures over button combos. You’ll enjoy rapid captures when speed and discretion matter most.
Editing and Marking Up Screenshots Immediately
Right after you take a screenshot, a thumbnail appears in the corner—tap it to open the built-in editor and start marking up. You’ll see crop handles, drawing pens, a highlighter, text, and a magnifier. First crop to focus the frame: drag corners, then tap Done or continue editing. To annotate, pick a pen style and color, adjust thickness, and draw or write directly with your finger or Apple Pencil. Use the loupe to zoom a small area, or add text boxes for precise labels. Tap the plus icon to insert shapes, signatures, or a magnifier ring. If you make a mistake, use the eraser or the undo button. When you’re satisfied, tap Done and choose to save or share. These screenshot editing and markup tools make communication faster and clearer, helping you prototype ideas, highlight insights, or convey feedback instantly. Try combinations to find a workflow that clicks.
Finding and Organizing Screenshots in Photos
Although screenshots pile up fast, you can find and organize them quickly by using Photos’ built-in tools. Open the Photos app, tap Albums, then scroll to Screenshots to see just your captures. Use Moments and Search to locate images by date, app, or text (Live Text). Long-press thumbnails to quickly select multiple shots.
Screenshots pile up fast—use Photos’ Albums, Moments, and Search to find, select, and organize them quickly.
- Select screenshots and tap Add to Album to group projects.
- Use Favorites for quick-access visuals you reference often.
- Rename or annotate in Notes or a dedicated album for context.
- Delete duplicates to keep storage lean and searchable.
For efficient screenshot organization, create albums named by topic and tag images with captions; that improves photo management and retrieval. You’ll move, share, or archive screenshots faster when you build a small, consistent workflow—one that scales as your ideas and projects evolve. Try automations and smart folders to keep the system proactive and adaptive to your creative needs.
Taking Scrolling (Full Page) Screenshots in Safari
Once you’ve got your screenshots organized, you’ll want to capture entire web pages — Safari’s Full Page feature lets you grab scrolling content in one go. Open Safari and load the page you want. Take a normal screenshot (Side button + Volume Up on newer iPhones, or Home + Side on older models). Tap the preview that appears in the corner to open the editor. At the top, choose the Full Page tab to switch from Screen to Full Page; you’ll see a long preview of the page. Use the slider at the right to verify the selection or drag to select a specific range. Tap Done, then Save PDF to Files so you keep the full-page capture with selectable text and high fidelity. This produces cleaner scrolling screenshots than stitching, and it streamlines sharing, archiving, and design review when you want innovative, complete page captures with ease today.
Troubleshooting Common Screenshot Problems
If your screenshots aren’t saving or behaving as expected, don’t worry—you can usually fix them with a few quick checks. Start by confirming storage space and restart your iPhone; low space or temporary glitches often block saves. Check screenshot permissions for apps that integrate screenshots (like editors or cloud services) so they can access Photos. Quit recently installed apps to rule out app conflicts, then try capturing again.
If problems persist, update iOS and the apps involved to eliminate bugs. Use AssistiveTouch or hardware-button alternatives to verify the problem isn’t a control issue. Back up important screenshots via iCloud or AirDrop before troubleshooting advanced settings.
- Verify sufficient storage and restart the device.
- Confirm screenshot permissions in Settings > Privacy.
- Close or remove apps causing app conflicts.
- Update iOS and relevant apps, then retest.
These steps help you iterate quickly and keep your workflow innovative.
Privacy and Sharing Tips for Screenshots
When you capture a screenshot, assume it contains sensitive details and take a moment to review it before sharing. Start by inspecting visible info: names, numbers, addresses, or auth codes. If anything’s sensitive, crop or use Markup to blur or redact before you send. Save a copy privately if you need it for records, then delete transient copies from Recents and Shared Albums.
Next, think about recipients and context. Use secure channels (encrypted messaging or password-protected cloud links) for confidential items; avoid public social posts. Respect sharing etiquette by asking permission before forwarding someone else’s content, and caption clearly so intent is obvious.
Finally, enable device protections: lock screen previews off, use Face ID/Touch ID, and keep iOS updated. These small steps boost screenshot privacy while letting you share innovatively and responsibly. Regularly audit shared folders and revoke access when projects end to minimize accidental exposure as needed.
