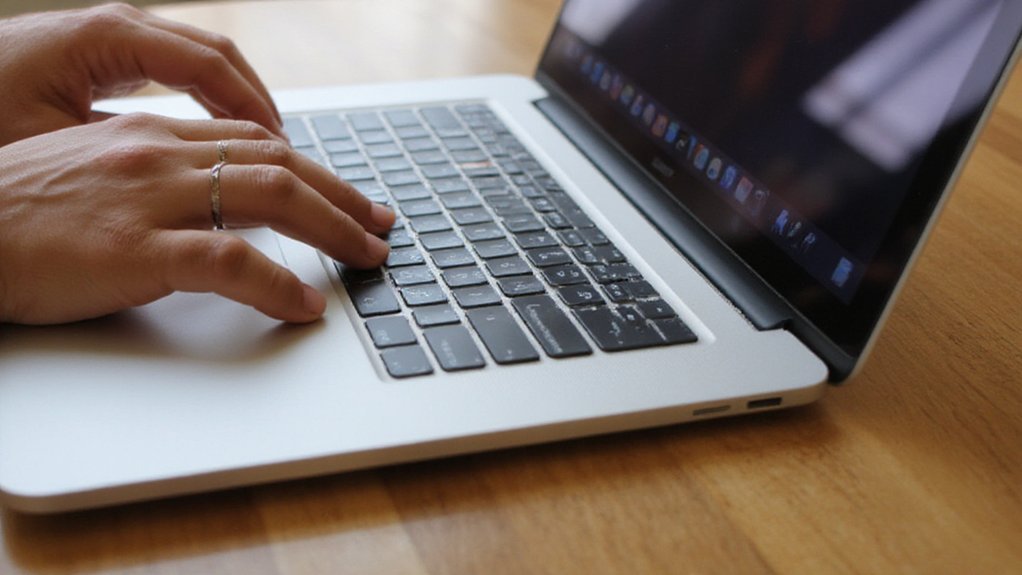
You can capture the whole screen with Shift-Command-3, pick an area with Shift-Command-4, or open the screenshot toolbar with Shift-Command-5. Press Space after Shift-Command-4 to grab a window, and hold Control to copy to the clipboard. These quick keys get you started, and there are neat options for saves, edits, and shortcuts if you want to go further.
Key Takeaways
- Press Shift-Command-3 to capture the entire screen and save the image to your chosen location.
- Press Shift-Command-4, drag to select an area, then release to capture only that portion.
- Press Shift-Command-4, then Space and click a window to capture a specific app window.
- Press Shift-Command-5 to open the Screenshot toolbar for capture modes, timer, save location, and options.
- Hold Control with any shortcut to copy to the clipboard, and click the floating thumbnail to crop or annotate.
Keyboard Shortcuts for Full Screen, Window, and Selection
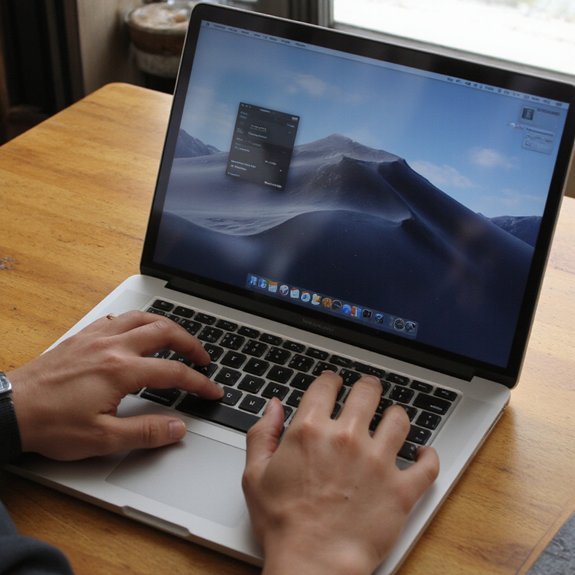
Often you’ll use three main shortcuts to capture everything, a window, or a custom area. First, press Shift-Command-3 to grab the full screen — you’ll immediately save a high-resolution file to your desktop. Next, use Shift-Command-4 for a selection: drag to define the area, release to capture. For a specific window, press Shift-Command-4, then Space; click the window to capture it with a clean drop shadow. These screenshot techniques are fast and predictable. To speed workflows, learn modifier combos: add Control to copy to clipboard instead of saving, or add Option to change how selections snap. Practice these steps until they feel instinctive; you’ll gain shortcut efficiency and reduce interruptions. If you often repeat captures, map shortcuts in System Settings for consistency. Test each shortcut in a safe app so you know exactly how it behaves before you rely on it during creative work. You’ll master them with steady repetition.
Using the Screenshot App and Toolbar
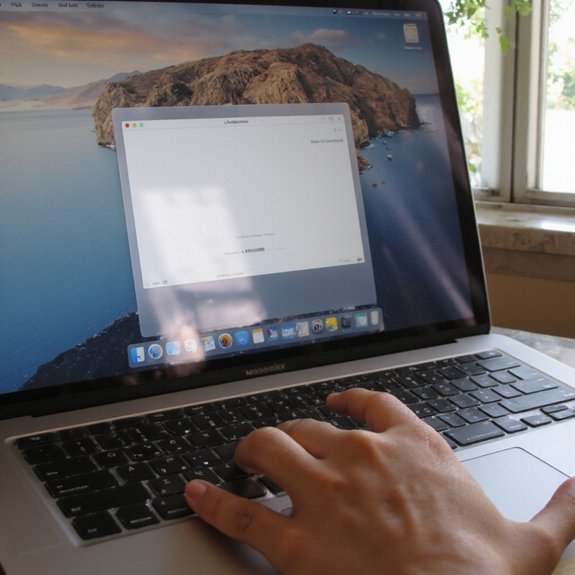
When you need more control, press Shift-Command-5 to open the Screenshot app and toolbar. You’ll see capture modes across the bottom: entire screen, window, and selection. To change settings, click Options and pick save location, set a timer, or include the pointer. Use toolbar features to switch between capture and screen recording, show floating thumbnail, and enable/disable micro- phone. Drag to fine-tune a selection; press Space to toggle window capture. Click Record or Capture to finalize. For quick edits, click the floating thumbnail to crop, annotate, or share without leaving your workflow. Want consistency? Save custom settings so your next shot uses the same screenshot options and location. If you prefer keyboard flow, note that the toolbar still responds to shortcuts while open. This app centralizes controls, speeds your process, and lets you iterate experimentally on visuals with minimal friction. Explore settings regularly to refine your capture workflow.
Capturing the Touch Bar and Timed Screenshots
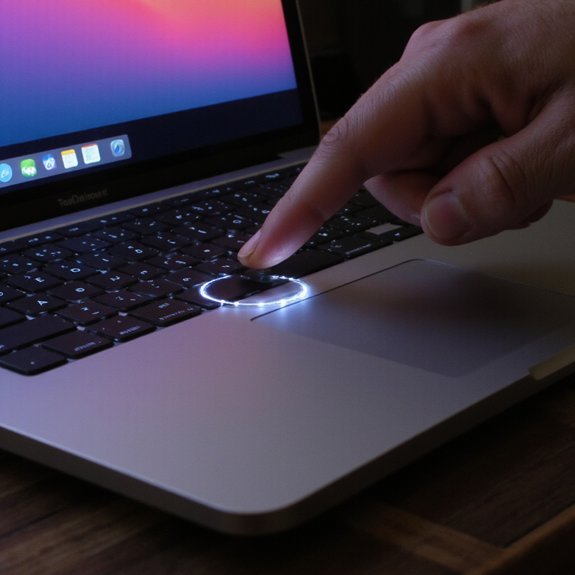
To grab the Touch Bar, press Shift-Command-6 and macOS saves an image of whatever’s displayed there; to take a timed screenshot, open the Screenshot toolbar with Shift-Command-5, click Options, choose a 5- or 10-second timer, pick your capture mode (entire screen, window, or selection), then click Capture — the delay gives you time to open menus or arrange items before the shot. Use the Touch Bar shortcut when you want quick captures of contextual controls or dynamic widgets; it’s one of the screenshot shortcuts that’s unique to Touch Bar-equipped Macs. For timed captures, plan the sequence: select timer length, choose capture mode, set focus on the window or menu, then trigger Capture. If you need more control, use selection mode to draw precisely around content. These screenshot features streamline workflows, help you capture images for demos, prototypes, and bug reports, and tie into fast, innovative documentation practices today.
Save Locations, File Formats, and Clipboard Options
Three things matter: where screenshots land, what file type they use, and whether you send them to a file or the clipboard. First, set a consistent folder—Desktop, Documents, or a cloud folder—to enable reliable screenshot organization. Press Shift-Command-5, click Options, and choose your save location. Second, pick a file format that matches your goals: PNG for lossless image quality, JPEG for smaller files, or HEIC for space savings on newer macOS. You can’t change the default mid-capture, but use Terminal (defaults write com.apple.screencapture type
Annotating, Cropping, and Basic Edits
After you’re done taking a screenshot, open the Markup toolbar to add annotations quickly—draw, highlight, or add text in seconds. Next, crop or rotate the image to frame the content correctly. Finally, resize if needed and save or copy the edited image.
Add Annotations Quickly
When you need to highlight or trim a screenshot, use macOS’s built-in Markup tools for fast annotations, cropping, and basic edits. Open your screenshot thumbnail in the corner, or press Command-Shift-5 and choose Options to capture then Edit. Click the Markup icon to reveal annotation tools: pen, highlighter, shapes, text, and signature. Tap a tool, choose color and size, then draw or type directly on the image. Use the selection and loupe to point out details. If you make a mistake, Command-Z or the erase tool fixes it instantly. When done, click Done to save or Share to send. These quick edits keep your workflow inventive and efficient without leaving the screenshot interface. You’ll create polished visuals that communicate clearly and spark ideas quickly.
Crop, Rotate, Resize
A quick crop, rotate, or resize gets your screenshot ready to share. When the floating thumbnail appears, click it to open Markup. Use the selection tool to drag a crop box, then hit Crop. To rotate, click the rotate button or press Command-R until orientation’s right. For precise image adjustments, open the image in Preview: choose Tools > Adjust Size to set pixels or percent, then Save. You can also use Photos for batch edits and filters. Keep edits non-destructive by duplicating the file first. These screenshot editing steps let you polish visuals fast, maintain clarity, and prototype ideas rapidly. Try small, iterative tweaks to explore inventive layouts without losing the original. Share exported files as PNG or JPEG depending on fidelity and size.
Changing Shortcut Keys and Screenshot Preferences
If you want different key combos or to change where screenshots save, you can customize both the Screenshot app and keyboard shortcuts in macOS in just a few steps. Open the Screenshot app (Shift-Command-5) and click Options. Choose a save location, enable timer, show/hide the floating thumbnail, and toggle microphone for screen recording. Those are your core screenshot preferences.
For keyboard customization, open System Settings > Keyboard > Keyboard Shortcuts. Select Screenshots and reassign shortcuts for Capture Entire Screen, Capture Selected Window, Capture Selected Portion, and Record Screen. Click an existing shortcut, press the new key combo, and test it. If a shortcut conflicts, macOS warns you—pick a different combo. You can also create app-specific shortcuts in the App Shortcuts section for specialized workflows. Finish by testing each combination so your capture flow matches your creative rhythm. Save changes and enjoy faster, more intuitive screen captures today now.
Useful Third-Party Screenshot Tools and Tips
If you want more features than the built-in tool, try top third-party apps like CleanShot X, Snagit, and Lightshot. Install one, capture a region or scrolling page, then open its editor to crop, blur, and annotate. Tip: use keyboard shortcuts, preset export settings, and layered annotations to speed up your workflow.
Top Third-Party Apps
When you need more control than macOS offers, third-party screenshot apps give extra features like timed captures, scrolling/full-page shots, advanced annotation, and cloud sync. You’ll pick tools based on speed, screenshot sharing, and app comparisons. Try this quick checklist:
1) Choose capture type (region, window, full page).
2) Test workflow (hotkeys, delay).
3) Verify cloud and privacy.
| App | Strength | Best for |
|---|---|---|
| CleanShot X | Cloud, video | Presentations |
| Snagit | Editing power | Tutorials |
| Monosnap | Lightweight | Fast sharing |
| Shottr | Speed | Developers |
Install, configure shortcuts, and sync. Iterate until the tool fits your creative flow. Keep an eye on updates, workflow integrations, keyboard-driven actions, API hooks, and pricing tiers; experiment with trials, collect feedback, and scale the solution that accelerates your output and matches team security needs now today.
Editing & Annotation Tips
After picking a capture tool, you’ll want to polish shots with quick edits and clear annotations. Start by cropping to remove clutter, then adjust exposure and contrast to make details pop. Use the heal or blur brush to hide sensitive info. For markup, choose consistent annotation styles: arrows for focus, numbered labels for steps, and color-coded highlights for priority. Keep text concise and legible with a single sans-serif font and size hierarchy. Save editable masters (PSD or annotated project) so you can revise. Export optimized PNG for sharp UI images or compressed JPG for web sharing. If you collaborate, use cloud-ready tools that track revisions and let teammates comment. Practice these editing techniques regularly to speed workflow and sharpen communication. Iterate, measure, and improve.
