

If your knives feel dull, you can get them razor-sharp again without sending them out. Start by checking for chips, then pick the right tool—whetstone for control, guided system for consistency—and keep a steady angle (15–20° for Western, 10–15° for Japanese). Work both sides evenly, finish on a strop, and test with paper. Follow a few simple steps and you’ll have a reliable edge every time, but there are key details you shouldn’t skip.
Key Takeaways
- Hone the blade regularly to realign the edge; sharpen only when it drags, slips, or tears food.
- Choose a sharpening method: whetstone for best edge, guided systems for consistency, electric for speed.
- Set the correct angle (10–15° for Japanese, 15–20° for Western) and maintain it consistently during strokes.
- Use progressively finer grits, finish with a leather strop, and test by slicing paper for a clean cut.
- Clean, dry, and store knives safely after sharpening, and wear cut-resistant gloves while working.
When to Sharpen vs. Hone Your Knives
When your knife drags, slips, or tears food instead of slicing cleanly, it’s time to sharpen it; honing is for regular upkeep that realigns a blade’s edge but doesn’t remove metal. You should check edge performance before each use and note dulling signs: resistance, crushed fibers, or uneven cuts. Establish a sharpening frequency based on use — weekly for heavy prep, monthly for home cooks, and quarterly for infrequent users — but adjust if you see those signs sooner. Use honing techniques between sharpenings to maintain alignment: a few light strokes at the correct angle, alternating sides, keep motion steady and controlled. Don’t rely on honing to restore a nicked or blunt bevel; sharpen when metal removal is required.
Choosing the Right Sharpening Tool

Which sharpening tool suits you depends on your knife types, skill level, and how much time you’re willing to spend. If you want speed and consistency, electric sharpeners deliver fast, repeatable bevels with minimal technique; they work well for harder, frequently used blades but can remove more metal. Manual sharpeners—stones, guided systems, and pull-throughs—give you control. Stones require practice but produce the finest edges and let you set precise angles. Guided manual systems reduce the learning curve while preserving technique. Pull-through manual sharpeners are convenient for quick maintenance but offer limited angle options. Choose based on blade steel, whether you value speed or edge quality, and how much technique you want to learn and maintain.
Preparing and Protecting Your Knife and Work Area
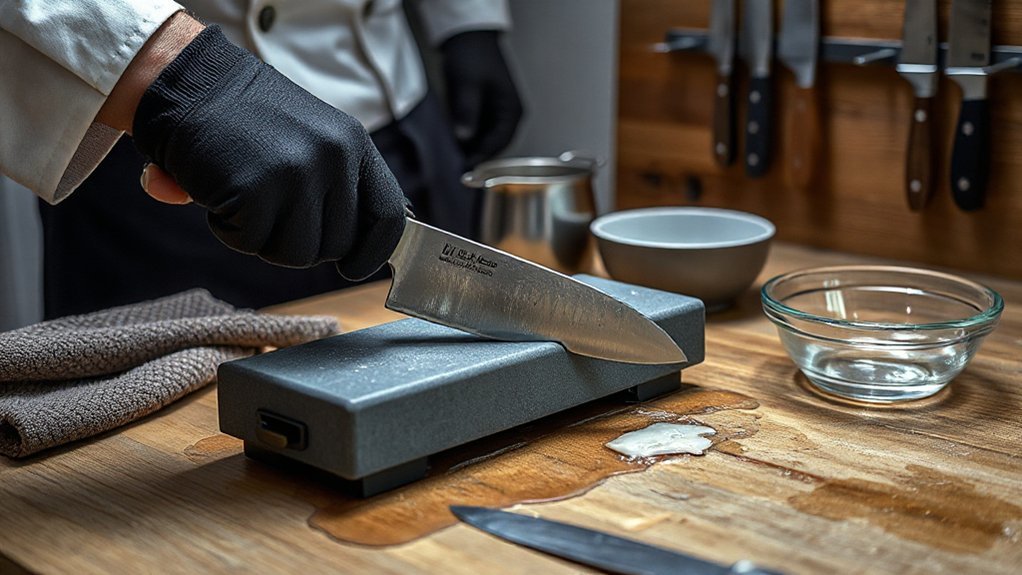
Now that you’ve chosen a sharpening tool, get your knife and workspace ready so sharpening goes smoothly and safely. Inspect the blade for damage and clean it with warm soapy water; dry thoroughly. Secure the knife by using a bench clamp or holding the handle firmly with a towel under your hand to prevent slips. Clear and organize your work surface—remove clutter, position a non-slip mat, and keep a waste bowl nearby to catch metal filings. Lay out all tools (stones, honing rod, lubricant) within easy reach to maintain workspace organization. Wear cut-resistant gloves and eye protection to promote knife safety. Keep children and pets away, and guarantee good lighting. Have a safe storage method ready for the freshly sharpened knife.
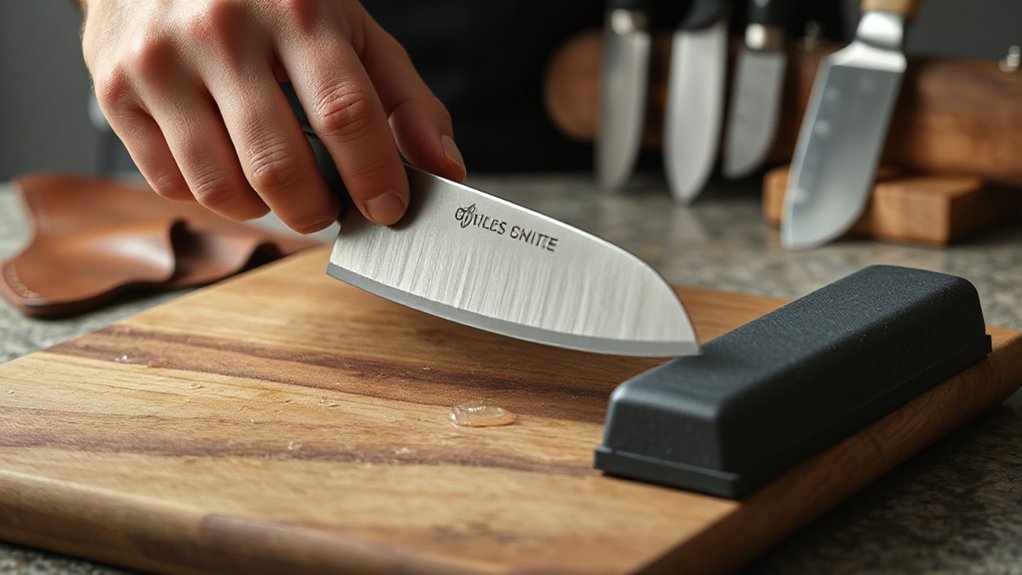
Step-by-Step Sharpening Techniques
Start by choosing the right angle and tool for your knife: hold the blade at the recommended bevel (usually 15–20° for Western knives, 10–15° for Japanese) and pick the sharpening method you practiced—whetstone, guided system, or rod. For whetstone techniques, soak or stabilize the stone, then push the blade away at a consistent angle, using even strokes from heel to tip. Flip and repeat on the other side the same number of strokes. If you use a guided system, secure the jig and run the blade through progressively finer abrasives. With electric sharpeners, move the blade slowly and let the machine do the work, keeping the edge perpendicular to the slots. Finish with light passes to refine the bevel and remove burrs.
Stropping, Testing, and Maintenance Tips
After sharpening, you’ll want to strop the edge to realign and polish the bevel—use a leather strop charged with a fine abrasive and pull the blade away from the edge at the same angle you sharpened it, repeating light, even passes on both sides until the burr is gone and the edge gleams. Next, test the edge safely: slice paper, shave a thin tomato skin, or gently run the tip along a thumbnail at a shallow angle to judge bite. Use consistent stropping techniques to maintain keen geometry between sharpenings. For maintenance tips, wipe and dry blades after use, store them upright or in a sheath, and avoid dishwashers. Hone lightly with a ceramic rod between major sessions to extend edge life and reduce full sharpening frequency.
Conclusion
Sharpening keeps knives safe and effective, while honing realigns the edge between sessions. Pick a tool that fits your skill and blade—whetstone for control, guided systems for consistency—and clean and stabilize the knife before you start. Hold the correct angle, make even strokes on both sides, then strop to polish the edge. Test carefully. Maintain regularly, store properly, and address chips promptly. Do this and your kitchen knives will perform reliably, safely, and longer.