You’ll start by picking the right paper and tools so the job looks crisp and stays secure. Measure for neat overlap, cut straight, and fold tight corners for a clean profile; use hidden tape and simple ribbon to finish without fuss. I’ll show you exact measurements, corner techniques, and quick fixes for odd shapes so your gift looks professional—even when you’re short on time.
Key Takeaways
- Choose paper and tools that match the gift’s size and shape: sturdy paper for boxes, fabric or kraft for odd shapes, plus sharp scissors and tape.
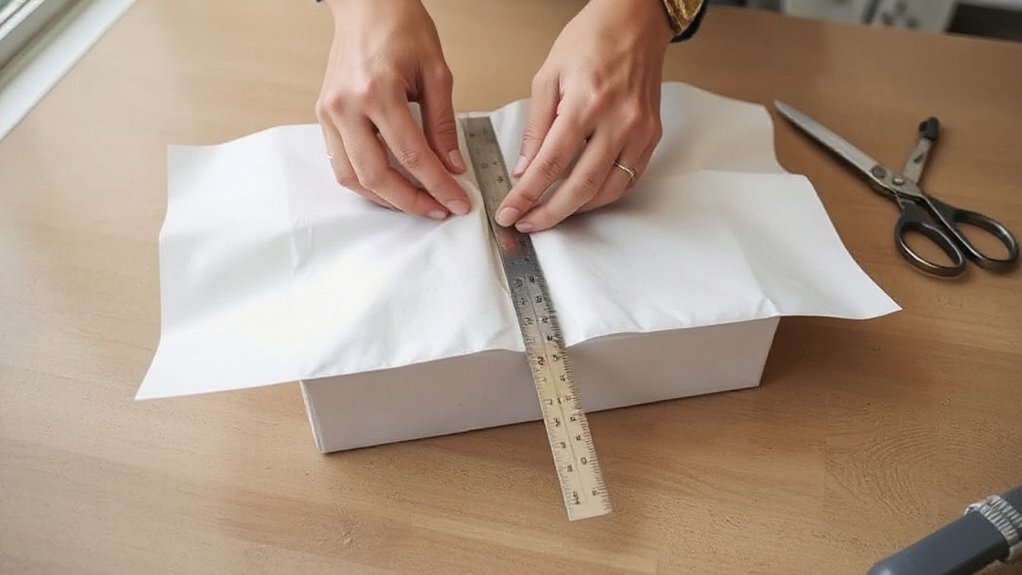
- Measure paper with room for overlap and box depth, then cut straight using a ruler to avoid jagged edges.
- Center the box on the paper, fold long sides to the middle, and tape under the box for a clean seam.
- Fold the short ends into neat triangular pleats, tuck flat against the box, and secure with minimal tape.
- For odd shapes, stabilize with inner stuffing or a snug inner wrap, or use fabric/furoshiki for smoother coverage.
Choosing the Right Materials and Tools
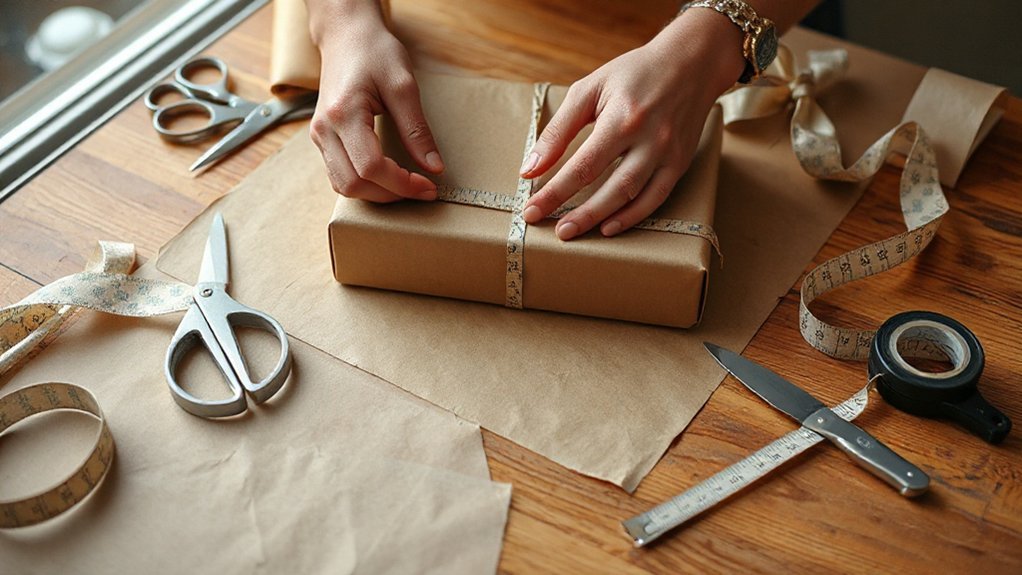
Start by selecting materials that suit the gift’s size, shape, and occasion: sturdy wrapping paper for rigid boxes, flexible kraft or tissue for odd shapes, and matching tape and ribbon that won’t tear delicate paper. You’ll choose gift wrap materials by evaluating weight and texture: heavier paper resists tearing on sharp edges; thin tissue conforms to curves. Pick essential tools next: a sharp pair of scissors, a metal ruler or straight edge, quality clear tape and double-sided tape, and a bone folder or creasing tool for crisp edges. Add optional extras only if they serve the design — ribbon, twine, gift tags. Organize everything within reach and test small folds before committing so each wrap stays neat and durable.
Measuring and Cutting the Paper Perfectly
Measure twice before you cut to avoid redoing the job. Account for overlap on the sides and enough paper to cover the box’s depth so edges meet cleanly. Use a straight edge and sharp scissors for a single, precise cut.
Measure Twice, Cut Once
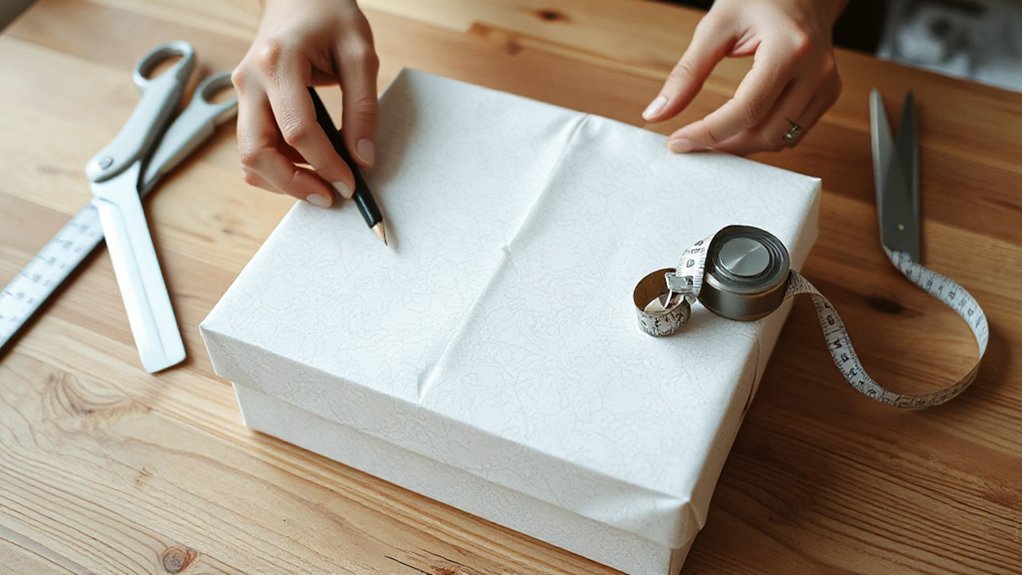
Before you cut, line the gift on the paper with its longest edge parallel to the roll, pull enough to wrap all sides plus a 1–2 inch overlap, and mark where the paper meets the box’s base; double-check those marks and the straightness of the edge before you make a single incision. You’ll appreciate preparation importance: confirm measurements using a ruler or straight edge, verify symmetry, and re-mark if the sheet shifted. Use deliberate cutting techniques: hold the paper taut, rest the blade at a shallow angle, and cut with one steady pass to avoid jagged edges. Keep scissors or a cutter sharp and clean. Pause to inspect the cut against the box; if it’s off, adjust your markings and repeat measurement rather than guessing.
Account for Overlap and Depth
Once you’ve confirmed your cut lines and straight edges, account for overlap and box depth so the paper fully covers every face without excess waste. You’ll measure the perimeter plus 1–2 inches for tidy overlap techniques: wrap the paper around the box, mark where edges meet, then add that allowance before cutting. For depth considerations, measure from top center down one side, under the box, and up the opposite side; double-check corner flaps will fold without bunching. Cut with a straightedge and sharp blade, keeping margins minimal but sufficient for secure taping. If the box is irregular, test with a cheap scrap sheet. Precise measurements reduce rework and produce crisp, professional results.
Wrapping Boxes With Clean Edges and Corners
Start by aligning the paper so one corner meets the box edge and you can fold the sides tightly, creating sharp creases without stretching the paper. Work methodically: measure overlap, cut excess, and position tape on the underside to hold edges flat. Fold each long side in toward the center, smoothing to achieve perfectly folded edges. For corners, fold one flap into a neat triangle, press firmly, then fold the adjacent flap over it using neat corner techniques to lock the shape. Use minimal tape at stress points only. Check all seams for tension and evenness, re-creasing any soft spots. Finish by trimming stray paper and applying a single tidy piece of tape so the package looks crisp and professional.
Techniques for Wrapping Odd Shapes and Soft Items
Boxes with crisp edges set a useful baseline, but when you face irregular shapes or soft items you’ll need different tactics to secure form and prevent shifting. First, assess contours and compressibility; stuff cavities with tissue or foam to create a firmer core. Use snug inner wraps—muslin, bubble wrap, or kraft paper—to stabilize before applying decorative layers. Employ creative folding to channel paper into natural creases rather than forcing flat seams; fold darts or pleats where material bunches. Consider alternative coverings like fabric wraps, gift bags, or boxes built from single sheets to accommodate bulk. Anchor layers with minimal, functional fasteners so padding stays put. Finish by testing for movement; adjust internal stuffing and folds until the item feels solid and uniformly supported.
Hiding Tape and Creating Seamless Finishes
Want a wrap that looks professional and seamless? You’ll focus on tape techniques and crisp folds so edges disappear. Work deliberately: cut tape in short strips, place them on the inside of seams, and press firmly to avoid bubbles. Use double-sided tape where visible joins would break the pattern. For corners, make small diagonal cuts to fold paper flat before securing with a hidden strip.
- Prepare: measure twice, trim excess, and plan tape placement along inner seams.
- Apply: use short, firm strips or double-sided tape; smooth from center outward to eliminate gaps.
- Finish: tuck ends under neat folds, burnish seams with a bone folder or fingernail for seamless finishes.
Decorative Embellishments and Finishing Touches
When you’re ready to embellish, choose accents that enhance the wrap’s lines and color rather than compete with them; pick one focal element—like a ribbon knot, wax seal, or sprig—and coordinate smaller details to support it. Start by evaluating the paper’s weight and pattern; that determines suitable ribbon choices and scale. Use a single strong texture (satin, grosgrain, or twine) and match metal tones on tags or seals. Trim ribbon tails square or at an angle for symmetry. Anchor lightweight ornaments with a dab of hot glue or a hidden stitch so they stay aligned. For tags and handwriting, pick a pen color that reads against the paper. Limit contrast to two elements to maintain balance. These embellishment ideas keep the result deliberate and refined.
Quick Wrapping Hacks for Last-Minute Gifts
Have three reliable shortcuts ready so you can wrap a gift quickly without sacrificing a polished look: keep pre-cut paper sheets, double-sided tape, and a quality ribbon or twine in one accessible kit, use the paper’s edges as guides to fold crisp corners, and secure lightweight ornaments with a small dab of hot glue or a stitched tack for stability. You’ll work faster if you organize tools by size and purpose, measure once, and trim precisely. For true last minute solutions, focus on clean folds, minimal embellishment, and adhesive that hides. Use the list below to streamline your approach and maintain consistent results under time pressure.
- Pre-cut papers and labels for standard box sizes.
- Tape, scissors, and a bone folder in a compact pouch.
- Ready-made bows or neutral twine for quick finishing.
Conclusion
You’ve got the essentials: pick sturdy, appropriate paper and sharp tools, measure for overlap, and cut cleanly. Align and fold precisely, create crisp corners, and hide tape for a seamless look. For odd shapes, use flexible paper, cushioning, or gift bags; for soft items, wrap around a board. Finish with ribbon, tags, or a bow. Use quick hacks—double-sided tape, pre-cut templates—to save time while keeping a polished result.