

If someone’s calling or messaging you and you want it to stop, you can block their number right on your iPhone in a few quick steps. Blocking prevents calls, texts, and FaceTime from that contact and keeps your notifications clear. I’ll show you how to block from Recent calls, Messages, and Contacts, how to undo it, and a few tips to handle spam and voicemails so you get the results you want.
Key Takeaways
- Open the Phone app, tap Recents, tap the (i) next to the number, then choose “Block this Caller” and confirm.
- In Messages, open the conversation, tap the contact at the top, view Info, then select “Block This Caller.”
- From Contacts, open the contact, scroll down, and tap “Block This Caller” to stop calls, messages, and FaceTime.
- To unblock, go to Settings > Phone > Blocked Contacts, swipe left or tap Edit, then remove the contact.
- To reduce unknown spam, enable Settings > Phone > Silence Unknown Callers to send unknown numbers straight to voicemail.
Why You Might Want to Block Someone on an Iphone
If someone’s calls, texts, or notifications are interrupting your day or making you uncomfortable, you can block them to stop all contact quickly and quietly. You’ll do this when someone crosses boundaries, harasses you, or keeps sending unwanted communications that disturb work, sleep, or relationships. Blocking protects your personal privacy by preventing further direct contact and reducing notifications that reveal your availability. You don’t have to explain or justify the action; it’s a practical step to regain control. Use blocking for persistent telemarketers, repeat prank callers, ex-partners who won’t respect limits, or any contact that causes stress. Treat it as part of a broader strategy to maintain safety, reduce distraction, and uphold emotional well-being.
What Blocking Actually Does on Ios
Blocking someone stops more than just incoming calls. When you block a contact on iOS, you prevent their calls, texts, and FaceTime attempts from reaching you. Messages from blocked numbers won’t appear in your Messages app, and they won’t trigger notifications. Calls go straight to voicemail, but you won’t receive a notification for those voicemails. Blocked callers can’t initiate FaceTime or send SMS/MMS to your device.
These blocking features integrate with iOS privacy settings to keep interactions private without deleting contacts. Blocking is device- and account-based, so it applies across iCloud-synced devices tied to the same Apple ID. It’s a straightforward, reversible action that preserves evidence while cutting off direct contact, supporting your control over who can reach you.
Block a Number From the Phone App Recent Calls
When a recent caller keeps bothering you, you can block their number directly from the Phone app in just a few taps. Open Phone, tap Recents, then find the entry and tap the info (i) icon. Scroll and choose “Block this Caller.” Confirm to add the number to your blocked list; that stops calls, texts, and FaceTime from that contact. This method is fast and practical when you don’t want to add or edit contacts. Use it when immediate call blocking is needed for spam or unwanted contacts. Keep in mind that blocking doesn’t notify the other party and won’t address persistent spoofing; if privacy concerns persist, report numbers to your carrier or use a third-party call-filtering app for stronger protection.
Block a Number From Messages
Open the Messages thread with the contact or number you want to block. Tap the contact name or number at the top of the screen to view details. Then choose “Block This Caller” to stop texts and calls from that sender.
Open the Messages Thread
Before you can block someone from Messages, locate the conversation with that contact in your Messages app and tap it to view the thread. Open the thread to confirm it’s the right sender — check recent texts, timestamps, and whether message notifications or text filtering have redirected incoming content. Once you’re in the thread, review it efficiently and prepare to act.
- Scan the top of the thread for the contact name or number to verify identity.
- Swipe through recent messages to guarantee you don’t miss context or important info.
- Note whether iOS grouped the sender under Unknown & Junk due to text filtering.
Opening the thread is the vital verification step before you proceed to access contact options and block the number.
Tap Contact or Number
Tap the contact name or number at the top of the Messages thread to reveal their details and the options you need to block them. When you tap contact, a compact info screen appears showing their name or number, message history shortcuts, and an info (i) icon. Use that screen to confirm you’ve selected the correct sender before proceeding. You’ll see recent attachments, call options, and shared content—review these if you’re unsure who’s sending the messages. This step keeps you from mistakenly blocking someone. The interface is straightforward: tap contact to expose all relevant controls and context so you can confidently decide whether to block number. It’s a quick verification step that prevents errors and saves time.
Choose “Block This Caller”
With the contact details visible, scroll down the info screen until you see the option labeled “Block This Caller.” Select it to bring up a confirmation prompt showing the name or number you’re about to block; this gives one last chance to verify you’ve chosen the correct sender. Confirming immediately updates your caller preferences and stops messages from that contact.
- Tap “Block This Caller” to halt messages and calls.
- Verify the displayed name/number — this prevents accidental blocking.
- Confirm to apply changes and disable future block notifications.
After you block someone, your Messages app won’t show new texts from them, and the Phone app reflects the update in caller preferences. You can revoke the block anytime from the contact’s info if you need to restore communications.
Block a Contact From the Contacts App
Open the Contacts app and find the person you want to block. Tap their name, scroll down, and choose “Block This Caller.” That contact will no longer be able to call, message, or FaceTime you.
Open the Contacts App
Before you block someone from your Contacts app, find and launch Contacts on your iPhone so you can locate the entry you want to block. Open the app from your Home screen or App Library; Spotlight search also works if you have many apps. Keep contacts organization in mind so you don’t accidentally block the wrong person — good labeling and managing duplicates helps prevent mistakes.
- Tap the Contacts icon or open Phone and choose Contacts.
- Use the Search field to quickly find a name or number.
- Scroll alphabetically if you prefer visual browsing.
Opening Contacts is a deliberate step: confirm you’re in the right account (iCloud, Gmail, etc.) before proceeding to the next action.
Select the Contact
1. Tap the contact you want to block to open their details. You’ll see their name, phone numbers, email addresses, and recent call history. Use this view for precise contact management: confirm you’ve chosen the correct entry, especially if similar names appear.
Scroll if needed to review all listed numbers and addresses so you know which specific number or address you’re blocking. If the contact has multiple entries, merge or delete duplicates first to avoid partial blocking. Use Edit to adjust information before proceeding — accurate contact records make blocking techniques more effective and predictable.
When you’re certain the displayed contact is the one to restrict, stay on this detail screen; the next step applies the block to the selected record.
Choose “Block This Caller”
Scroll to the bottom of the contact’s detail screen and tap “Block This Caller” to begin restricting calls, messages, and FaceTime from that entry. You’ll see a confirmation; tap “Block Contact” to apply the action. This improves your User Experience by centralizing interruption control and reducing unwanted interactions.
- The block is immediate — incoming calls and messages from that contact are prevented.
- You won’t get alerts, and Block Notifications for calls, texts, and FaceTime stop appearing on your device.
- You can always unblock later from the same contact screen or Settings if you need to restore communication.
This method is direct, reversible, and authoritative, giving you precise control over who can reach you without extra steps.
Block Someone in FaceTime
When someone’s FaceTime calls or messages become unwanted, you can stop them quickly by blocking their contact—you’ll prevent both video/audio calls and FaceTime messages from reaching you. Open the FaceTime app, find the recent call or the contact, tap the info (i) icon, then scroll to “Block this Caller.” Confirm to apply FaceTime privacy controls immediately. That action adds the contact to your blocked list in blocking settings, so calls and alerts from that entry stop across FaceTime and Phone apps. You can also block from Contacts: open the contact, tap “Block this Caller.” Blocking is tied to the contact entry and managed centrally in Settings > Phone or FaceTime, giving you consistent, device-level control over unwanted communications.
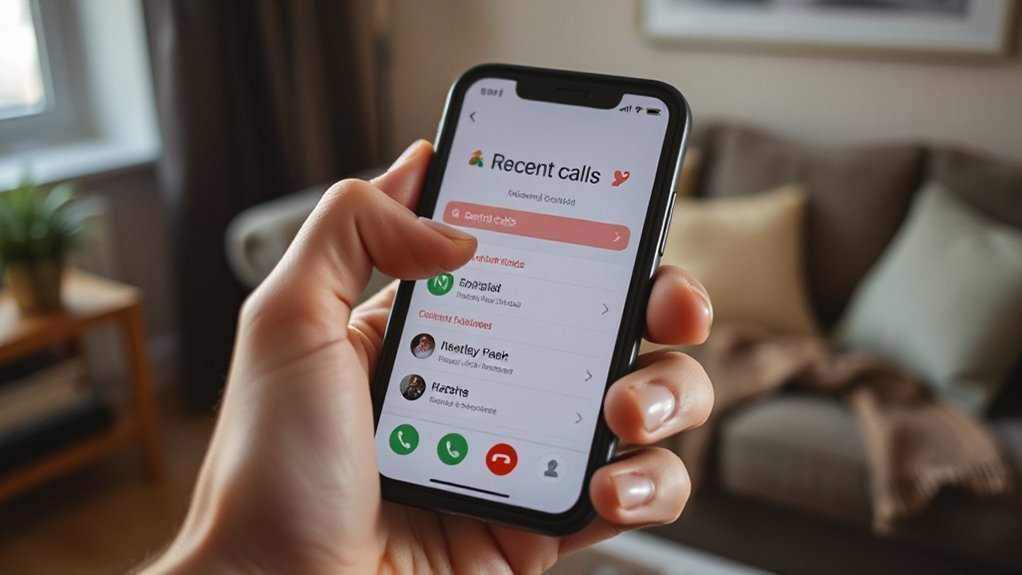
Unblock a Number on Your Iphone
If you change your mind, you can remove a contact from your blocked list in Settings to restore their messages and calls. After unblocking, recent calls may reappear in your Recents, letting you quickly return missed calls or call them back. Follow the unblock steps and then check Recents to confirm the number’s activity has been restored.
Remove From Blocked Contacts
Because you might want to hear from someone again, unblocking a number on your iPhone is quick and reversible: go to Settings > Phone > Blocked Contacts, find the entry, and swipe left to remove it. This removing contacts step is part of managing blocklist duties—you’re undoing a block without altering other settings.
- Open Settings > Phone > Blocked Contacts and locate the contact.
- Swipe left on the contact or tap Edit, then tap the red minus and Remove to unblock.
- Confirm by checking the list; the contact will no longer be blocked and calls, texts, and FaceTime will come through.
After removal, the person can reach you again. Keep your blocklist up to date to maintain control over who can contact you.
Restore Recent Calls
After you unblock someone, you may want to restore their recent calls to your Recents list so missed or declined calls are visible again; iPhone won’t automatically repopulate that history, but you can manually retrieve or note recent entries. To restore calls, open Phone > Recents and check for any entries from the contact; sometimes blocked-call records remain but are hidden from notifications. If you don’t see them, review Voicemail and Messages for timestamps, then tap the contact and call back to recreate an entry. For a fuller approach to managing history, use iCloud or an iTunes backup: restore the device from a backup made while calls existed. Document actions you take so your call log remains accurate after restoring calls.
Use Silence Unknown Callers to Reduce Spam
When you turn on Silence Unknown Callers, your iPhone sends calls from numbers not in your contacts straight to voicemail and only notifies you about known callers, reducing interruptions from robocalls and scam numbers. You’ll keep essential calls while minimizing disruptions; the silence notifications behavior stops alerts for unknown numbers but preserves voicemail records so you can review missed calls later. Enable it in Settings > Phone under unknown caller features.
When enabled, Silence Unknown Callers sends unknown numbers to voicemail, alerting only known contacts and cutting robocall interruptions.
- Open Settings > Phone and toggle Silence Unknown Callers on.
- Known contacts, recent outgoing calls, and Siri suggestions still notify you.
- Check voicemail and the Recents list regularly to recover legitimate calls.
Use this to reduce spam quickly; it’s decisive, reversible, and requires no third-party app.
Report and Filter Imessage Spam
Silence Unknown Callers helps with unwanted calls, but iMessage spam is handled differently — and you should report and filter it to keep your inbox clean. When you get an unsolicited iMessage, tap the sender’s name, then Report Junk if that option appears; this forwards the message and sender information to Apple for spam reporting and deletes the thread from your conversation list. Enable Filter Unknown Senders in Settings > Messages to separate people who aren’t in your contacts into a separate tab; that’s one of the iMessage filters that prevents unsolicited messages from cluttering your primary inbox. For repeated or abusive senders, block them after reporting. Regularly use spam reporting and iMessage filters together to maintain a safer, cleaner messaging experience.
Tips to Manage Blocked Contacts and Voicemails
Although blocking stops calls and messages from reaching you, you should still review and manage blocked contacts and their voicemails to avoid missing important information and to keep your phone organized. Check your blocked list periodically in Settings → Phone to remove or reinstate numbers as situations change. For managing voicemails, open Voicemail and listen for messages from blocked callers — some carriers still store them. Adjust handling notifications so you only get alerts for allowed callers or emergency contacts.
Blocking stops calls, but regularly review blocked contacts and voicemails to avoid missing important messages and keep your phone tidy.
- Review blocked contacts monthly to confirm relevancy and update entries.
- Scan blocked voicemails for critical info, then delete or save as needed.
- Customize notification settings to mute unwanted alerts while preserving key messages.
These steps keep your contact list tidy and protect essential communication.
Conclusion
Blocking numbers on your iPhone keeps unwanted calls and messages off your screen and gives you control over who can reach you. It stops calls, texts, and FaceTime from the blocked contact, but voicemail may still record silently. Use Recents, Messages, or Contacts to block quickly, and Silence Unknown Callers or report iMessage spam to cut junk further. You can always unblock someone later and manage voicemails and blocked lists in Settings.