Keeping your dog’s ears clean protects them from pain, infections, and long-term damage, and you can safely do most of it at home with the right technique. You’ll learn how to spot when ears need attention, what supplies work best, how to apply a veterinarian‑approved cleanser, and when to stop and see your vet — but first, make sure you can recognize the subtle signs that an ear problem is more than routine.
Key Takeaways
- Inspect the ear for redness, odor, discharge, or pain before cleaning; seek a vet if these signs are present.
- Use a vet-approved, alcohol-free ear cleanser, applying into the canal and massaging the base for 20–30 seconds.
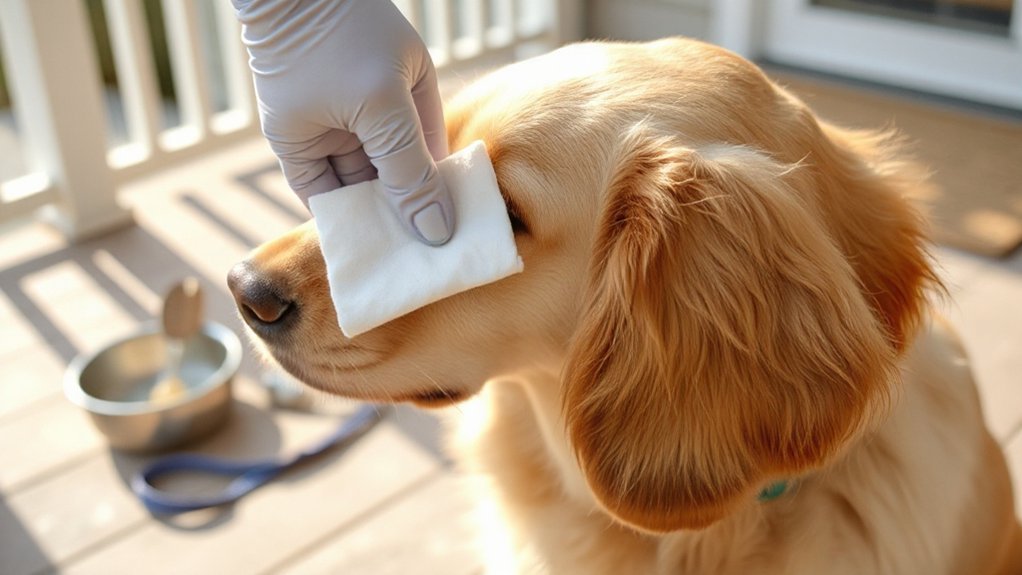
- Let your dog shake its head, then gently wipe out loosened debris with cotton or gauze—never insert cotton swabs deep.
- Clean frequency: every 1–2 weeks for floppy ears and every 3–6 weeks for erect ears, or as your vet advises.
- Dry ears thoroughly after swimming or bathing and document recurring problems to discuss with your veterinarian.
Why Regular Ear Care Matters for Your Dog
Because your dog’s ears combine warm, moist skin and narrow canals, they’re prone to infections and wax buildup that can harm hearing and comfort. You need routine attention to preserve ear health and prevent chronic changes like thickening, pain, or permanent hearing loss. Regular checks let you spot early debris, abnormal discharge, odor, or inflammation before microbes proliferate. Cleaning with veterinarian-recommended solutions and proper technique reduces microbial load, restores normal airflow, and supports the ear’s self-cleaning mechanisms without disrupting beneficial flora. Preventive care also lowers the likelihood of costly, prolonged treatments and anesthesia for severe cases. Stay consistent with scheduled inspections and gentle maintenance, and consult your vet promptly if you encounter persistent signs or worsening symptoms.
Signs Your Dog’s Ears Need Cleaning
Discomfort is often the first clue that your dog’s ears need attention: you’ll notice frequent scratching at the ear, repeated head shaking, or rubbing the ear against furniture. You should also watch for redness, swelling, or heat in the pinna or ear canal, which indicate inflammation. Brown, yellow, or black discharge and a persistent ear odor suggest infection or excessive cerumen and microbial overgrowth. If your dog flinches when you touch the ear, holds the head tilted, or shows changes in balance or hearing, seek assessment promptly. Recurrent signs after treatment imply an underlying cause such as allergies, foreign bodies, or endocrine disease. Keep records of frequency and symptoms to share with your veterinarian for targeted diagnosis and management.
Supplies You’ll Need Before You Start
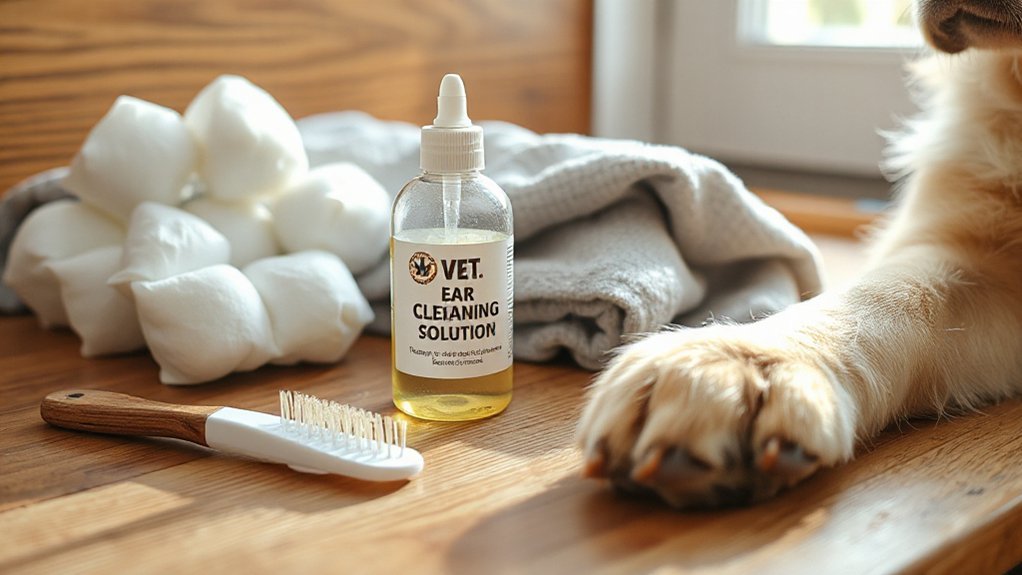
Before you begin, gather gentle cleaning supplies like a vet-approved ear cleanser, soft cotton balls or gauze, and spare towels so you can work precisely without irritating the canal. Put on protective items for the handler — nitrile gloves and a smock or old shirt — to keep yourself clean and reduce contamination. Having these tools ready will let you proceed calmly and safely.
Gentle Cleaning Supplies
When you clean your dog’s ears, gather a few specific items so the process stays safe and efficient: a veterinarian-recommended ear cleaner (non-irritating, pH-balanced), sterile cotton balls or gauze, and a towel to steady your pet and absorb any runoff. Choose an ear cleaning solution formulated for canine use; avoid homemade natural remedies unless your vet approves, since pH and sterility matter. You’ll also want a soft applicator like a squirt bottle or dropper that delivers measured volumes without force. Use alcohol-free, fragrance-free products to minimize irritation. Have clean gloves available if you prefer them. Keep supplies within reach on a stable surface so you can work methodically, apply the solution, massage the base of the ear, and blot away debris without contaminating fresh materials.
Protective Items for Handler
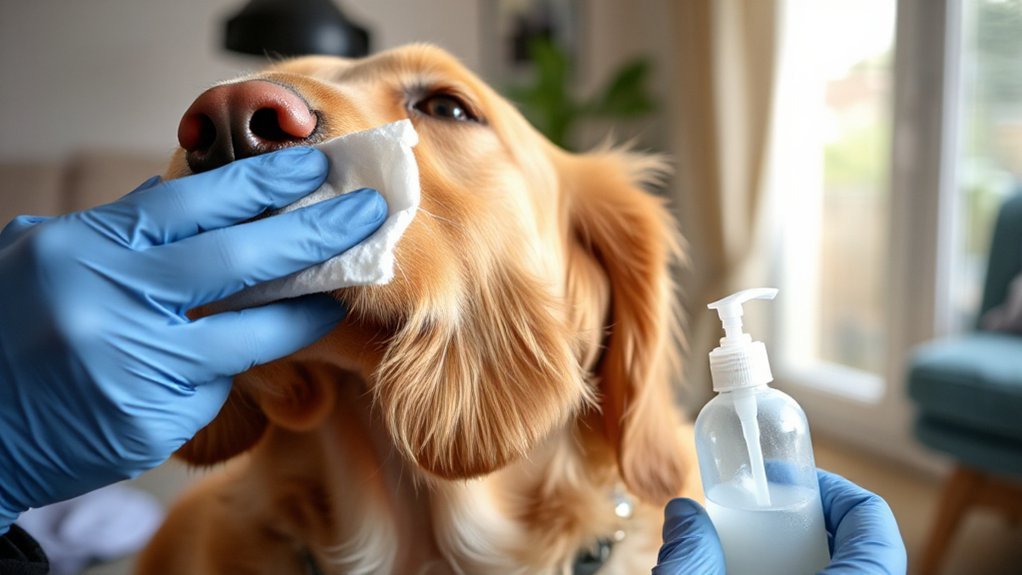
Gloves, eye protection, and clothing you don’t mind getting dirty will keep you safe and comfortable while cleaning your dog’s ears. You’ll want disposable protective gloves to prevent cross-contamination and protect against fluid exposure; choose nitrile for chemical resistance and tactile sensitivity. Safety goggles or a face shield guard against splashes when you’re flushing or using ear cleaning tools. Wear a short-sleeved or easily rolled-up shirt and secure loose hair to avoid entanglement. Prepare absorbent towels to manage spills and a non-slip surface so the dog stays steady. Keep your ear cleaning tools within arm’s reach on a clean tray to limit movement and maintain a sterile workflow. These precautions reduce risk and let you focus on precise, calm ear care.
How to Prepare Your Dog for Ear Cleaning
Choose a quiet, comfortable spot where your dog feels secure and you can work without interruptions. Have all supplies at hand—cleaning solution, cotton balls or gauze, gloves, and treats—so you won’t need to leave your dog unattended. Move calmly and speak gently to keep your dog relaxed throughout the process.
Choose a Calm Location
Pick a quiet, familiar spot where your dog feels secure and you can sit comfortably beside them; this reduces stress and gives you steady control for safe ear access. Choose a calm environment free from loud noises, other pets, or sudden activity that could startle your dog. Position lighting so you can clearly inspect the ear without moving them repeatedly. Keep your posture relaxed and close to their shoulder to offer gentle restraint without pressure; that minimizes reflexive head turns. Use brief, predictable motions and pause if your dog tenses. Be prepared to reward cooperative behavior immediately — treats, praise, or a favorite toy — to reinforce calm responses. Consistent location and positive reinforcement will build trust and ease future cleanings.
Gather Necessary Supplies
Before you begin, gather everything you’ll need so the procedure goes smoothly and your dog stays comfortable: a vet-approved ear cleaner, clean cotton balls or gauze (never cotton swabs), a towel, treats for calming and rewarding, and a flashlight or headlamp for better visibility. Lay out essential tools on a clean surface so you can work efficiently and maintain sterility where possible. Include gloves if you prefer contact protection and a small bowl for used cotton. Review ear cleaning techniques briefly so you know when to stop or seek help—inspect for discharge, odor, swelling, or pain before you start. Keep treats accessible to reinforce calm behavior and a towel ready to manage shaking. If you’re unsure about any sign, consult your veterinarian first.
Step-by-Step Ear Cleaning Procedure
Start by gathering the supplies you’ll need—ear-cleaning solution recommended by your vet, cotton balls or gauze, and treats to reward calm behavior—so you can work efficiently and safely. Hold your dog securely, lift the ear flap, and inspect the canal for odor, redness, or discharge. Apply the solution as directed into the ear canal without touching the tip to the skin. Massage the base of the ear for 20–30 seconds to dislodge debris; you’ll hear a squishing sound. Let your dog shake, then gently wipe expelled material with cotton or gauze; never use cotton swabs. Repeat on the other ear. Use consistent ear cleaning techniques and maintain an appropriate ear cleaning frequency as advised by your vet to prevent irritation or infection.
How Often to Clean Different Types of Ears
Because ear shape and hair, skin type, and your dog’s activity level affect wax and debris buildup, cleaning frequency should be tailored to the ear type and individual needs. For erect, open ears (e.g., German Shepherds), you’ll usually clean every 3–6 weeks; airflow reduces moisture, so less frequent maintenance is needed unless debris accumulates. Drop or floppy ears (e.g., Cocker Spaniels) trap moisture and require more attention—typically every 1–2 weeks. Hairy or heavily feathered ear canals need regular plucking and cleaning every 1–3 weeks to prevent matting and cerumen buildup. Working, swimming, or high-allergy dogs merit increased cleaning frequency after exposure. Use a consistent method, monitor odor, discharge, or irritation, and adjust intervals based on findings. This tailored plan helps prevent inflammation while avoiding overcleaning.
When to Avoid Cleaning and Seek Veterinary Care
If your dog shows signs of pain, bleeding, foul odor, thick colored discharge, or a sudden change in behavior around the ears, don’t try to clean the canal yourself—these are indications of infection, a foreign body, a ruptured eardrum, or other serious problems that require a vet’s exam. You should also avoid routine cleaning if your dog has a perforated tympanic membrane, recent ear surgery, or severe inflammation; manipulating the ear can worsen damage. Note the difference between routine when to clean guidance and urgent signs of infection or trauma: redness, swelling, head shaking, vestibular signs, or fever demand prompt veterinary assessment. The clinician will perform otoscopic evaluation, cytology, and possibly culture to determine appropriate therapy and safe cleaning methods.
Tips for Ears Prone to Infection or Excess Wax
After you’ve ruled out infection or injury with your veterinarian, you can take practical steps to reduce recurrence and manage heavy cerumen production at home. You’ll follow a targeted protocol: use a veterinarian-recommended cleanser with appropriate pH and mild surfactants, apply as directed, and allow the solution to liquefy wax before gentle mechanical removal with cotton or gauze. Don’t use cotton swabs deep in the canal. Monitor odor, erythema, discharge, and head-shake frequency; document changes and contact your vet for any worsening. For infection prevention, dry ears after swimming or bathing and address underlying contributors like allergies or conformational ear issues with your vet. Schedule periodic rechecks; if wax control remains poor, your vet may recommend medicated cleansers, topical agents, or cytology-guided therapy.
Preventive Habits to Keep Ears Healthy
Routine care keeps your dog’s ears healthy and helps catch problems early. You should inspect ears weekly, looking for odor, discharge, redness, swelling, or excessive wax. Use a prescribed ear cleaner and cotton to remove surface debris; don’t insert cotton swabs into the canal. Dry ears thoroughly after baths or swims to prevent moisture-associated infections. Trim hair around the ear opening if breed-specific anatomy traps debris; enlist a groomer for precise work. Maintain regular grooming and nail care to reduce scratching that can traumatize the ear. Record findings and treatments to detect trends. If you see persistent signs or your dog shows pain, schedule veterinary assessment promptly. Consistent ear hygiene and proactive checks reduce infection risk and support long-term auditory health.
Conclusion
Regular ear care prevents discomfort and infection, so keep inspecting your dog’s ears and clean them with vet-approved solutions when you see wax buildup, odor, discharge, redness, or your dog scratches and shakes. Prepare supplies, restrain gently, and follow a controlled cleansing routine, avoiding force if it hurts. Clean frequency varies by ear type; seek veterinary evaluation for persistent signs, pain, or abnormal debris. With routine checks and prompt action, you’ll maintain healthy ears.