

You use your washer every week, so it’ll collect soap scum, lint, and moisture that shorten its life and cause smells if you don’t clean it. Start by unplugging the machine and shutting off the water, then inspect the gasket, dispensers, and drum for buildup. I’ll walk you through safe, effective steps for front- and top-loaders, how to treat mold and odors, and simple maintenance to prevent future problems—so you can get it back to peak performance.
Key Takeaways
- Wipe the rubber door gasket and seals monthly, pulling back the gasket to remove debris, mold, and trapped objects.
- Clean and rinse removable detergent drawers and dispensers with warm vinegar or mild detergent to prevent clogs and odors.
- Run an empty hot-water cleaning cycle monthly with white vinegar or a commercial washer cleaner to dissolve residue and kill odor-causing bacteria.
- Inspect and clean the pump trap or lint filter regularly and check hoses, seals, and drum for buildup or wear.
- After each use, leave the door and detergent drawer open to air-dry, use measured HE detergent, and avoid overloading to reduce future buildup.
Why Your Washing Machine Needs Regular Cleaning
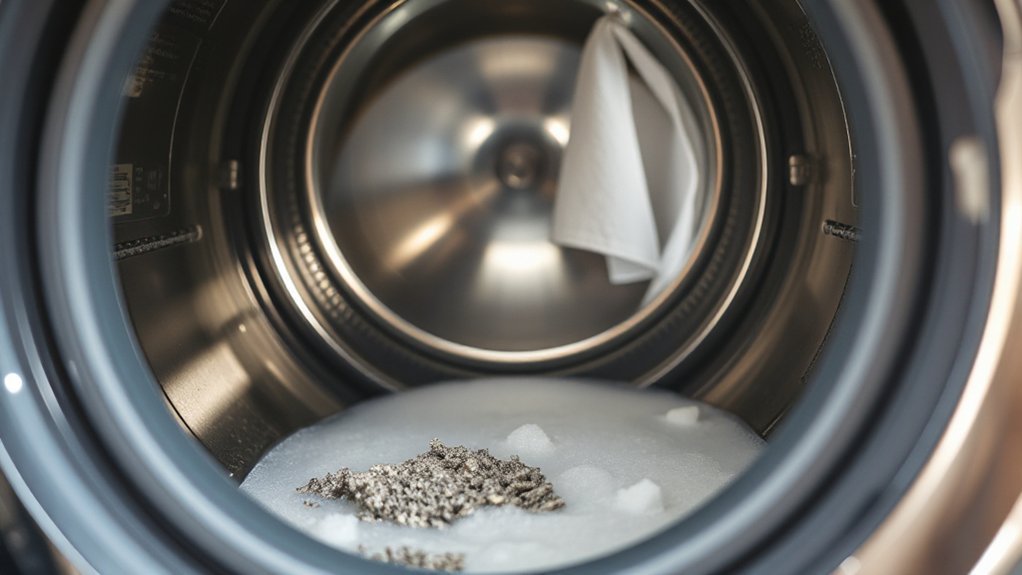
Because water, heat, and detergent create an environment where residue, lint, and mineral scale build up, you need to clean your washing machine regularly to maintain performance and hygiene. You’ll prevent malodor, bacterial growth, and fabric contamination by removing trapped debris from seals, dispensers, and drums. Regular maintenance preserves mechanical components—pumps, bearings, and seals—reducing stress and costly failures, which directly supports machine longevity. Cleaning also sustains energy and water efficiency: residue impedes drainage and heating elements, raising cycle time and utility consumption. Treat cleaning as preventive maintenance with objective checks: inspect for deposits, measure drain flow, and note unusual vibrations. Prioritizing the importance of cleanliness yields predictable performance, fewer repairs, and longer service intervals, letting you rely on consistent wash quality.
Safety First: What to Do Before You Start
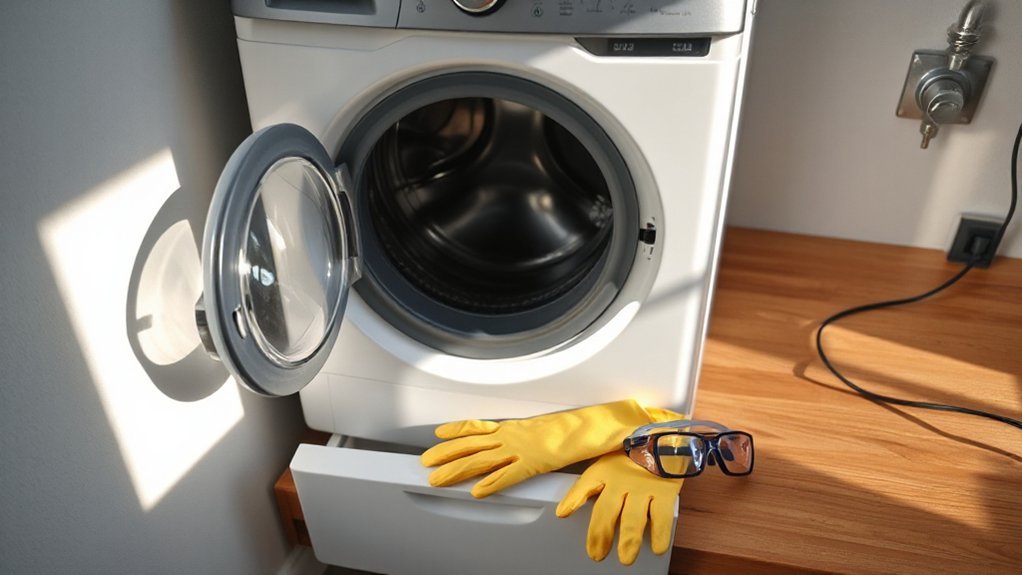
Before you begin, shut off power and water to the machine so you eliminate electrical and flooding hazards. Confirm the circuit breaker is off, then unplug machine from the wall to guarantee no residual power. Close water valves and disconnect hoses if you’ll access internal components; have a bucket ready for residual water. Put on appropriate safety gear: gloves, eye protection, and a mask if you’ll use chemical cleaners. Work in a well-ventilated area and keep children and pets away. Read manufacturer instructions and warranty terms to avoid voiding coverage. Gather tools—screwdriver, pliers, towels, and a flashlight—so you won’t improvise mid-task. Plan disposal for contaminated water and residues according to local regulations before you start cleaning.
How to Clean a Front-Loading Washing Machine
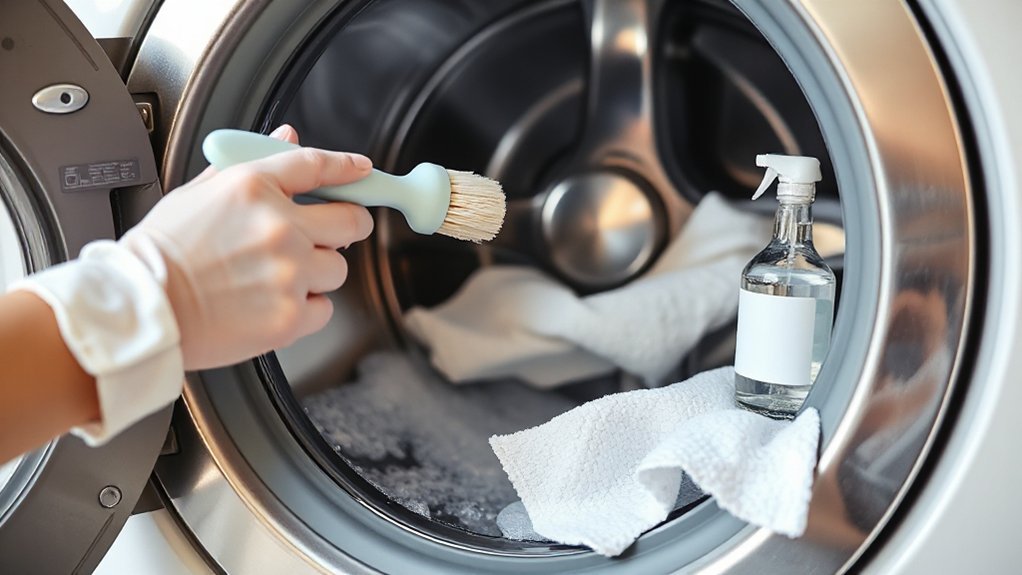
Start by pulling back the rubber gasket and removing any debris, hair, or coin trapped in the folds, then wipe the gasket with a cloth dampened with a mild bleach solution or vinegar to kill mildew. Remove and rinse the detergent drawer and any removable parts, then reassemble once dry. Run a hot-water cleaning cycle with a washing-machine cleaner or two cups of white vinegar (or a commercial cleaner) to flush the drum and pipes.
Remove and Clean Gasket
1. Start by unplugging the machine and turning off the water. Peel back the rubber door gasket to expose the fold and drain any trapped water into a towel. Perform a gasket inspection: look for mold, detergent buildup, foreign objects, and tears. Use a flashlight and small mirror if needed. Remove visible debris with a soft cloth and a plastic tool; don’t use metal that could nick the seal.
Mix a 1:1 solution of white vinegar and water or use a manufacturer-approved cleaner. Apply with a spray bottle, scrub crevices and under the lip with an old toothbrush, then wipe dry. For stubborn mold, repeat treatments and allow the gasket to air out fully. Re-seat the gasket and test the door seal.
Run Cleaning Cycle
While the gasket dries, run a dedicated cleaning cycle to flush residue from the drum, hoses, and pump: set the washer to its longest, hottest cycle and add either a commercial machine cleaner or the manufacturer-recommended amount of white vinegar or baking-soda solution, then let the cycle complete without laundry so the detergent lines, seals, and drains get disinfected and descaled. After starting the cycle, check settings: select extra rinse if available to remove loosened deposits. Use only cleaning products safe for front-loaders and follow dosing instructions to avoid damage. Repeat monthly or per manufacturer guidance; establish cleaning frequency based on water hardness, load types, and odor recurrence. Inspect drain filter and run a short empty spin afterward to verify clearance.
How to Clean a Top-Loading Washing Machine
Before you begin, unplug the machine and shut off the water supply to prevent shocks and leaks; then empty the drum and remove any loose debris. Inspect the agitator, lid seal, and drum for visible buildup. Mix 1 cup white vinegar with 1/4 cup baking soda and pour into the drum; run the hottest, longest cycle to break down grime and mineral scale. Pause mid-cycle if possible to let solution soak for 1 hour, then resume. After the cycle, scrub the drum, agitator, and underside of the lid with a soft brush to remove remaining detergent residue and biofilm. Run a rinse cycle to flush residues. Wipe interior surfaces dry and leave the lid open to promote ventilation. Schedule top loader maintenance quarterly.
Cleaning the Detergent Drawer and Dispensers
Most machines have removable detergent drawers and small, hidden dispensers that trap detergent, softener, and mold—so you should clean them regularly to prevent clogs and odors. Pull the drawer fully, press release tabs, and remove all inserts. Scrape visible detergent buildup with a plastic scraper or old toothbrush. Soak components in warm water with a cup of vinegar or a mild detergent for 15–30 minutes, then rinse and dry thoroughly.
Inspect the dispenser canal with a flashlight; use a bottle brush to dislodge residue. Reassemble when dry and run a short rinse-only cycle to flush internal lines. Set a cleaning frequency based on use: heavy users clean monthly, light users every 2–3 months. Keep parts dry between washes to minimize buildup.
Removing Mold, Mildew, and Lingering Odors
Check the rubber seal and gasket for trapped water, detergent residue, and visible mold, and pull back the flange to wipe and dry every fold. Clean the drum with a high‑temperature cycle or targeted scrubbing and use a small brush to reach dispenser crevices and vents where mildew hides. Finish by running an empty hot cycle with an appropriate cleaner to neutralize odors and rinse remaining residues.
Seal and Gasket Care
The rubber seal and gasket trap water and debris, so you’ll need to clean them regularly to prevent mold, mildew, and persistent odors. Perform a seal inspection each month and follow gasket maintenance steps to keep the area dry and intact. Use gloves and a soft cloth or toothbrush; avoid harsh scrapers that cut the rubber.
- Remove visible debris and hair from folds; lift the gasket gently to access hidden pockets.
- Wipe with a 1:1 solution of white vinegar and water or a diluted bleach solution (1 part bleach to 10 parts water); rinse and dry thoroughly.
- Inspect for cracks, hardening, or loose adhesive; replace the gasket if compromised to prevent leaks and odor recurrence.
Dry the seal after every wash.
Drum and Dispenser Cleaning
After you’ve kept the gasket clean and dry, turn your attention to the drum and detergent dispensers where mold and odor often hide. Inspect the drum visually and run a manual wipe with a microfiber cloth soaked in a 1:1 solution of white vinegar and water; for stubborn biofilm use a paste of baking soda and water applied with a soft brush. Run an empty hot cycle with two cups of white vinegar, then a second hot cycle with half a cup of baking soda to neutralize residues. Remove and disassemble the dispenser drawer if possible; soak components in warm soapy water and scrub crevices to restore dispenser hygiene. Dry all parts thoroughly and leave the door and dispenser open between uses to support ongoing drum maintenance and odor control.
How Often to Perform Each Cleaning Task
Regularly scheduling cleaning tasks keeps your washer reliable and prevents odors, mold, and buildup from becoming bigger problems. Set a clear maintenance schedule and note cleaning frequency for each task so you don’t overlook anything. You should:
- Wipe seals and gasket weekly to remove moisture and residue.
- Run an empty hot-water cycle with cleaner monthly to clear the drum and plumbing.
- Clean dispenser drawers and filters every 3 months, or sooner if you see buildup.
Adjust frequency based on load size, water hardness, and detergent type; heavy use or hard water needs more frequent attention. Track tasks on a calendar or app, and inspect components during each wash to catch problems early. Following a precise maintenance schedule minimizes repairs and extends machine life.
Tips to Prevent Future Buildup
If you want to keep residue and mold from returning, adopt habits that limit moisture, detergent buildup, and lint at the source. Run a monthly hot-water empty wash with a cup of white vinegar or a proprietary cleaner to dissolve deposits. After each load, leave the door and dispenser drawer open to accelerate drying and prevent biofilm. Use measured liquid detergent and high-efficiency formulas to avoid suds and residue; follow load-size guidelines. Wipe gaskets, seals, and the dispenser weekly with a microfiber cloth and mild bleach solution when needed. Clean the filter and pump trap per the manufacturer’s schedule to remove lint and debris. These preventative maintenance and cleaning habits reduce odor, improve efficiency, and extend component life.
Conclusion
Keep your washer running efficiently by scheduling simple, regular cleanings. Always unplug and shut off water first. For front-loaders, wipe the gasket, clean the drawer, and run a hot cycle with cleaner or vinegar. For top-loaders, add vinegar and baking soda, run the longest cycle and let it soak. Remove mold with bleach or vinegar, dry seals, and leave the door ajar. Do full cleanings monthly and spot-check weekly to prevent buildup and odors.