You’ve got a hole in your drywall and you want it fixed right—fast and clean. Start by sizing the damage and choosing the right patch method, then gather the few basic tools and safety gear you’ll need. With a bit of prep, the right backing or patch, and layered joint compound, you’ll blend the repair so it disappears. Keep going and I’ll walk you through each step so you don’t miss anything.
Key Takeaways
- Inspect the hole size and cause, check for wiring/plumbing, and measure dimensions before cutting or patching.
- Clean ragged edges and cut the hole to a neat shape to ensure a solid backing surface.
- Use spackling or mesh patch for small holes; install a drywall patch with wood backing for larger gaps.
- Apply thin coats of joint compound, let dry between coats, then sand and feather edges smooth.
- Match wall texture if needed, prime the patch, and paint with the same sheen and color for an invisible repair.
Assess the Size and Type of the Hole
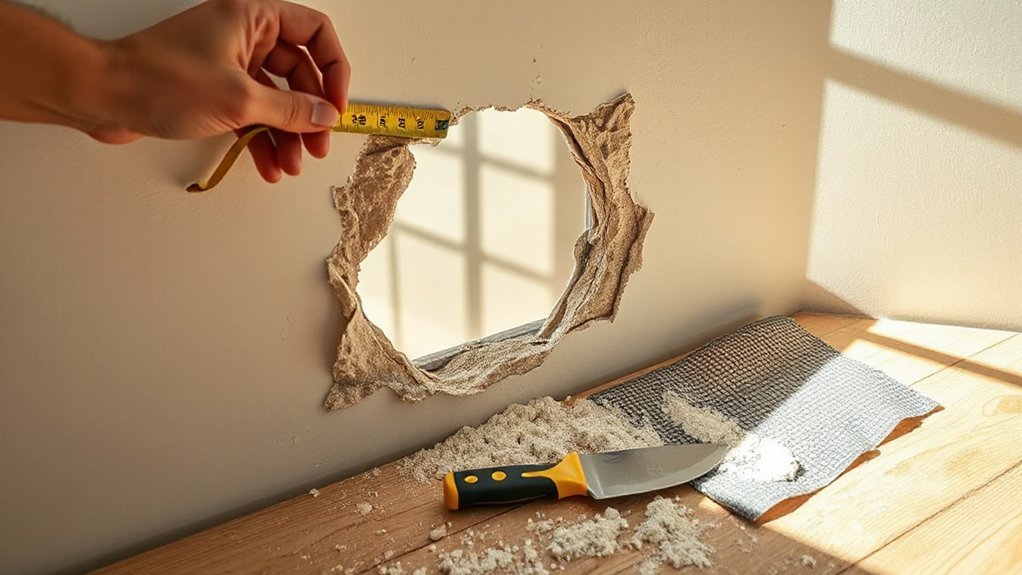
Start by measuring the hole and identifying its shape and cause so you know what repair method you’ll need. You’ll classify hole types: hairline cracks, small dents under 1/2 inch, medium holes up to 6 inches, and large gaps that need backing. Note whether damage stems from impact, moisture, or settling, since cause affects prep and final strength. Check for plumbing, electrical, or insulation behind the drywall before cutting. For irregular shapes, outline a regular patch area to simplify fitting. Match your assessment to repair techniques: quick filler for tiny blemishes, patch kits for medium holes, and cut-and-replace with backing for large breaches. Document dimensions and hidden hazards before you start.
Gather Tools and Materials Needed
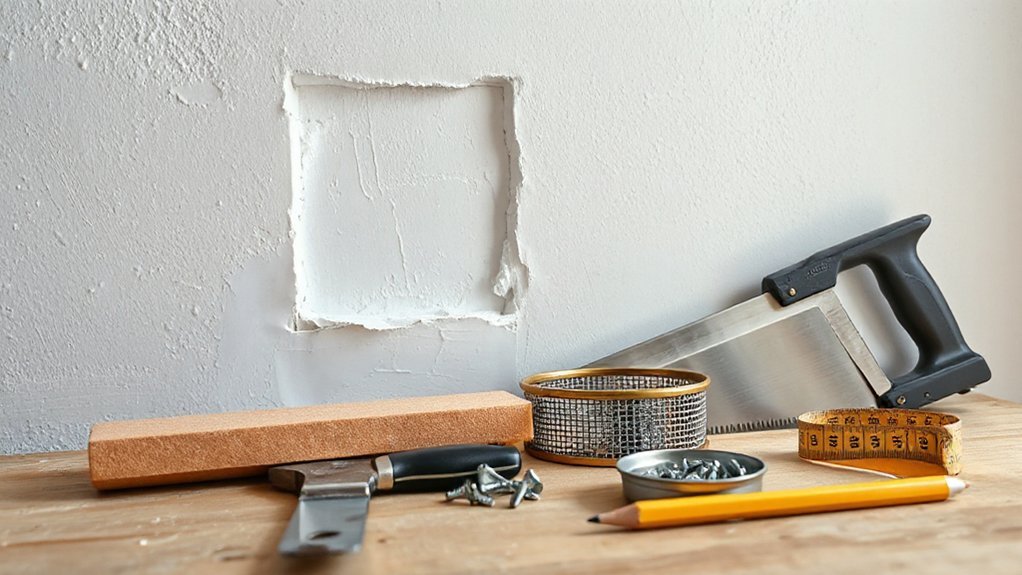
Before you start, gather the basic tools—utility knife, drywall saw, sanding block, tape measure, and a putty knife—so you won’t stop mid-job. Buy the right materials for the repair size: patch or drywall piece, joint compound, mesh or paper tape, and finishing primer. Put on safety gear—gloves, dust mask, and eye protection—before you cut or sand.
Tools You’ll Need
Fixing a drywall hole goes smoothly when you’ve got the right tools on hand, so gather them before you begin. You’ll need a utility knife and a drywall saw to cut clean edges and remove damaged material; these are essential drywall tools for precise work. Use a tape measure and pencil to mark cuts, and a level to keep patches flush. A putty knife (one narrow, one wider) helps you apply and feather joint compound for seamless repair techniques. Keep sanding blocks or sandpaper handy for smoothing, plus a sanding sponge for contours. A drywall rasp cleans rough edges. Have a drill and screws if you’ll fasten a patch to backing. Finally, safety gear—glasses and a dust mask—protects you while you work.
Materials to Buy
Now that you’ve assembled the right tools, gather the materials you’ll use to actually patch the hole. For drywall repair you’ll need joint compound (pre-mixed or powder), drywall tape or mesh patches, and a backing piece—like a small scrap of drywall or wood support—for larger holes. Get a utility knife blade, drywall screws, and a sanding sponge or sandpaper (120–220 grit). Choose primer and matching paint to finish. Consider material options: for quick fixes use self-adhesive mesh patches and lightweight spackle; for sturdier repairs buy a drywall patch kit with compound and a patch plate. Buy a few mixing trays and a flexible putty knife (4–6 inches). Pick materials that match the hole size and your skill level for a professional result.
Safety Gear Essentials
When you’re prepping to repair drywall, wear the right safety gear so dust, debris, and tools don’t become a hazard. Put on safety goggles to protect your eyes from flying particles and drywall dust. Use a respirator mask rated for fine dust when sanding or cutting to avoid inhaling gypsum and joint compound. Wear work gloves to protect your hands from sharp paper edges and metal corner bead. Choose long sleeves and pants to prevent skin irritation, and use knee pads if you’ll work low. Keep a first-aid kit nearby for minor cuts. Make sure your shoes have good traction to prevent slips on powdery floors. Inspect gear before starting and replace any damaged items for safe, efficient repairs.
Prepare the Damaged Area for Repair
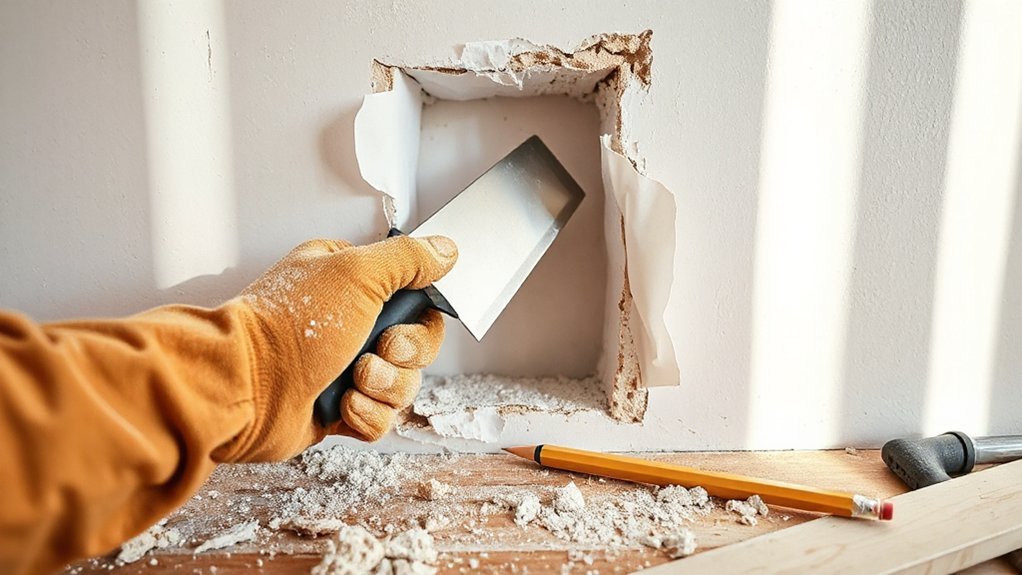
Before you start patching, clear loose material and create a clean, stable edge around the hole so the repair will bond properly. You’ll begin by evaluating damage and removing crumbling paper, tape, or loose gypsum with a utility knife and screwdriver. Next, focus on cleaning surface dust and debris so joint compound adheres.
- Remove loose fragments and dust with a stiff brush.
- Cut ragged edges to square or a neat circle for a solid backing.
- Note underlying stud or electrical hazards; mark their positions.
Measure the hole and check wall cavity depth so you pick appropriate backing. Lightly sand surrounding paint or texture for better adhesion. Keep debris contained and wear eye protection and a dust mask while you work.
Choose the Right Patching Method
With the damaged area cleaned and edges squared, pick a patching method that matches the size, location, and structural needs of the hole. For tiny nail or screw holes, use spackling or lightweight joint compound; these quick patch types fill and sand smooth without extra support. For medium holes (about 1–4 inches), choose self-adhesive mesh patches or a cut drywall plug—both are simple repair techniques that bridge the gap and accept compound. For larger or load-bearing damage, opt for a glued or screwed drywall patch with backing (you’ll install backing next). Consider moisture exposure and finish: cement board or moisture-resistant drywall works better in bathrooms. Match patch types to paintability and sanding needs, and pick repair techniques that minimize seams and guarantee a flush, durable finish.
Install a Patch or Backing for Larger Holes
For larger holes you’ll first assess the size and shape to determine whether a simple patch or a backing is needed. Choose a patch type—metal or mesh patch, a drywall square, or a preformed clip—and match it to the hole and surrounding wall. Then install a backing support (wood cleat or adhesive backing) and secure the patch firmly so the repair has a solid base for taping and finishing.
Assess Hole Size
Start by measuring the hole so you can decide whether you need a simple patch or some backing support; small nail- or screw-sized holes under about 1/2 inch you can fill with spackle, but anything larger will require a patch or a backing to restore strength and match the wall surface. For reliable hole identification, note shape, depth, and surrounding damage. Use accurate hole measurement (tape or ruler) and record dimensions before cutting any repair pieces.
- Circular or irregular holes under 2 inches may take a self-adhesive patch.
- Holes 2–6 inches often need a backing board or drywall clip for support.
- Larger openings require framed backing and full patch replacement.
These checks keep repairs strong and visually consistent.
Choose Patch Type
Now that you’ve measured the opening and noted its shape and surrounding damage, pick the patch method that matches the hole’s size and structural needs. For hairline cracks and small punctures, use lightweight spackling or joint compound — the simplest repair methods. For holes up to a few inches, consider self-adhesive mesh patches that bridge the gap and accept compound quickly. For larger or irregular openings, install a cut drywall patch secured to a backing or use a preformed metal or plastic patch kit; these patch types give strength and a flat surface for finishing. Match the patch type to the drywall thickness and expected stress. Choose materials you’ll be able to finish smoothly, then move on to secure backing support and taping techniques.
Secure Backing Support
If the hole is larger than a few inches, you’ll need a solid backing or a framed patch to give the new drywall something to fasten to and to keep the repair flush with the wall. You’ll first expose clean edges, then choose backing materials—wood cleats, metal anchors, or a drywall patch frame—based on hole size and access. Install the backing so it spans at least two inches past the hole on both sides and is screwed into studs or solid substrate. Use proper installation techniques: screw spacing, countersinking, and adhesive where needed. Follow these quick options:
- Wood cleat: inexpensive, easy to cut and screw behind the hole.
- Metal strip: thin, strong, good for tight spaces.
- Framed patch: best for large or visible repairs.
Apply Joint Compound or Spackling in Layers
When the patch is secure and the tape or mesh is set, apply joint compound in thin, even layers to build the repair flush with the surrounding wall; you’ll scrape each coat smooth with a 6–8 inch drywall knife, feathering the edges to blend into the existing surface. Start with a thin “topping” coat to fill gaps, allow it to dry fully, then add one or two additional thin coats, letting each cure before the next. Use joint compound techniques that avoid overworking the mud — load the knife, push firmly, and remove excess in a single pass. For small holes, spackling tips include using lightweight spackle and applying less product per coat. Keep edges thin and consistent for a seamless finish.
Sand Smooth and Feather the Edges
Grab a sanding block or pole sander and begin smoothing each dried coat, working lightly across the patch and feathering the edges into the surrounding wall so the change disappears. You’ll use progressive sanding techniques: start with medium-grit to level high spots, then fine-grit to refine the surface. Keep the motion circular or long strokes, avoid gouging, and check from a low angle to spot shadows.
- Use a sanding block for control on small patches.
- Switch to a pole sander for larger areas to maintain even pressure.
- Clean dust between passes to see true progress.
Focus on consistent edge feathering so repairs blend invisibly. Wear a mask, don’t over-sand, and stop when changes feel seamless to touch.
Match Texture and Paint the Repaired Area
After you’ve sanded and the patch feels seamless, match the wall texture before painting so the repair disappears visually as well as physically. Identify the existing texture—smooth, orange peel, or knockdown—and practice on scrap cardboard or a hidden corner. Use the appropriate tool: spray texture cans for orange peel, a hopper gun for larger jobs, or a drywall knife for knockdown. Apply thin layers, let each cure, and blend edges into the surrounding wall. Once texture matching is convincing and fully dry, prime the area to seal joint compound and guarantee consistent absorption. For paint application, use the same sheen and color; feather brush or roller strokes outward to avoid lap marks. Inspect in different light and touch up until the repair is invisible.
Prevent Future Drywall Damage
Because most drywall damage comes from predictable causes, you can prevent future problems by addressing hazards proactively and using simple protective measures. Inspect vulnerable areas regularly and adopt straightforward preventative measures: fix leaks, secure loose fixtures, and avoid impact zones. You should schedule routine inspections after storms, seasonal temperature shifts, or renovations to catch issues early.
- Mount furniture away from walls and use pads or bumpers.
- Repair plumbing and roof leaks immediately to prevent softening.
- Anchor shelves and TVs to studs, not just drywall.
Be proactive: train household members to carry heavy items away from walls, keep humidity stable with ventilation, and document problem spots. Those routine inspections and small steps will minimize repairs and extend your walls’ life.
Conclusion
You’ve got the steps to fix a hole in drywall—assess the damage, gather tools, prep the area, pick the right patching method, install backing for larger holes, apply compound in thin layers, sand smooth, match texture, and paint. Work methodically, let each coat dry, and feather edges for an invisible finish. With careful prep and the right materials, your repair will hold up and blend seamlessly, preventing future damage and keeping your walls looking their best.