

Mold in your shower grout usually comes from trapped moisture and poor airflow, and you’ll want to tackle it safely and methodically. Start with ventilation, gloves and a mask, then use effective cleaners like vinegar, hydrogen peroxide or a baking soda paste and let them sit before scrubbing. Rinse and dry thoroughly, but there’s more to know about stubborn stains, when grout needs replacing, and how to prevent regrowth.
Key Takeaways
- Wear gloves, goggles, and an N95 respirator, and ventilate the bathroom before starting to avoid inhaling spores.
- Apply a cleaning agent (white vinegar, 3% hydrogen peroxide, or baking soda paste) and let it dwell for 10–15 minutes.
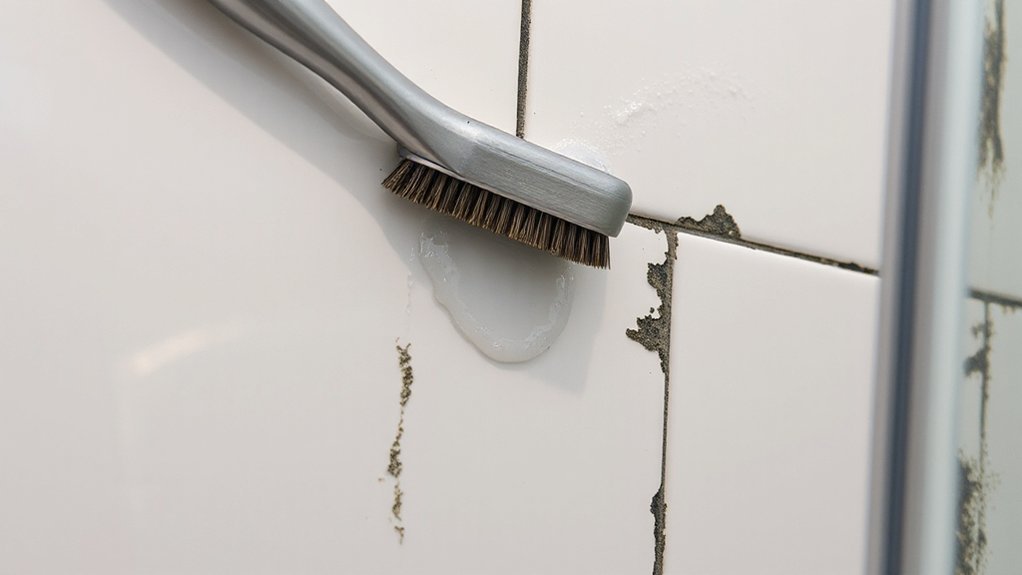
- Scrub grout gently with a nylon brush or old toothbrush, then rinse thoroughly and dry the area to remove residue.
- Replace badly cracked, crumbling, or permanently stained grout by removing and regrouting affected sections.
- Prevent recurrence by running a ventilation fan, keeping RH under 50%, and wiping tiles and grout dry after showers.
What Causes Mold on Shower Grout
Because grout is porous and often stays damp, mold readily takes hold in shower joints. You’ll find mold growth where water collects, ventilation is poor, and drying is inconsistent. Microscopic spores land on grout containing organic residues—soap scum, skin oils—and exploit sustained humidity. Temperature and pH in showers favor common species, accelerating colonization within minutes to days. Cracked or degraded grout traps moisture deeper, creating microenvironments that resist simple wiping. Ineffective moisture control—insufficient exhaust, long hot showers, or absent squeegeeing—maintains relative humidity high enough for persistent growth. You should inspect grout texture, joint condition, and ventilation patterns to identify risk zones. Prioritize reducing wetting frequency and improving airflow to limit substrate availability and interrupt the mold growth cycle.
Safety Precautions Before You Start
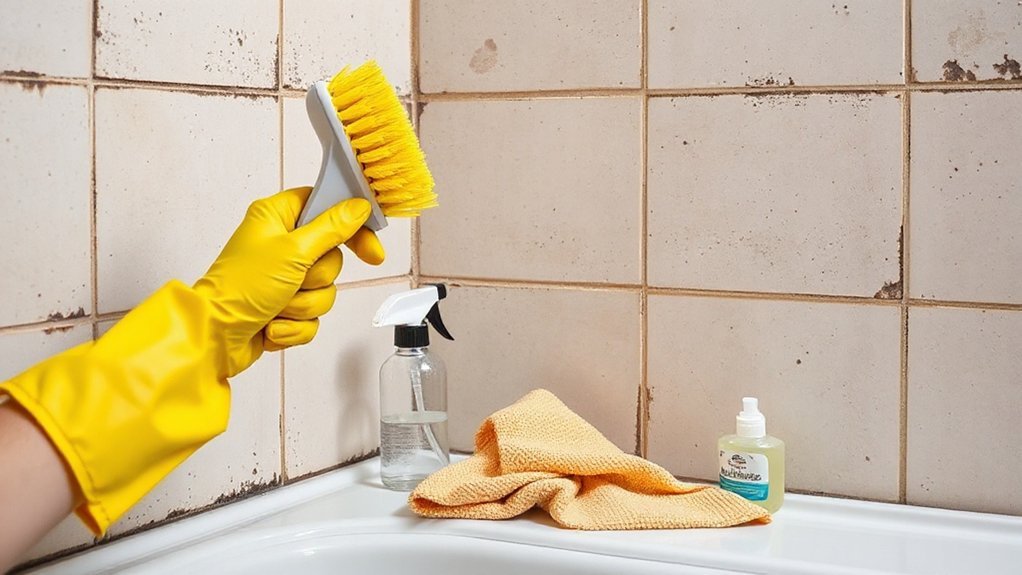
Before you start, put on PPE — gloves, goggles, and an N95 or respirator — to avoid inhaling spores and splashes. Open windows and run an exhaust fan to keep the area well ventilated while you work. Cover nearby fixtures and surfaces with plastic sheeting or towels to prevent chemical damage and cross-contamination.
Wear Proper Protective Gear
When you tackle mold in shower grout, suit up with the right protective gear to prevent inhalation and skin contact. You’ll want protective clothing that’s impermeable to liquids, disposable gloves that resist bleach and cleaners, and safety goggles that seal against splashes. Fit and integrity matter: replace torn garments and check seals.
- Wear a disposable coverall or long-sleeve apron to keep spores off skin and regular clothes.
- Use chemical-resistant gloves (nitrile or neoprene) and change them if contaminated.
- Put on safety goggles and a fitted respirator if you’ll use strong cleaners.
Remove gear carefully to avoid cross-contamination, bag used items, and wash exposed skin immediately with soap and water.
Ventilate the Work Area
Although you’re ready to start scrubbing, ventilate the bathroom thoroughly to prevent inhaling fumes and dislodged spores; open windows and doors, run an exhaust fan or a portable ventilator, and position a box fan to blow air out of the room. You’ll want continuous air circulation during treatment and drying to reduce airborne particulates and chemical vapors. Verify fans are aimed to create an outward flow and avoid recirculating contaminated air into adjacent spaces. Monitor humidity control: lower relative humidity below 50% with dehumidifiers or increased ventilation to inhibit further mold growth. Keep ventilation running during and after cleaning until surfaces are fully dry. Inspect for stagnant corners or dead zones and reposition fans as needed to maintain effective exchange and safe working conditions.
Protect Nearby Surfaces
1 simple precaution: shield all nearby surfaces to prevent chemical damage, staining, and mold spread. You’ll want protective coverings on fixtures, glass, and hardware before you apply surface cleaners or scrubbing. Use impermeable plastic or contractor-grade drop cloths and secure edges with painter’s tape so contaminants can’t migrate.
- Cover taps, shelves, and soap dishes with plastic sheeting; crease and tape at seams.
- Lay absorbent towels or disposable pads on floors to catch drips from cleaning solutions.
- Remove or isolate personal items and textiles; launder or discard contaminated items immediately.
Work methodically, replacing coverings if they become soaked. Keep surface cleaners labeled and stored upright. Proper containment minimizes secondary contamination and reduces chemical contact with finish surfaces.
Effective Homemade Cleaners and How to Use Them

You can tackle grout mold with two effective homemade options: a vinegar spray combined with baking soda for abrasive cleaning, and a hydrogen peroxide paste for oxidation and stain removal. Apply vinegar, let it sit briefly, scrub with baking soda to lift residue, then rinse thoroughly; use a 3% hydrogen peroxide paste on persistent spots, allow it to sit until bubbling subsides, then scrub and rinse. Wear gloves and guarantee ventilation, since both methods can irritate skin and respiratory mucosa.
Vinegar and Baking Soda
When used correctly, plain white vinegar and baking soda form an inexpensive, effective bleach-free cleaner for moldy grout; they work by lowering surface pH and releasing mild mechanical lift as the bicarbonate fizzes. You’ll appreciate vinegar benefits for inhibiting mold growth without harsh oxidizers, while baking soda adds abrasive action and odor neutralization. Apply cautiously.
- Saturate grout with 5% white vinegar; wait 10–15 minutes to reduce viable spores.
- Sprinkle baking soda along the grout lines; spray small vinegar mist to activate fizzing.
- Agitate with a nylon brush, rinse thoroughly, and dry to prevent recurrence.
Wear gloves and eye protection, test a small area first, and ventilate. Repeat treatments may be necessary; persistent infestations require professional assessment.
Hydrogen Peroxide Paste
If vinegar and baking soda don’t fully eliminate stubborn grout mold, try a hydrogen peroxide paste for stronger, bleach-free oxidation and targeted application. Mix 3% hydrogen peroxide with enough baking soda to form a spreadable paste. Apply directly to affected grout, let sit 10–15 minutes, then agitate with a stiff nylon brush to disrupt biofilm and lift spores. Rinse thoroughly and repeat for persistent discoloration. Work in a ventilated space and wear gloves and eye protection; hydrogen peroxide can irritate skin and degrade colored grout if overused. Test a small area first. For safety, don’t mix hydrogen peroxide with vinegar, bleach, or ammonia. After treatment, dry the area and consider sealing grout to reduce recurrence and simplify future grout cleaning.
Step-by-Step Mold Removal Process
Start by evaluating the affected area to determine mold extent and grout condition so you can choose the correct removal method and safety precautions. Use mold identification techniques (visual, odor, tape lift) and note porous vs. sealed grout. Wear gloves, eye protection, and a respirator if spores are heavy.
- Isolate and ventilate: open windows, run exhaust, block shower to prevent cross-contamination.
- Apply chosen grout cleaning methods: use hydrogen peroxide paste or diluted bleach solution per label; let dwell 10–15 minutes, scrub with a stiff brush, repeat as needed.
- Rinse and dry: flush thoroughly, towel-dry grout, and run ventilation until fully dry to inhibit regrowth.
Inspect for staining persistence; avoid aggressive mechanical removal unless necessary.
When to Replace Grout or Call a Professional
After cleaning and drying the area, evaluate grout integrity and mold recurrence to decide whether repair or professional help is needed. Inspect for crumbling, persistent discoloration, or gaps that permit moisture migration; those signs suggest full grout replacement rather than spot treatment. If damage is localized, you can remove and regrout small sections using compatible cement or epoxy grout—compare grout replacement options for durability and ease of maintenance. If mold recurs after regrouting, or if underlying tile, backer board, or waterproofing may be compromised, stop DIY work. Hire licensed professional cleaning services that also assess substrate condition and ventilation. They’ll perform containment, microbial testing if necessary, and recommend structural repairs. Prioritize safety: avoid masking chronic issues with repeated surface cleaning.
Preventing Mold From Returning
Because moisture feeds mold, you’ll need to control humidity and dry surfaces promptly to prevent recurrence. Take preventive measures deliberately: ventilation, rapid drying, and material selection reduce spores’ ability to regrow. After cleaning, inspect grout lines and seal intact joints; replace degraded grout when sealing won’t adhere.
- Use mechanical ventilation (fan rated for bathroom size) and a hygrometer to keep RH below 50%.
- Wipe tiles and grout dry after each use; run the fan 20–30 minutes post-shower to remove residual moisture.
- Specify mold resistant products—epoxy grout, mildew-inhibiting sealers—and apply per manufacturer instructions for long-term protection.
Monitor routinely; document humidity and visible staining. If mold returns despite controls, consult a professional.
Conclusion
You’ve learned what causes grout mold and how to protect yourself before tackling it. Use proven cleaners like vinegar with baking soda or hydrogen peroxide paste, let them dwell, then scrub, rinse, and dry thoroughly. Monitor humidity, improve ventilation, and consider mold-resistant grout or sealant. If mold persists, grout crumbles, or underlying leaks exist, replace grout or hire a pro. Stay cautious, wear PPE, and address moisture sources to prevent recurrence.