Hard water spots can make glass look cloudy and worn, but you can usually remove them with common household items and a little elbow grease. Start with a vinegar-and-water solution for light buildup, then try a baking soda paste or gentle scraping for tougher deposits. I’ll walk you through safe tools, step-by-step methods for mirrors, shower doors and windows, and what to do if the glass looks etched so you can restore a clear, streak-free finish.
Key Takeaways
- Determine if the deposit is surface buildup (chalky) or true etching (permanently rough) before choosing a method.
- For light buildup, apply equal parts white vinegar and distilled water, let sit 5–15 minutes, scrub with a microfiber or sponge, then rinse.
- Use a baking-soda paste (baking soda + water) as a gentle abrasive for stubborn spots, scrub, rinse with warm water, and dry.
- Carefully remove heavy deposits with a single-edge razor at a 30° angle or a clay bar; test on an inconspicuous area first.
- For etched or widespread damage, consult a professional glass polisher or consider replacing the glass; prevention (squeegee/dry) avoids recurrence.
What Are Hard Water Stains and How Do They Form on Glass?
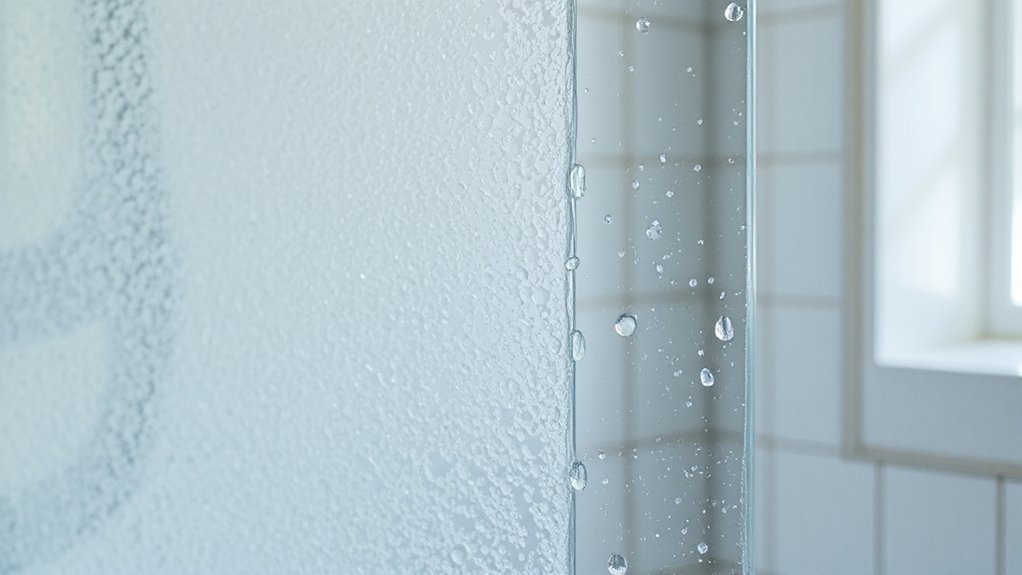
Mineral deposits, mainly calcium and magnesium, leave the cloudy, white films you call hard water stains on glass. You get mineral buildup when water droplets evaporate and dissolved salts crystallize on surfaces. Hard water carries those minerals continuously, so residues accumulate after repeated exposure—showers, faucets, or splashes. You’ll first notice a light haze that becomes etched-looking over time as layers harden. The minerals bond to glass and to existing residues, making stains progressively tougher to remove. Knowing this helps you choose stronger, targeted cleaners and mechanical action rather than mild soaps alone. You’ll prevent recurrence by reducing contact time, wiping dry, and treating water sources if persistent deposits form from chronically hard water.
How to Identify Different Types of Mineral Deposits
You’ll spot most mineral buildup as a white, chalky residue that wipes away with effort. If the glass has a hard, etched appearance that won’t scrub off, that’s mineral etching rather than a surface film. Knowing the difference tells you whether cleaning or professional restoration is needed.
White Chalky Residue
When hard water evaporates it often leaves a white, chalky residue on glass that’s easy to spot once you know what to look for: a powdery, matte film that smears into streaks when rubbed and won’t dissolve with water alone. You’ll see white residue along edges, seams, and where droplets collect. It feels slightly gritty under a fingernail and wipes away with mild abrasion or a vinegar solution rather than soap. Chalky buildup doesn’t alter the glass surface; it sits on top and responds to mechanical removal or acid cleaners that dissolve calcium carbonate. Inspect suspect areas by rubbing gently with a microfiber cloth and a drop of vinegar: if it breaks up and clears, you’ve found chalky buildup, not etching or permanent damage.
Hard, Etched Appearance
If the white, powdery film wiped away with vinegar, you were dealing with surface buildup — but some water damage goes deeper and looks permanently cloudy or frosted. That hard, etched appearance indicates true glass etching from prolonged exposure to mineral-rich water. You’ll notice a matte, blurred finish that won’t polish off with scrubbing or acid alone. This is mineral corrosion: dissolved calcium and magnesium slowly react with the silica surface, pitting and diffusing light. To confirm, run a fingernail over the area — etched glass feels rough, not just dirty. Restoration often needs professional polishing or cerium oxide abrasive to remove a thin layer of glass. In severe cases, replacement is the most practical option to fully restore clarity.
Safe Household Ingredients That Remove Mineral Buildup
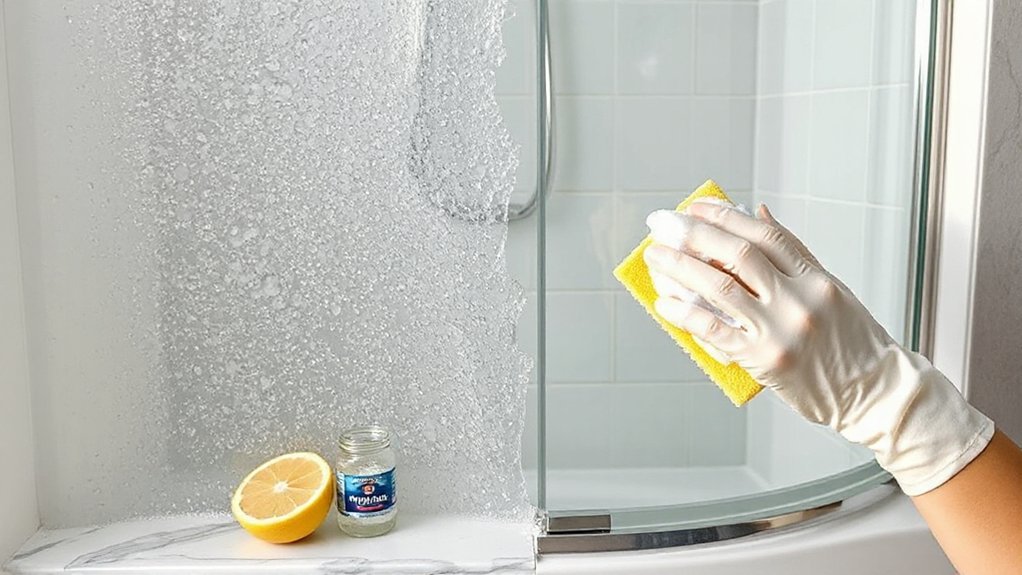
Because household staples are effective and cheap, you don’t need harsh chemicals to tackle mineral buildup on glass. You can use lemon juice’s mild acidity to dissolve light deposits; apply juice, let it sit briefly, then wipe with a soft cloth. Baking soda forms a gentle abrasive paste that helps lift stubborn spots without scratching when used sparingly. Cream of tartar mixed with water creates a fine, nonabrasive paste that brightens and removes residue on smaller areas. Hydrogen peroxide can help with mineral stains that have organic residue, used cautiously and rinsed well. Rinse thoroughly and dry with a microfiber cloth to prevent new spots. Test any mixture on an inconspicuous area before treating full surfaces to avoid damage.
Step-by-Step Vinegar Method for Glass Surfaces
You’ve seen how household acids and gentle abrasives work, and white vinegar is a reliable next step for tougher mineral deposits. Mix equal parts white vinegar and distilled water to make a vinegar solution. Put it in a spray bottle, saturate the stained glass, and let it sit 5–10 minutes to dissolve minerals. Scrub gently with a microfiber cloth or non-scratch sponge, working in small sections. Rinse with clean water and dry immediately to prevent new spots.
For persistent rings, soak a folded cloth in the vinegar solution and press it against the stain for 10–15 minutes before scrubbing. Finish with glass polishing using a dry microfiber cloth to remove streaks and restore clarity. Repeat if necessary.
Using Baking Soda and Water for Stubborn Stains
For tougher spots, make a thick paste of baking soda and water. Apply it to the stain, scrub gently with a nonabrasive sponge, then rinse thoroughly. Finish by drying the glass with a microfiber cloth to prevent new mineral deposits.
Make a Paste
Start by mixing baking soda with a small amount of water to form a thick, spreadable paste—aim for a consistency like toothpaste so it clings to vertical glass. You’ll make an effective, cheap homemade cleaners option that targets mineral buildup without harsh chemicals. Use fresh paste; it loses abrasiveness if overly diluted.
- Measure about 3 parts baking soda to 1 part water for reliable paste recipes.
- Adjust with a few drops of water until the texture holds its shape.
- Keep the batch small so it stays potent and easy to rinse.
- Store leftover paste in a sealed container for up to 24 hours; discard if it separates.
This method gives you control and predictable performance on stubborn hard water deposits.
Apply and Scrub
Although the paste needs to sit briefly to work, apply a generous layer to the stained area and press it on so it clings; then use a damp non-scratch sponge or soft brush to scrub in circular motions, concentrating pressure on thicker deposits until the mineral film loosens. You’ll follow practical scrubbing techniques: keep strokes short, vary pressure, and reapply paste to persistent spots rather than overworking the glass. When applying solutions, use just enough paste to cover stains; excess creates mess without improving results. For corners and edges, switch to a soft toothbrush to reach crevices. If stains resist, let the paste sit a little longer and repeat targeted scrubbing. Work methodically across panes so you don’t miss streaks or rebound residue.
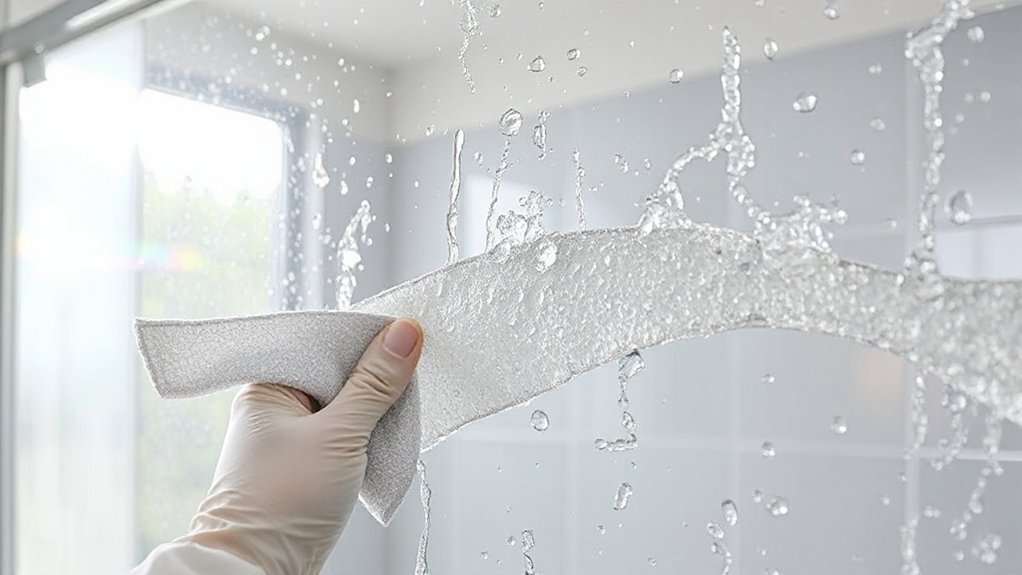
Rinse and Dry
- Rinse and dry are the finishing steps after you scrub with the baking soda paste. You’ll want to remove residue thoroughly and prevent water spots with proper rinse techniques and drying methods.
- Use a steady stream of warm water to flush away baking soda grit and loosened mineral deposits.
- Rinse top-to-bottom so contaminants don’t drip back onto cleaned areas.
- Pat glass dry immediately with a microfiber cloth to avoid streaks and re-deposition.
- Finish with a squeegee pass and a light buff using a dry microfiber for clarity.
Work quickly: don’t let water evaporate on the surface. If spots remain, repeat the paste and gentle scrub, then reapply these rinse techniques and drying methods until the glass stays clear and streak-free.
Commercial Cleaners: What Works and What to Avoid
When you’re choosing a commercial cleaner for hard water on glass, pick products with clear, acidic active ingredients like diluted acetic acid (vinegar), citric acid, or mild phosphoric acid because they effectively dissolve mineral deposits without excessive scrubbing. Look for labels that list those acids and state “for glass” to avoid coatings damage. You’ll want formulations that include surfactants to lift loosened minerals; avoid abrasive powders, strong alkalies, or undiluted hydrochloric acid—they etch or cloud glass. If you prefer eco friendly alternatives, choose certified cleaners that balance biodegradability with proven performance. Test any product on a small inconspicuous area, follow manufacturer dwell times, rinse thoroughly, and don’t mix chemistries. That keeps results safe, swift, and repeatable.
Tools and Techniques for Scraping and Polishing Glass
Now that you’ve picked a safe cleaner, you’ll often need physical tools to remove stubborn deposits the solution can’t lift. Use gentle scraping techniques first: hold a razor at a 30° angle and make short, controlled strokes to avoid scratches. Follow with polishing tools to restore clarity—microfiber pads and a non-abrasive polishing compound work well. Wear gloves and eye protection.
- Single-edge razor or glass scraper for mineral buildup
- Clay bar or plastic scraper for delicate areas
- Fine-grade polishing pad and compound for hazes
- Microfiber cloths for final buffing and inspection
Test tools on an inconspicuous spot. Keep movements uniform and reapply cleaner as needed. Stop if you see scratching; switch to a finer pad. Proper technique removes stains without damaging the glass.
Preventative Measures to Keep Glass Spotless
Because prevention is easier than repeated scrubbing, establish simple habits that keep glass clear: squeegee or microfibre-wipe shower doors and windows after each use, dry spills immediately, and use a water-softening or filtration system where hard water is an issue. Make preventative cleaning part of your routine: set a two-minute daily rinse-and-squeegee habit, and keep a dedicated microfibre cloth near glass surfaces for quick touch-ups. Install water softeners or point-of-use filters if mineral buildup recurs; they reduce residue and extend time between deep cleans. Use mild, pH-neutral cleaners rather than harsh acids that etch glass. Inspect seals and drain paths to avoid pooled, mineral-rich water. Small, consistent actions prevent stains and save time and effort long term.
Special Considerations for Mirrors, Shower Doors, and Windows
Though the basic steps for removing hard water stains apply to any glass, mirrors, shower doors, and windows each demand small adjustments in technique and product choice to avoid damage and get the best results. You’ll treat surfaces differently: mirrors need gentle cleaners to protect backing, shower door maintenance calls for regular squeegeeing, and windows tolerate stronger cleaners on frames. Use soft cloths, nonabrasive pads, and dilute acids sparingly.
- For mirror care, avoid soaking edges or abrasive scrubs that lift silvering.
- For shower door maintenance, squeegee after each use and spot-clean deposits quickly.
- For windows, protect surrounding seals and use streak-free formulas.
- For framed or frosted glass, test cleaners in an inconspicuous spot first.
Follow these targeted steps to remove stains without creating new problems.
How to Restore Etched or Dull Glass After Mineral Damage
First assess how deep the etching is by cleaning the glass and holding it to light to spot cloudy areas and surface vs. pitted damage. If the damage is shallow, you can try mild restoration methods like polishing with cerium oxide or using a rotary tool on low speed to gently remove the haze. For deeper etching or large areas you’ll want to consult a professional refinisher who can grind and reharden the surface or replace the pane.
Assess Damage Depth
When you inspect glass for mineral damage, focus on distinguishing surface deposits from actual etching so you know what repair steps will work. Use a quick damage assessment to decide whether cleaning or restoration is required. Perform a stain evaluation: wipe with vinegar, then a microfiber; if marks remain, they’re likely etched.
- Run your fingernail across the mark; resistance often indicates actual etching.
- Hold the glass to light at an angle; etched areas scatter light and look frosted.
- Measure depth visually; shallow, diffuse haze differs from pitted, sharp lines.
- Document location and size for targeted repair or professional consultation.
This approach prevents unnecessary abrasives on clean glass and guides you toward appropriate restoration or replacement.
Mild Restoration Methods
If the damage you found is shallow etching or a dull haze, you can often restore clarity with gentle, at-home methods that won’t risk further harm. Start by cleaning thoroughly with a vinegar solution to remove loose mineral film. For remaining haze, use nonabrasive pads with a paste of baking soda and water or a cream cleaner containing mild abrasives, rubbing in small circular motions. Rinse frequently and inspect under good light. For spot treatment, try natural remedies like diluted lemon juice or a paste of crushed eggshells for very light scuffs, then buff dry with a microfiber cloth. Always test a hidden area first, work gently, and stop if scratches worsen — repeat light treatments rather than aggressive scrubbing.
Professional Refinishing Options
Although mild home methods can help, deeper etching or pervasive haze usually requires professional refinishing to safely restore clarity and strength to the glass. You’ll want trained technicians who assess damage, choose correct abrasives, and avoid thinning or cracking. Professional services use controlled glass polishing systems that remove microscopic pits and rebuild uniform light refraction.
- Assessment to determine etch depth and whether polishing or replacement is best
- Controlled glass polishing with graded abrasives and rotary tools
- Protective coatings or sealants to slow future mineral attack
- Warranty and safety assurances from licensed professional services
You should get written estimates, ask for before-and-after photos, and confirm experience with shower doors or windows like yours. Proper refinishing preserves glass appearance and function.
Conclusion
Hard water stains come back if you don’t act, but you can keep glass clear with simple, regular care. Use a 1:1 white vinegar and distilled water mix for most buildup; try a baking soda paste for stubborn spots. Scrub gently, rinse, and dry with a microfiber cloth. For shower doors and mirrors, squeegee or towel-dry after each use. If glass is etched, consult a pro for polishing or replacement. Prevent buildup to avoid damage.