You can usually fix a running toilet with a few quick checks and simple adjustments. Start by inspecting the flapper, chain, and float so you stop wasting water and avoid a service call. You’ll find common causes, the small parts to replace, and how to set the water level — plus what to try first.
Common Causes of a Running Toilet
If your toilet keeps running, it’s usually because a few simple parts aren’t sealing or adjusting properly.
You’ll often find a warped or deteriorated flapper that won’t seat, a chain that’s too short or tangled, or a corroded flush lever that sticks.
The fill valve can wear out, letting water trickle into the tank, while a misadjusted float keeps the valve open.
Mineral buildup can prevent seals from closing, and a cracked or improperly positioned overflow tube lets water escape into the bowl.
Less commonly, faulty refill mechanisms or worn tank-to-bowl gaskets cause continuous flow.
These are mostly mechanical wear or alignment problems, so understanding which component’s failing points you toward an appropriate repair.
You can then decide whether to replace or adjust parts.
How to Diagnose a Leak Quickly

How quickly can you pinpoint a leak?
Listen for steady hissing or trickling; stand close and note whether it comes from tank, bowl, or base.
Check the water level—if it’s above the overflow tube, water will run into it.
Feel around the fill valve, supply line, and shutoff connection for moisture.
Inspect the tank and bowl for hairline cracks and check the floor for soft spots or water stains indicating a wax-seal failure.
Dry surfaces, then run a paper-towel test after a flush to see where moisture first reappears.
Use food coloring in the tank to detect hidden tank-to-bowl leaks.
If you still can’t find it, shut off water and call a plumber to avoid damage.
Note timing and recurrence for future reference too.
Fixing Flapper and Flush Valve Problems
Why is the toilet still running after a flush? Often the flapper or flush valve isn’t sealing.
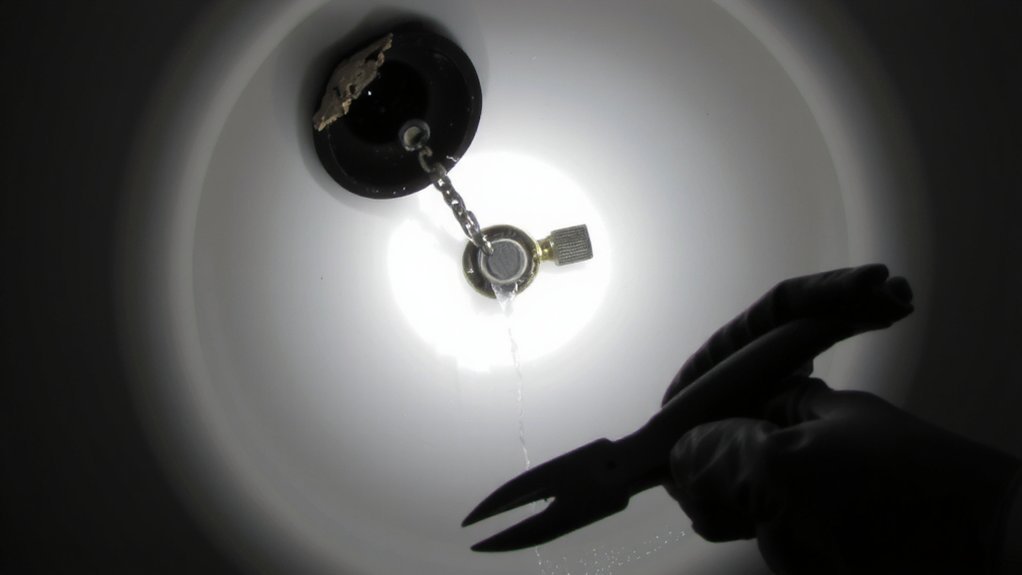
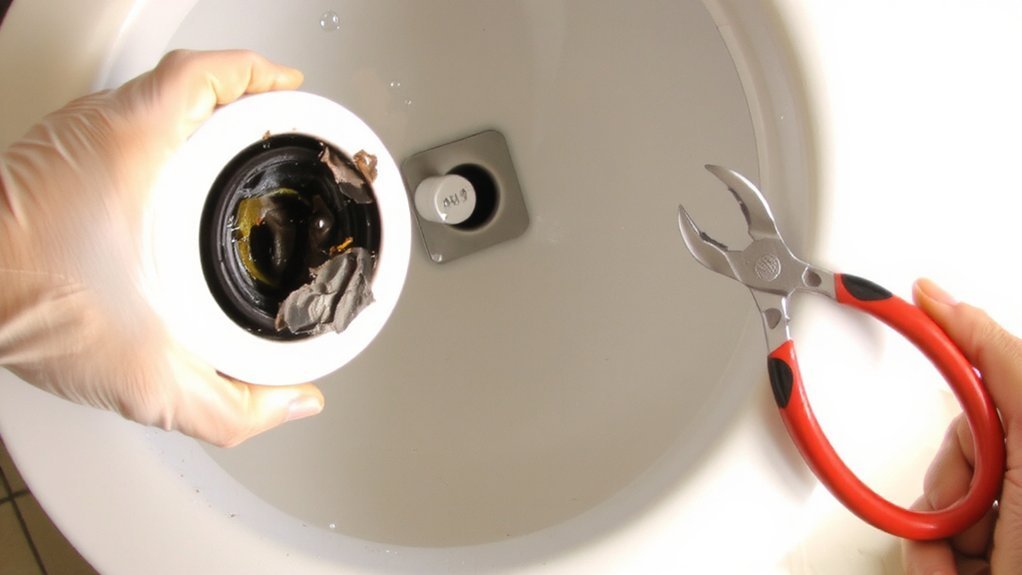
You should inspect the flapper for warping, mineral buildup, cracks or hardened rubber edge. If it’s damaged, turn off water, drain the tank, remove old flapper and install compatible replacement.
Check the chain: it should have slight slack so the flapper fully closes; if it’s tangled or too tight, adjust or replace it.
Examine the valve seat for nicks or debris; clean with a cloth or fine Scotch-Brite. If the seat is corroded, replace the flush-valve assembly.
After reinstalling, test several flushes to confirm a tight seal. A proper flapper-to-seat fit stops most continuous running problems.
Store spare flappers and a basic toolkit for quick repairs immediately.
Adjusting the Float and Water Level
After you’ve confirmed the flapper seals, check the float and water level next, since an overfilled tank or a float set too high will keep water spilling into the overflow tube and cause continuous running.
Shut the water off at the supply, flush to lower the tank, inspect the float type. For a float cup, pinch the clip or turn the adjustment screw on the fill valve to lower the cup; for a ball-and-arm float, bend the arm down or turn the threaded rod to set the desired height.
Aim for the water surface about 1/2 inch below the overflow tube or at the manufacturer’s waterline mark. Turn the supply back on, let the tank fill, and observe; repeat adjustments until the running stops.
Repairing or Replacing the Fill Valve and Refill Tube

If the tank keeps refilling or you hear a steady hiss, the fill valve or refill tube may be worn out, and while some parts can be repaired you’ll usually get faster, more reliable results by replacing the valve assembly.
Shut off water at the shutoff valve, flush to drain water, then sponge remaining water.
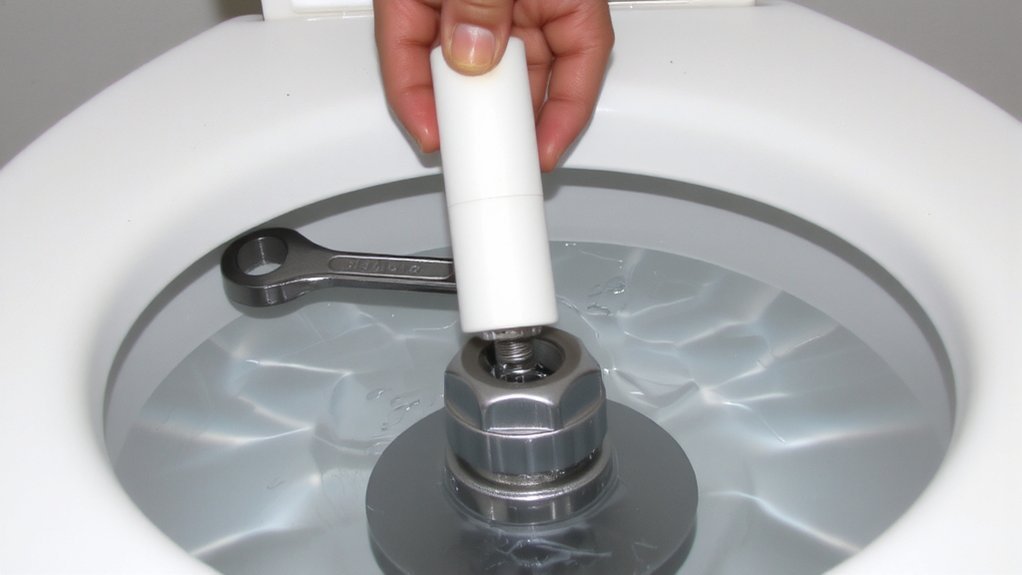
Disconnect water supply, remove the old fill valve nut and lift out the valve.
Install the new fill valve to recommended height, secure the nut hand-tight plus a quarter turn, reconnect supply, and open the valve slowly to carefully check for leaks.
Replace a cracked or kinked refill tube; route it to the overflow tube so it delivers a steady flow.
Adjust water level per the new valve instructions.
Handle, Chain, and Mechanical Fixes
How can you tell whether the handle, lift chain, or other mechanical parts are at fault? Look for a handle that feels loose, sticks, or doesn’t snap back; that often means the lever or its mounting is worn.
Lift the lid and observe the chain: it should have a little slack but not so much it catches under the flapper, and not so tight it tugs the flapper open.
If the flapper doesn’t seat after a flush, try repositioning the chain on a different link or adjusting its length so the flapper fully closes.
Check the trip lever and handle nut for corrosion or misalignment and tighten or realign the lever so it moves freely.
Test several flushes and adjust until it stops running.
Tools, Parts, and When to Call a Pro
What tools will you need and which parts are worth keeping on hand?
You’ll want a basic toolkit: adjustable wrench, pliers, screwdriver set, sponge, and a small bucket.
Keep replacement parts like flappers, fill valves, flush valves, and a lift chain or strap.
A universal repair kit saves trips to the store.
Do the simple fixes first: adjust chain length, clean or replace the flapper, or adjust the float.
If you find corroded components, multiple leaks, or recurring issues after replacements, call a pro.
Also hire a plumber for cracked tanks, stubborn valves, or if you’re uncomfortable shutting off water and removing components.
That’ll prevent bigger damage and higher costs.
Keep parts stored in a labeled container so you’ll be ready for quick repairs.
Conclusion
If your toilet’s still running after you check the flapper, chain, handle and adjust the float, don’t panic—you’re likely a short fix away. Replace warped flappers, clean valve seats, and set the water level about ½ inch below the overflow. Swap a faulty fill valve or refill tube, tighten loose connections, and test the flush. If leaks persist or parts seem beyond repair, call a plumber to avoid water waste and further expense.