If you’re installing laminate flooring, you’ll want to prep properly so the job looks professional and lasts. You’ll learn to acclimate planks, level and clean the subfloor, roll out underlayment, and lock rows together. Stick around — I’ll also cover layout tips and common mistakes to avoid next.
Room and Material Preparation
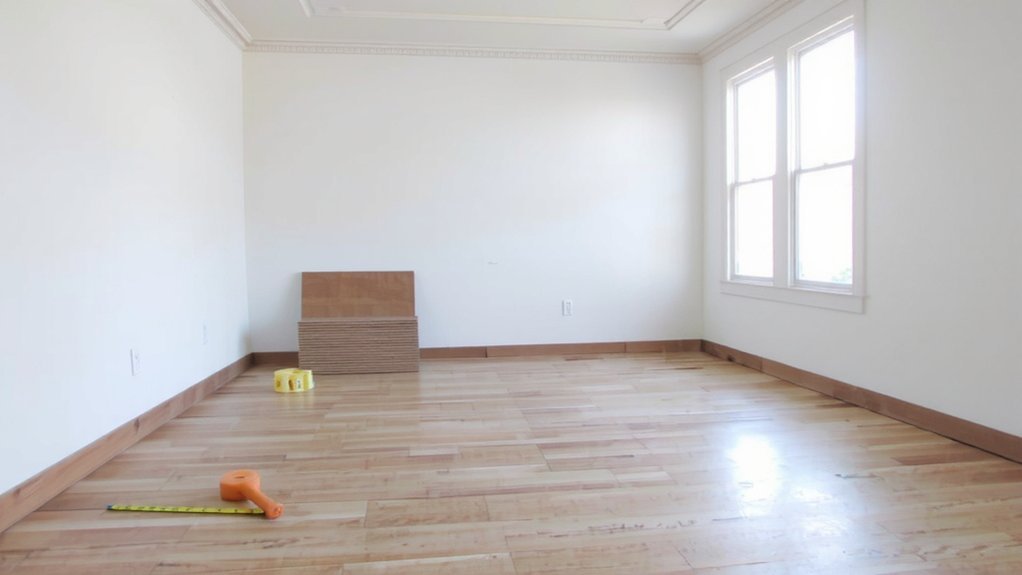
Before you lay a single plank, get the room and materials ready: clear furniture, remove baseboards if needed, and thoroughly clean the subfloor so it’s dry, flat, and level.
You’ll want to acclimate the unopened flooring in the room for 48 to 72 hours so temperature and humidity match; check manufacturer guidance.
Measure the room, calculate row widths, and order 5–10% extra for cuts and mistakes.
Gather tools: saw, spacers, tapping block, pull bar, measuring tape, pencil, and safety gear.
Plan plank direction toward the longest light source and note doorways, vents, and thresholds.
Identify transition strips and trim pieces, and confirm baseboard replacement or new quarter-round.
With a clear plan and proper tools, you’ll reduce surprises and speed installation and remain under warranty.
Preparing the Subfloor and Underlayment

Now that the room and materials are ready, check the subfloor for flatness, cleanliness, and moisture so your laminate will lock and wear properly.
Remove nails, staples, and loose boards; sweep and vacuum thoroughly.
Repair squeaks by fastening or gluing joists, and sand or shim high spots; fill low areas with a cementitious floor patch to within 3/16″ over 10 feet.
Test moisture with a meter or plastic-sheet method; don’t install over damp plywood or concrete without a proper vapor barrier.
Choose underlayment compatible with your laminate — foam, combination foam/vapor, or cork — and roll it perpendicular to the flooring direction.
Butt seams tightly, tape them if required, and trim edges so the underlayment lies flat for a stable, continuous base.
Check manufacturer installation instructions.
Measuring and Planning the Layout
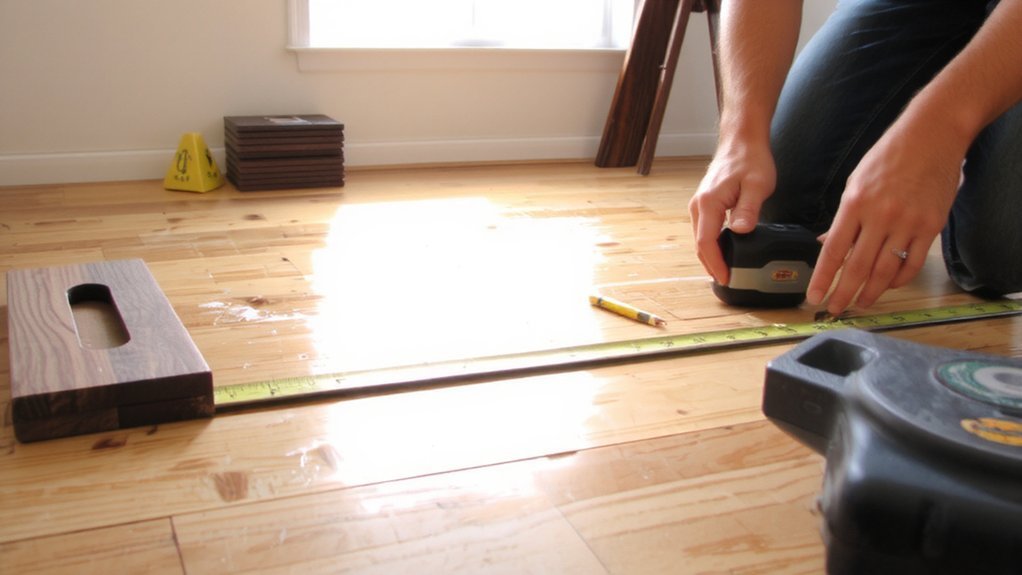
If you want a professional look, measure and plan the layout carefully so rows stay straight and the end rows aren’t too narrow.
Begin by measuring room length and width, noting alcoves, doorways and fixed obstacles.
Decide plank direction — parallel to the longest light source for best appearance — and mark a starting chalk line.
Calculate planks per row and allow an expansion gap around the perimeter per manufacturer recommendations.
Plan staggered end joints at least 8 to 12 inches apart for stability and appearance.
Determine where you’ll need partial planks and arrange cuts to avoid tiny slivers at walls.
Locate transitions and thresholds, factor them into measurements, and sketch a cutting diagram before making any cuts.
Confirm measurements twice to avoid errors.
Installing the First Row and Subsequent Rows
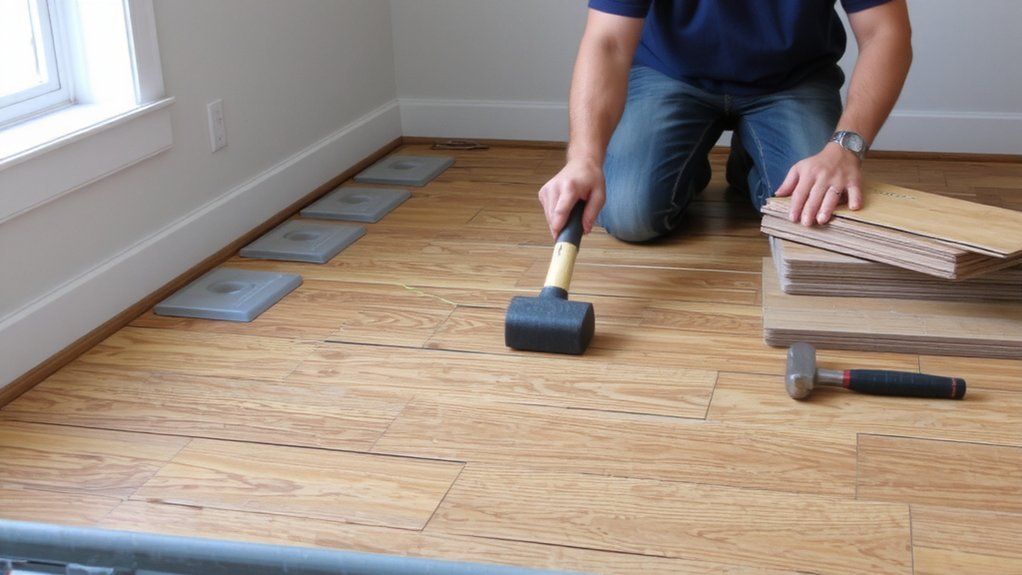
When laying the first row, orient the tongues toward the wall and set uniform spacers to maintain the recommended expansion gap.
Press each plank firmly against the spacers and ensure ends align; trim the last plank to fit.
Stagger joints at least 12 inches (or manufacturer minimum) by starting the second row with a cut piece.
Angle the tongue of the new plank into the groove of the installed row, lower and lock per locking system instructions.
Tap seams with a mallet and block to seat joints without damage.
Continue across the room, checking alignment frequently and maintaining expansion gaps along all edges.
Use short pieces to begin subsequent rows so seams are well staggered and the floor gains structural stability.
Work steadily forward.
Finishing Touches and Cleanup
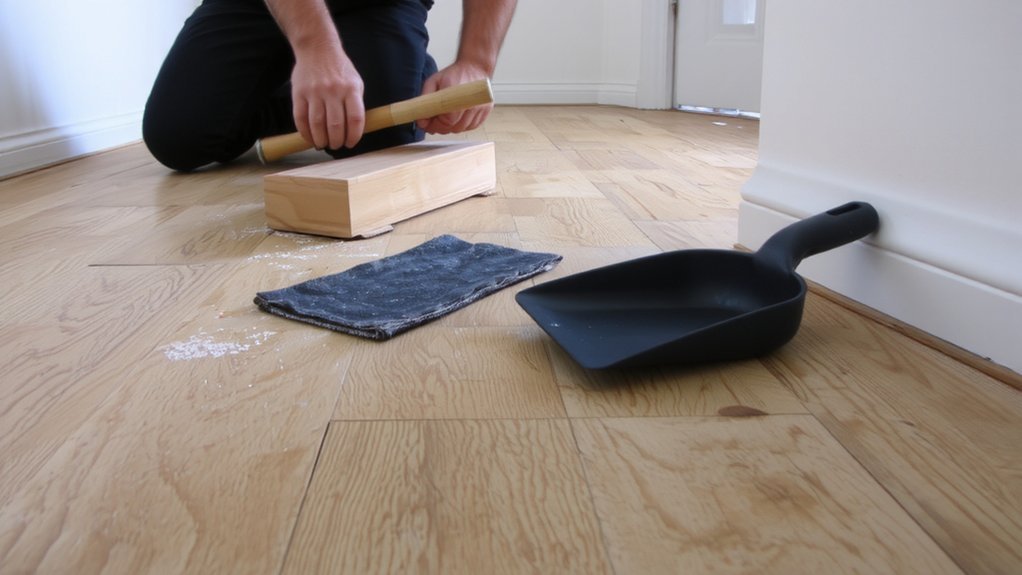
After you’ve finished laying the last plank, remove the spacers and trim any door casings so the flooring can slide under them, then install transition strips and baseboards or quarter‑round—fasten trim to the wall, not the floor, to preserve the expansion gap.
Caulk gaps at doorways and thresholds where moisture might enter; use silicone around bathroom transitions.
Reinstall vents and threshold plates, trimming them for a neat fit.
Sweep and dry‑mop the floor, then spot‑clean with manufacturer‑approved laminate cleaner—never flood.
Check seams and trim for movement and fasten loose pieces.
Replace vent covers and outlet plates.
Move furniture back using felt pads, and avoid heavy loads for the period the manufacturer recommends.
Keep installation instructions and leftover planks for repairs and color matching later.
Conclusion
You’ve prepped the room and materials, acclimated unopened planks, and ensured a clean, level subfloor with underlayment laid perpendicular to plank direction. You measured, planned toward the main light source, and left expansion gaps while staggering end joints. You started with tongues to the wall, angled and locked planks, and tapped seams as needed. Finally, you trimmed the last row, removed spacers, and fastened trim to the wall so your floor moves freely and settles.