If your toilet keeps running, you can fix it yourself and stop wasting water. You’ll shut off the supply, drain the tank, remove the old flapper, and fit a new one that seals properly. It’s a quick job if you follow the right steps—here’s what to do next.
Signs You Need to Replace the Toilet Flapper
How do you know it’s time to replace the flapper? You’ll notice the toilet runs intermittently or continuously after a flush, a steady trickle or hissing sound in the tank, or the bowl refills slowly.
Check the water level: if it drops unexpectedly or the fill cycle repeats, the flapper likely won’t seal.
Inspect the flapper: if it’s warped, cracked, softened, or has mineral buildup that scraping won’t remove, replace it.
Old rubber that sticks or won’t return to position is a clear sign. Rising water bills without other causes also point to a leaking flapper.
If chain adjustments don’t fix the issue, don’t delay—swapping the flapper is usually quick, inexpensive, and fixes most persistent leaks. You can buy replacements at any hardware store.
Shutoff and Tank Prep Before You Begin
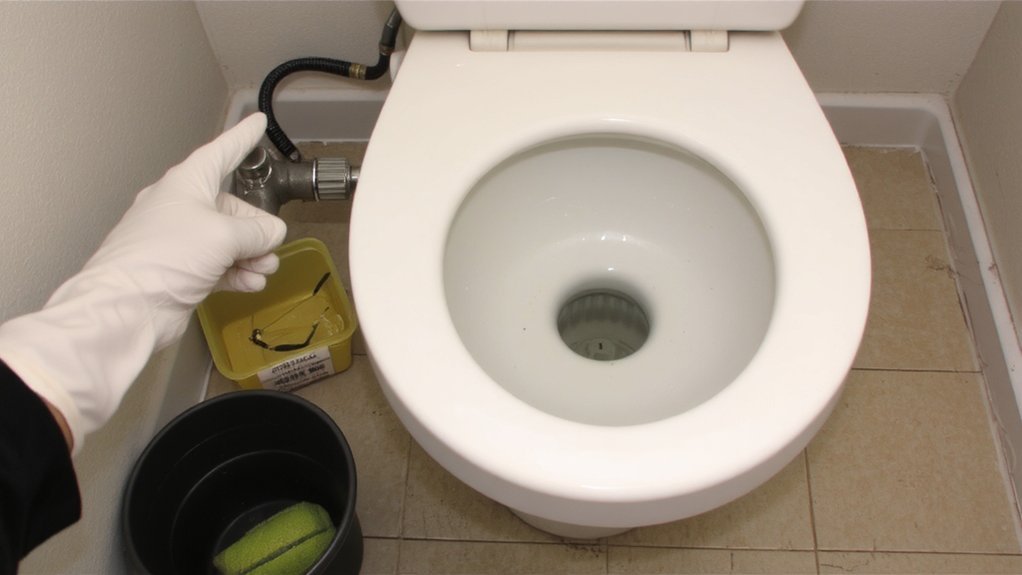
Before you start, turn off the water supply at the shutoff valve behind the toilet and flush to drain the tank as much as possible; if some water remains, soak it up with a sponge or towel so the tank is low and dry.
Remove the tank lid carefully and set it on a towel to avoid chips.
Put on gloves; you’ve got a small bucket or bowl ready for residual water.
Disconnect the refill tube from the overflow pipe and unhook the flapper chain from the flush lever to free the flapper.
Inspect the overflow tube, fill valve, and handle linkage for obvious damage or buildup.
Wipe down the tank interior so you can work cleanly and spot worn parts and corroded seals.
Choosing the Right Replacement Flapper
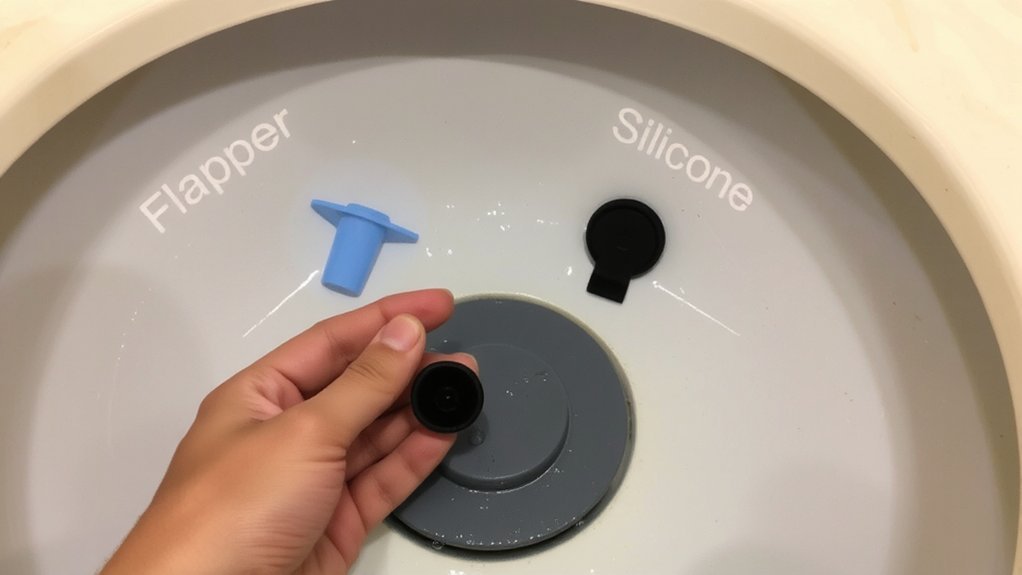
While picking a flapper, focus on fit and function: check your flush-valve diameter (usually 2″ or 3″), confirm whether your toilet uses a standard or angled seat and single- or dual-flush system, and choose a material (rubber or synthetic) that resists your water chemistry.
Measure the valve or bring the existing part to the store if unsure.
Match connection style — chain, lift wire, or clip — and pick adjustable or fixed-length options to tune seal timing.
Look for universal kits labeled compatible with your valve size and flush type, and favor brands with clear warranty and replacement availability.
Prioritize a tight seal, corrosion resistance, and easy adjustment so your new flapper restores efficient, reliable flushing without guesswork.
You’ll save water and avoid costly leaks.
Removing the Old Flapper
Turn off the water at the shut-off valve and flush to empty most of the tank, then sponge or blot up any remaining water so you can reach the flapper easily.
With the tank drained, unhook the flapper chain from the flush lever; if there’s a clip, slide it off.
Detach the flapper from the overflow tube pegs or the ring around the flush valve—some models snap off, others slide off.
Note how the flapper sits and the orientation of any tabs so you can reference it later.
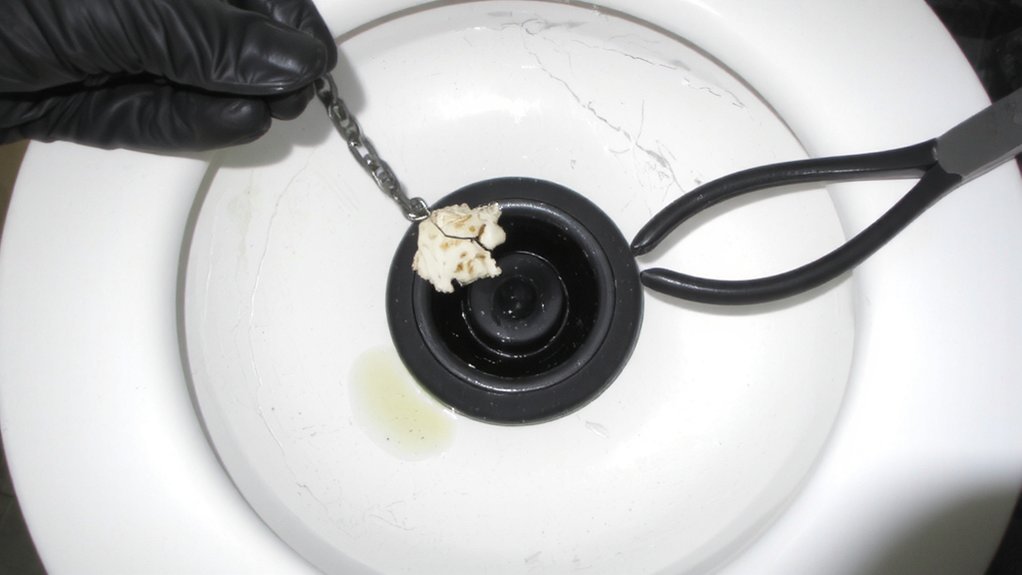
Inspect the flush valve seat for mineral buildup and wipe it clean with a cloth or soft brush.
Remove any old plastic or rubber debris and set the old flapper aside for proper disposal or recycle.
Installing the New Flapper
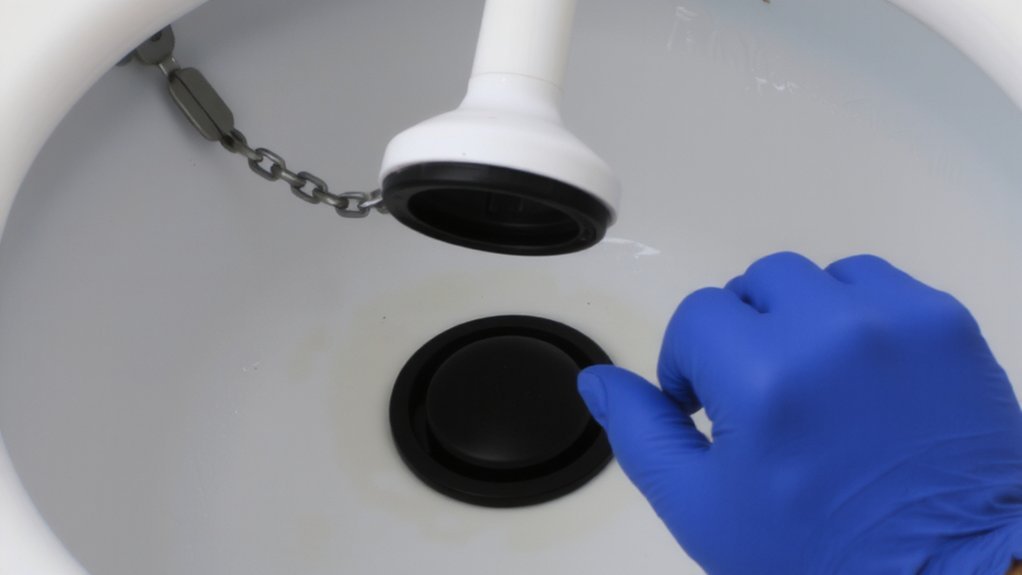
Fit the new flapper onto the flush valve—hook or snap it onto the pegs or slide the ring over the valve—making sure any tabs sit the same way the old one did.
Attach the chain to the lever arm using the middle link so there’s a little slack; avoid binding or excessive slack that could prevent proper seating.
Route the chain so it runs straight without kinks and doesn’t catch on the valve or tank components. If your flapper uses a clip or retainer, secure it per the manufacturer’s orientation.
Replace any lift clip or refill tube onto its nipple. Confirm the flapper sits flat and aligned around the valve seat before you close the tank.
Keep replacement parts and instructions nearby for reference.
Testing the Flush and Making Adjustments
Now flush the toilet once or twice and watch the flapper, chain, and water flow: you want the flapper to lift fully, drop back squarely onto the seat, and create an immediate seal with no hissing or slow drain.
If the chain is too tight it’ll prevent a full seal; if too loose it can get trapped under the flapper. Adjust the chain length so there’s a slight slack when the flapper rests.
Ensure the flapper seats evenly; rotate or reseat it if one side lifts early. Check the flush lever for smooth travel and the lift arm for proper angle.
After each tweak, flush again until the flapper consistently seals and the tank refills normally. If leaks persist, inspect the seat and valve.
Tips for Maintenance and Saving Water
After you’ve confirmed the flapper seals reliably, keep it that way with simple maintenance that also cuts water use.
Check the flapper monthly for mineral buildup, cracks, or stiffness; wipe it clean and replace it if it looks warped.
Inspect the chain length so it lifts fully without dragging or catching—adjust or clip excess links.
Test the refill valve and float to prevent overfilling; lower the float to reduce water per flush if needed.
Add a compatible tank displacement device or use a low-flow flapper to shave gallons without compromising function.
Fix slow leaks promptly: a dye test reveals leaks fast.
Schedule checks as part of your regular monthly maintenance routine.
Conclusion
By replacing the flapper you’ll stop wasted water, curb noise, and avoid surprise leaks. You’ll shut off the supply, drain the tank, swap the old flapper for one that fits, and reconnect the chain with a bit of slack so it lifts fully and seals. After restoring the water you’ll test and tweak chain length until flushes are solid. With simple checks every few months you’ll keep things efficient and leak-free and save money too.