You’ll need a few simple tools and a little patience, and you can replace a missing button neatly yourself. Gather a needle, thread that matches the garment, scissors, and the button; then mark its placement and thread the needle with a secure knot. I’ll show you how to sew both flat and shank buttons, create a small thread shank where needed, and finish so the button stays put — but first, learn how to pick the right materials.
Key Takeaways
- Mark the button position, aligning with the corresponding buttonhole and layering fabric if needed.
- Thread a needle with doubled thread, knot the end, and choose a needle suitable for the fabric.
- Hold the button in place, sew through each hole or the shank several times, and maintain even tension.
- Create a small thread shank for thicker fabrics by wrapping thread beneath the button before securing.
- Tie a secure knot on the fabric underside, trim close, and seal with fabric glue or clear nail polish for durability.
Tools and Materials You’ll Need
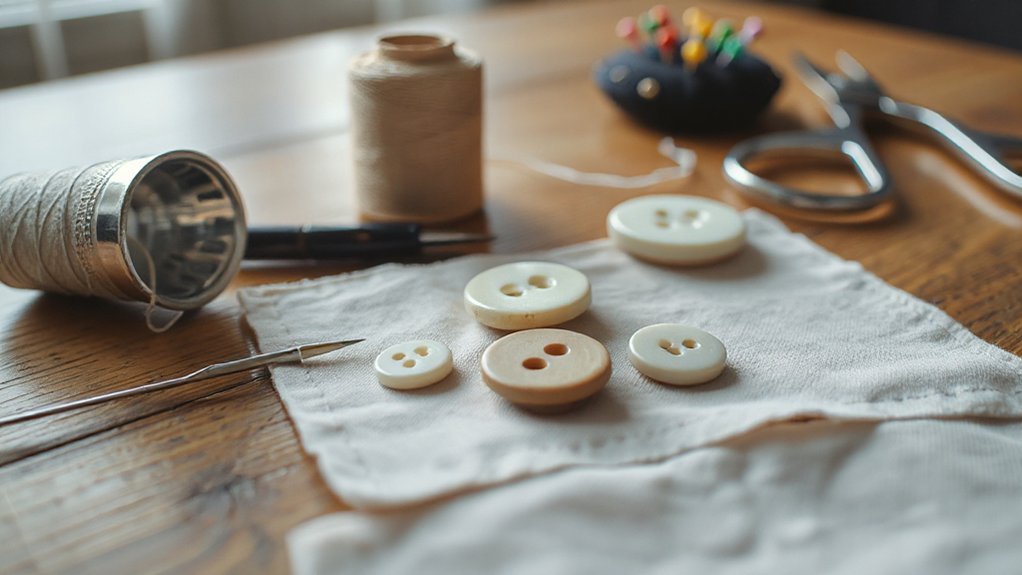
Before you begin, gather the basic tools and materials so you won’t have to stop mid-task: a needle, thread that matches or complements the fabric, a spare button (or the original), sharp scissors or thread snips, and a thimble if you’ll be pushing through heavy fabric. Decide on tool types before you start: choose a fine hand needle for light fabric, a sturdier needle for denim, and small scissors for tidy cuts. For material choices, pick polyester thread for stretch, cotton for natural fibers, or heavy-duty thread for workwear. You’ll also want a pin or chalk to mark placement and a small container to keep parts together. Lay everything out so you can work steadily and accurately.
Choosing the Right Thread and Needle
Now that your tools are ready, pick a needle and thread that match the fabric and the button’s needs. You’ll want to take into account thread strength and needle thickness so stitches hold without damaging material. Know common thread types (polyester for strength, cotton for natural fibers, nylon for delicate buttons) and match needle sizes to fabric weight.
- Choose thread: match thread types to fabric and button stress.
- Select needle: use finer sizes for lightweight fabric, larger for heavy fabrics.
- Test: thread a scrap, sew a few tacks, check tension and button movement.
Use a single or double thread depending on button size; double for large or high-stress buttons. Keep needles sharp and replace bent ones to avoid puckering.
Preparing the Garment and Button
Before you sew, mark the exact spot for the button so alignment and spacing match the original. Pick a thread color that blends with the fabric or matches the button for a neat, durable finish. Check the button and fabric—trim frayed threads, reinforce thin fabric with a small patch or interfacing, and make sure the button holes are clean and free of debris.
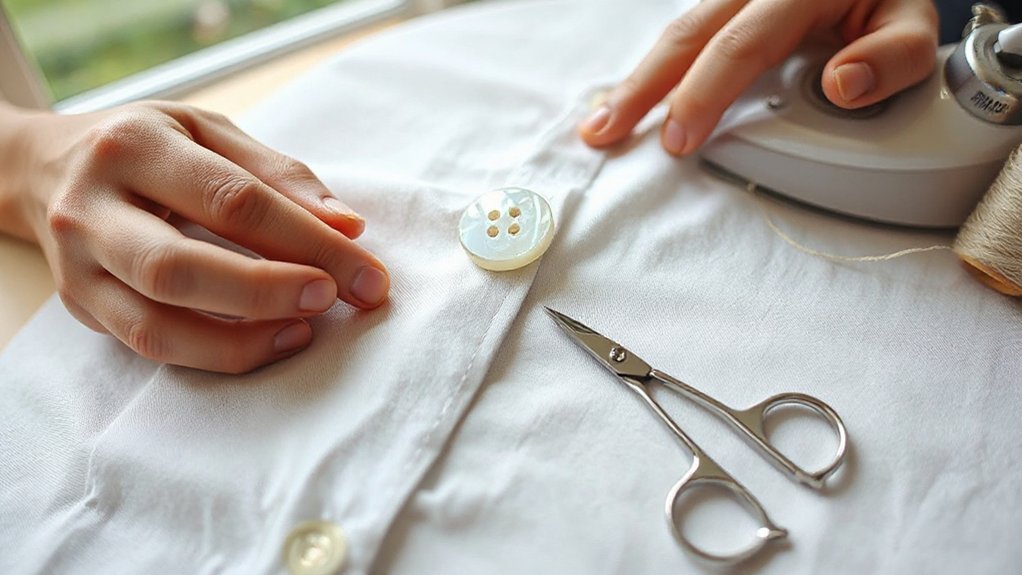
Marking Button Placement
Where should the button sit so the garment hangs and fastens correctly? You’ll check button alignment against seams, hems, and the opposite buttonhole. Lay the garment flat, fasten adjacent buttons, and smooth the fabric. Use a fabric marker or tailor’s chalk to make small fabric markings where the button lands when the garment is worn.
- Measure from a fixed point (seam, edge, or previous button) and mark consistently.
- Try the garment on or pin layers together to confirm placement before stitching.
- Double-check spacing so buttons line up vertically and sit flat without pulling.
These steps guarantee precise button alignment and consistent spacing. Keep marks small and centered; they’ll be easy to stitch through and remove afterward.
Choosing Thread Color
When you’re choosing thread for sewing a button, pick a color that either blends with the garment for an invisible finish or matches the button for a coordinated look; contrast can be used intentionally for a decorative effect. Decide whether you want discreet repair or a visible detail, then inspect fabric and button under good light. For reliable color matching, hold thread against both fabric and button and view from a short distance to judge harmony. Consider thread types too: polyester is strong and versatile, cotton has a matte finish, and silk offers fine sheen for delicate pieces. Choose thread weight that suits button size and fabric thickness. Keep a small spare spool of the chosen color for future quick repairs.
Preparing Button And Fabric
Now that you’ve chosen the right thread, get the garment and button ready so sewing goes smoothly. Inspect the button types you’re using—flat, shank, or sew-through—and pick the one suited to the garment. Check fabric selection: lightweight fabrics need smaller, lighter buttons; heavy fabrics need sturdier ones. Press the area flat and mark the original button spot or alignment with the counterpart.
- Clean and dry fabric; trim loose threads and stabilize thin areas with a small patch or interfacing.
- Position the button, aligning with buttonhole or mark; pin or baste in place to prevent shifting.
- Thread your needle with sufficient length and tie a small knot; double the thread for strength on heavy fabrics.
You’re ready to start sewing confidently.
Sewing a Flat (Four-Hole) Button
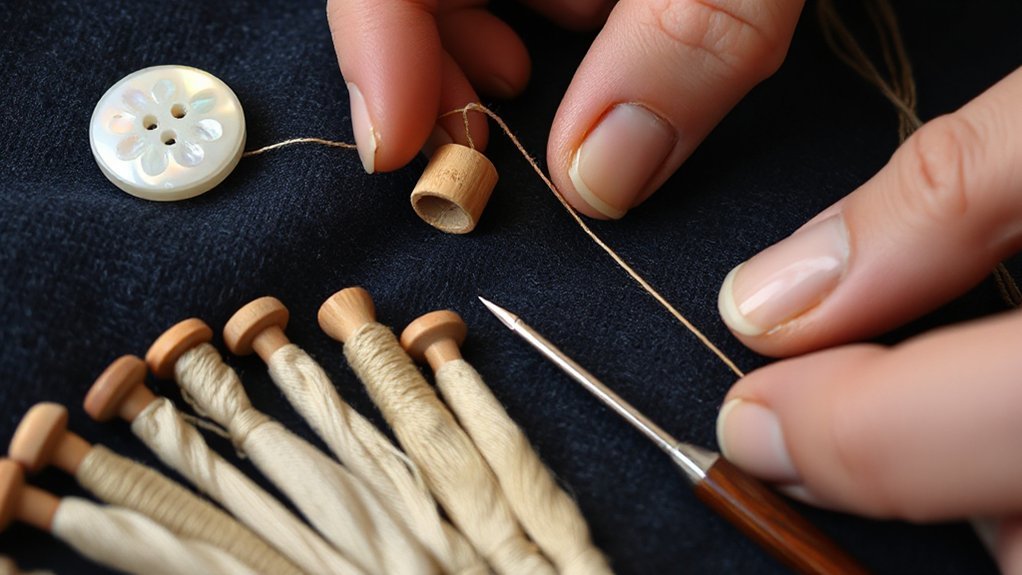
Start by threading a needle with a doubled thread and knotting the end so you’ve got a strong, tidy line to work with. Position the flat four-hole button over the marked spot; align it with button types on the garment so it matches neighboring buttons. Push the needle up through fabric and hole one, down through hole two, and repeat three or four times to build a firm base. Move to the opposite pair of holes and repeat the same sewing technique. Keep stitches neat and evenly tensioned so the button sits flat without puckering. Create a small thread shank by lifting the button slightly and wrapping the thread under it several times, then pass the needle through the fabric and knot securely. Trim excess thread.
Attaching a Shank Button
If your garment uses a shank button instead of a flat one, you’ll sew it a bit differently to accommodate the raised loop on the back. You’ll choose the proper shank button types and use button attachment techniques that keep the button secure and slightly raised so fabric sits neatly beneath it. Thread a strong needle, anchor with a knot, and bring the needle up through the fabric beside the shank. Pass the needle through the shank, down into the fabric, and repeat.
- Position: mark the hole, align button with buttonhole.
- Stitching: make parallel passes through the shank for stability.
- Finish: tie off beneath the shank so the knot’s hidden.
Work neatly and test alignment before trimming thread.
Finishing Touches and Reinforcement
Now that the button sits securely, you’ll want to finish and reinforce it properly. Learn which knots and where to place them, how to seal the thread ends to prevent unraveling, and when to add extra stitches or a small patch for long-term strength. These simple steps will keep the button functional and the fabric intact.
Knot Types and Placement
When you finish sewing the button, secure it with the right knot so the stitch stays strong without bulk; choose between a simple double knot for quick fixes, a surgeon’s knot for extra hold on slippery threads, or a square knot for a tidy, reliable finish. You’ll control knot tension to avoid puckering the fabric or leaving the button loose. Place the knot on the underside of the fabric or inside the garment seam so it’s hidden and comfortable.
- Double knot: fast, minimal bulk, for casual repairs.
- Surgeon’s knot: extra grip when thread slips, add an extra loop.
- Square knot: stable and neat, ideal for visible areas.
Trim ends close and check button movement.
Thread Sealing Methods
1 simple step you should add after knotting is sealing the thread to prevent fraying and keep the repair secure; you can do this with a tiny dab of clear fabric glue, a drop of fray-check, a bit of clear nail polish, or by lightly melting synthetic thread ends with a heated needle—each method seals fibers differently, so pick one that suits the fabric and thread type and apply sparingly to avoid visible residue. After trimming the tail close to the knot, test your chosen sealing techniques on a scrap or an inconspicuous spot. Use minimal product, wait to dry, and avoid stiffening delicate fabric. For mixed thread types, choose a method compatible with the thread material. Proper sealing keeps your work neat and long-lasting.
Adding Extra Reinforcement
After you’ve secured and sealed the knot, add a little extra reinforcement to make the repair last: stitch a few extra passes through the shank or base of the button, braid or wrap the thread around the stitches to form a tidy shank for thicker fabrics, and knot off with a few tight backstitches on the fabric side before sealing. You’ll boost button durability and prevent wobble with simple, deliberate moves. Follow this compact checklist to finish neatly:
- Make 3–4 extra stitching passes through the button hole or shank to consolidate anchor points.
- Wrap or braid the thread around the stitch column to create a small shank for thicker layers.
- Tie a secure knot on the fabric underside with two backstitches, trim close, and seal.
You’ll get tidy, durable results without overworking the area.
Conclusion
You’ve got the basics: the right tools, thread and needle, and a marked spot. Thread your needle, position the button, and sew through the holes or shank several times, keeping tension snug but not puckering the fabric. Secure the thread with tight knots underneath, add a few reinforcing stitches, and trim the excess. With patience and neat stitching your button will sit straight and hold up to wear—practice will make the process quicker and more reliable.