You’ll want the fastest shortcuts and tools for your system. You can capture the full screen, an active window, or a custom region with a single keystroke or a built‑in app. Next, see the simplest methods for Windows, macOS, and Linux—starting with the quickest shortcuts.
Built-in Keyboard Shortcuts for Windows
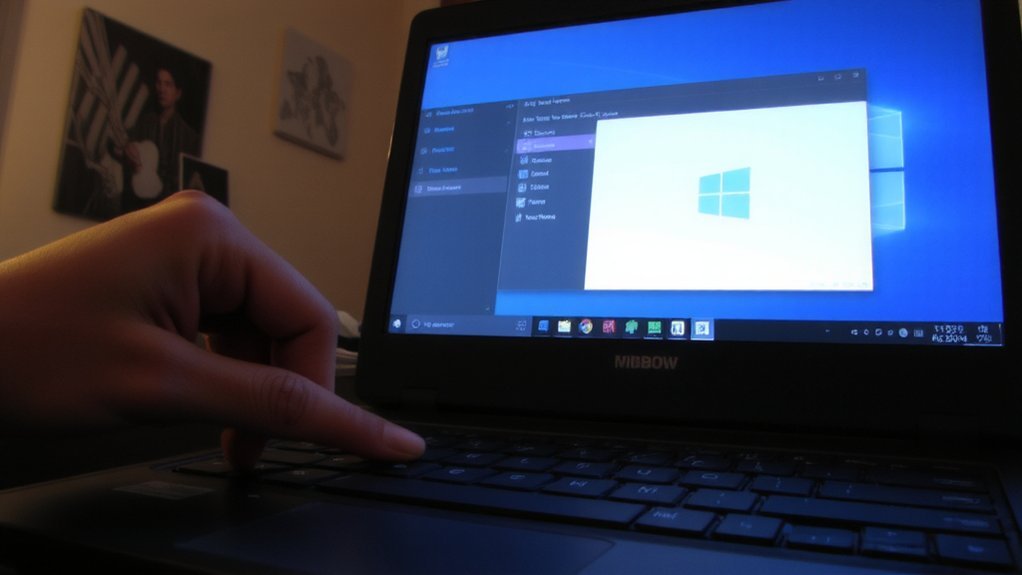
When you need a quick capture, Windows gives several built-in keyboard shortcuts: press PrtScn to copy the whole screen to the clipboard, Alt+PrtScn to copy the active window, Win+PrtScn to save a full-screen PNG to Pictures\Screenshots, and Win+Shift+S to open the Snipping Tool overlay for rectangular, freeform, window, or full-screen snips.
After copying, you can paste the image into Paint, Word, an email, or any editor with Ctrl+V.
If a key combo doesn’t seem to work, check your keyboard drivers and make sure the Print Screen key isn’t disabled by a function (Fn) modifier. On laptops you may need to press Fn with PrtScn or use the manufacturer’s utility to enable screenshots.
Use file explorer to find auto-saved captures in Pictures\Screenshots. You’re all set.
Using Snip & Sketch on Windows 10 and 11
Open Snip & Sketch with Win+Shift+S to grab a rectangular, freeform, window, or full-screen snip, then edit, annotate, and save your capture in the app’s simple editor.
After you capture, a notification appears; click it to open the full Snip & Sketch window where you can crop, highlight, erase, and add text or ink.
Use the delay menu to capture context menus or timed actions.
Change pen color and stroke size for clearer annotations, then use the ruler for straight lines.
When you’re done, click the save icon or press Ctrl+S to store the image, or use copy to paste it into another app.
Settings let you switch default screenshot behavior and toggle notifications.
You’ll find Snip & Sketch preinstalled on most Windows systems.
Third-Party Screenshot Tools and Features
Although built-in tools handle simple snaps, third‑party screenshot apps give you powerful features you won’t find in the default utilities. You can capture scrolling windows, record screen video, and use advanced annotation with shapes, text, and arrows.
Many apps let you set custom hotkeys, delay captures, and auto-upload images to cloud storage or a clipboard manager. Some include OCR to extract text, version history, and integrated sharing links so you can send screenshots instantly.
Choose a lightweight tool if you need speed, or pick a full-featured app for editing and workflow integration. Check privacy settings and permissions, and try a free trial if available to ensure compatibility with your browser and apps before committing to a paid plan. Read reviews to confirm reliability, stability.
Taking Screenshots on Macos
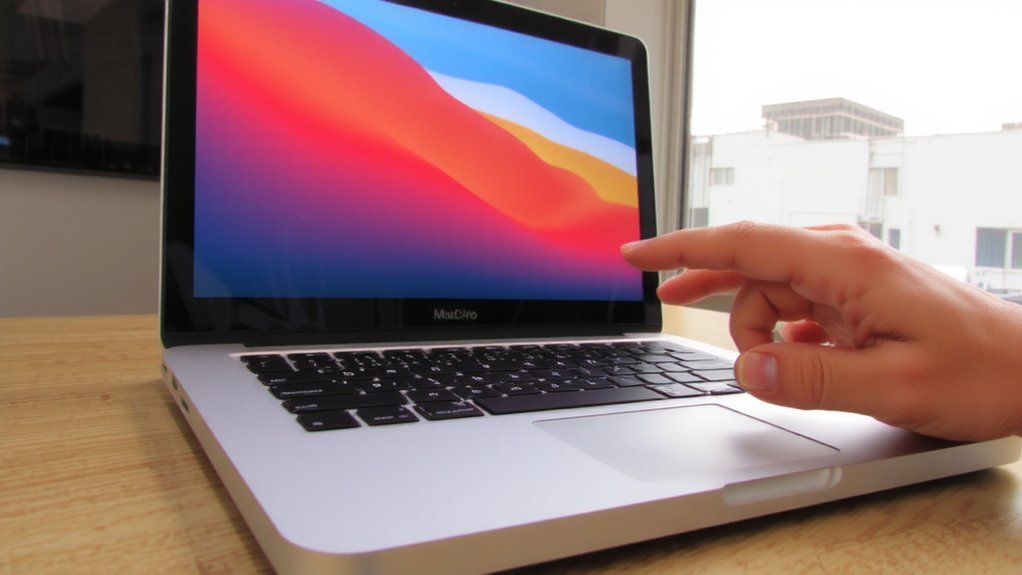
How do you capture exactly what you need on macOS? Use built‑in shortcuts: Command-Shift-3 saves a full-screen screenshot to your desktop; Command-Shift-4 turns the cursor into a crosshair so you can drag to select an area.
Press Space after Command-Shift-4 to capture a specific window, click the window, and the shot will include a subtle shadow.
Command-Shift-5 opens the Screenshot app for on-screen controls: capture entire screen, selected window, or selected portion, plus screen recording and options for timer and save location.
Command-Shift-6 (on Macs with a Touch Bar) captures the Touch Bar. Add Control to any shortcut to copy to the clipboard instead of saving.
Open Preview to annotate, crop, and export images. You can change the default save location in Screenshot options.
Taking Screenshots on Linux
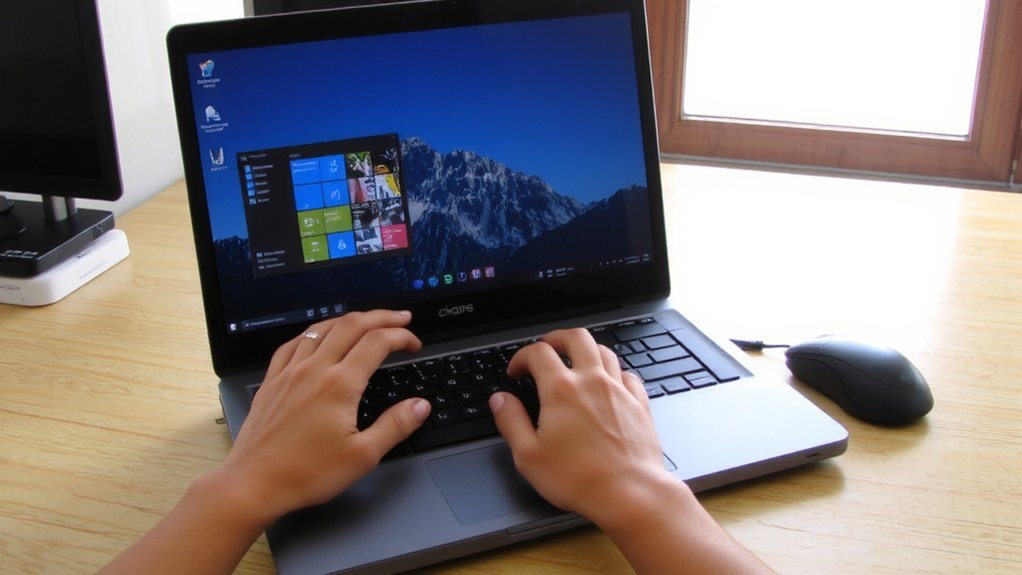
If you’re moving from macOS, expect more variety on Linux: screenshot behavior depends on your desktop environment (GNOME, KDE, XFCE, etc.) and whether you’re running X11 or Wayland.
You can usually press Print Screen to capture the full screen, Alt+Print Screen for the active window, and Shift+Print Screen for a region, though keys vary by distro.
GNOME offers a built-in tool and shortcuts; KDE provides Spectacle with configurable bindings.
XFCE and other environments include their own simple utilities.
On Wayland, traditional X11 tools may be limited, so use compositor-aware utilities like grim or the desktop’s native screenshoter.
You can also use terminal programs (scrot, maim) on X11.
Check your environment’s settings to confirm or customize shortcuts.
Refer to distro documentation if shortcuts aren’t working.
Saving, Editing, and Sharing Screenshots
Saving a screenshot is usually as simple as pasting from the clipboard or choosing “Save” in your screenshot tool, but you should pick a predictable folder and file format (PNG for lossless detail, JPEG for smaller files) so you can find and share images later.
After saving, edit if needed: crop to remove clutter, annotate with arrows or text, and blur or redact sensitive info.
Use built-in editors (Snipping Tool, Preview, Paint) or lightweight apps (Greenshot, Lightshot) for quick changes.
Rename files with descriptive, timestamped names and organize them in folders or a dedicated screenshots album.
When sharing, attach the file to email or messaging, or upload to cloud storage and share a link; check permissions before sending.
Keep originals for backups and privacy.
Common Use Cases and Best Practices
When you’re capturing screens for different reasons, match your method to the purpose.
Use full‑screen grabs for visual context, window or region captures for focused examples, and timed or scrolling screenshots for lengthy content.
For tutorials, highlight steps with arrows and number annotations so viewers follow actions.
For bug reports, include system info, exact error messages, and a short caption describing what you did.
For presentations or documentation, crop to essentials, use consistent filenames, and optimize image size for distribution.
For sensitive material, blur or redact personal data before sharing.
Learn keyboard shortcuts and quick-edit tools to speed workflow.
Keep an organized folder structure and a simple naming convention so you can retrieve images quickly.
Review privacy settings before uploading to cloud services regularly.
Conclusion
Now you know the quick shortcuts and tools for capturing your screen, so you can grab full screens, windows, or custom regions on Windows, macOS, and Linux. Use built‑ins for speed, Snip & Sketch or third‑party apps for editing and sharing, and keep screenshots organized for later use. When you need to show bugs, save receipts, or make tutorials, pick the method that fits your workflow and you’ll capture exactly what you want every time.